Bought an Antique Cast Iron Sink and New House Framing
We bought an antique cast iron sink with a single basin and double drainboard and then new house framing would begin!

Since we bought an old historic house that was built in 1934 in a heritage district, we wanted to do our best to preserve this old gem! Instead of modernizing it, we wanted to maintain the time period throughout the house as much as we could.
So how did we accomplish that? Facebook Marketplace! Well that’s where we started and that’s where we continue to go to look for old antiques and historical things.
BOUGHT AN ANTIQUE CAST IRON SINK
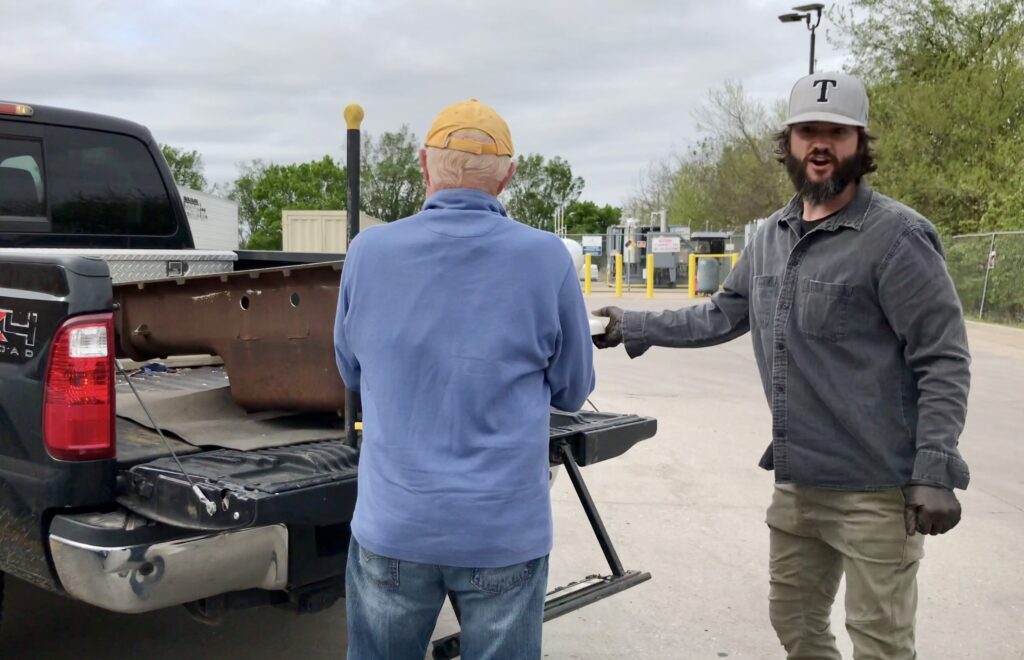
Nate has been looking for the perfect sink for our house to fit the time period around 1934 when it was built. He wanted to have one of those old apron sinks so he was looking online every single day on Facebook Marketplace and Craigslist for months. When he found one at a reasonable price, we decided that day to drive to get it. We went to Oklahoma to pick up this old gem, which was a three hour trip each way! It was worth it though! That’s how important it was for our home.
While we were in the car driving, Nate exclaims, “We are going to get a sink! We’re going to go get a beautiful wonderful farmhouse apron sink.” We were clearly excited for this day trip.

So one of the first things we bought for our house was an antique cast iron sink for our kitchen. Some of you may be more familiar with them being called old farmhouse sinks as well.
It was a windy day when we bought the sink and that thing was really heavy, but we managed to strap it into our car and drive it all the way home!
PROGRESS ON THE HOUSE
Now that we bought an antique cast iron sink with double drainboard, it was time for the new house framing to begin!
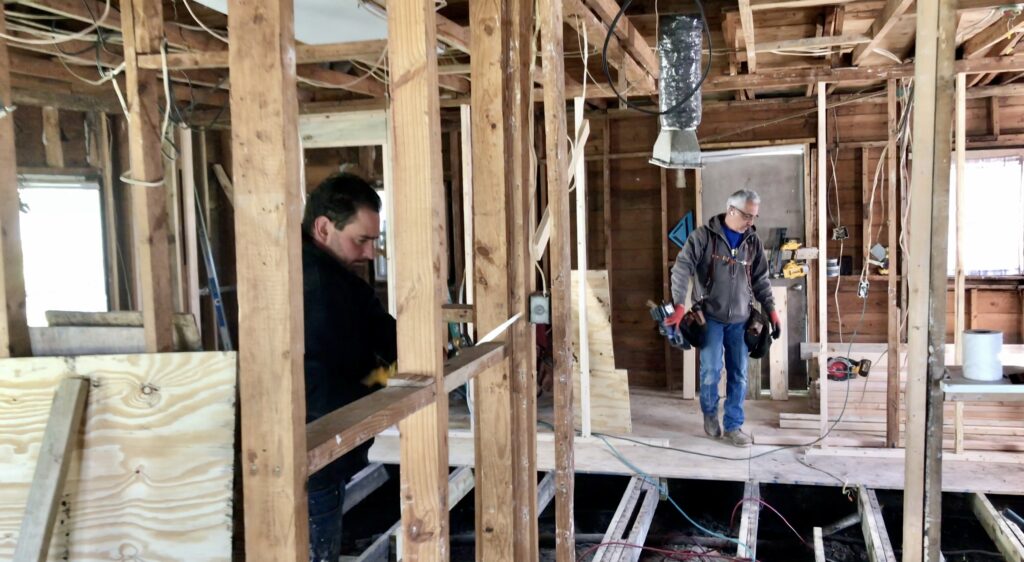
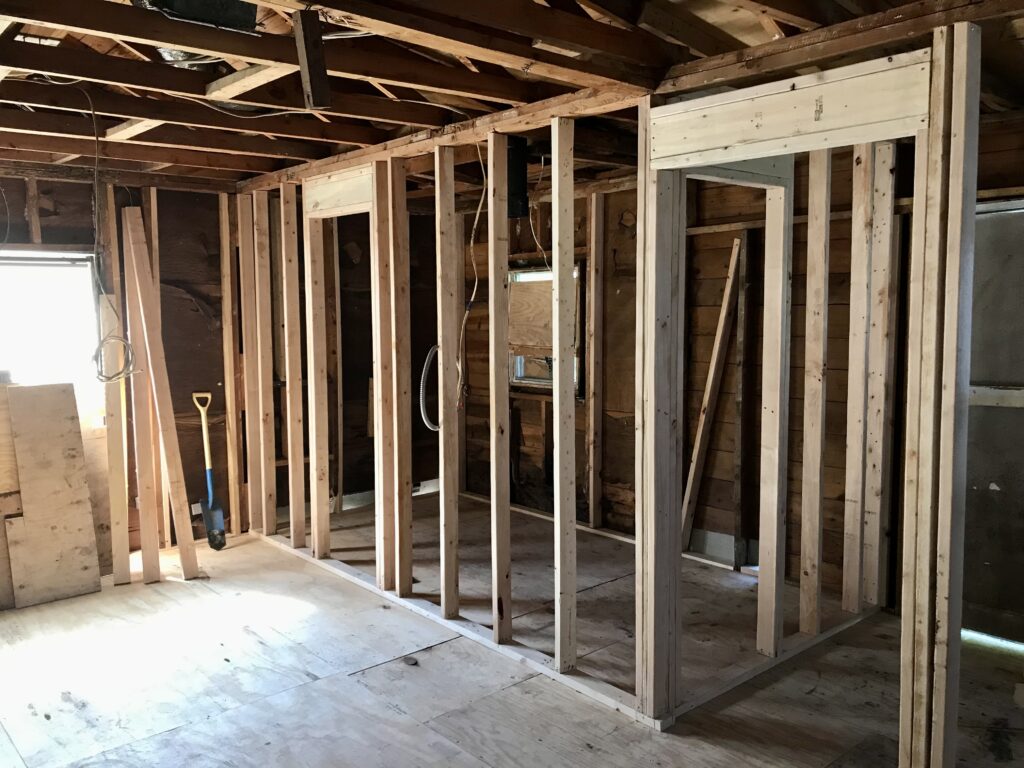
Nate gives a brief tour of the skeleton of the house to show the progress that we’ve made and all the drywall and insulation he has removed.

We are going to have a lot of the wires redone and make sure they are up to code and then put in new insulation and drywall. But, first we are going to frame the house out. The contractors would take out the damaged and rotted wood framing since it has bowed up throughout the years.
The other good news is that we picked up our sink for the kitchen! We placed it in the garage until we set it up in the kitchen.
The garage at the same time is a work in progress along with everything else! Nate describes it as organized chaos and not as bad as it looks. He stacked a lot of things everywhere in our tiny garage. Impressive how much he was able to fit in there! He still needed to figure out where to put a lot of things, but it was definitely coming together.
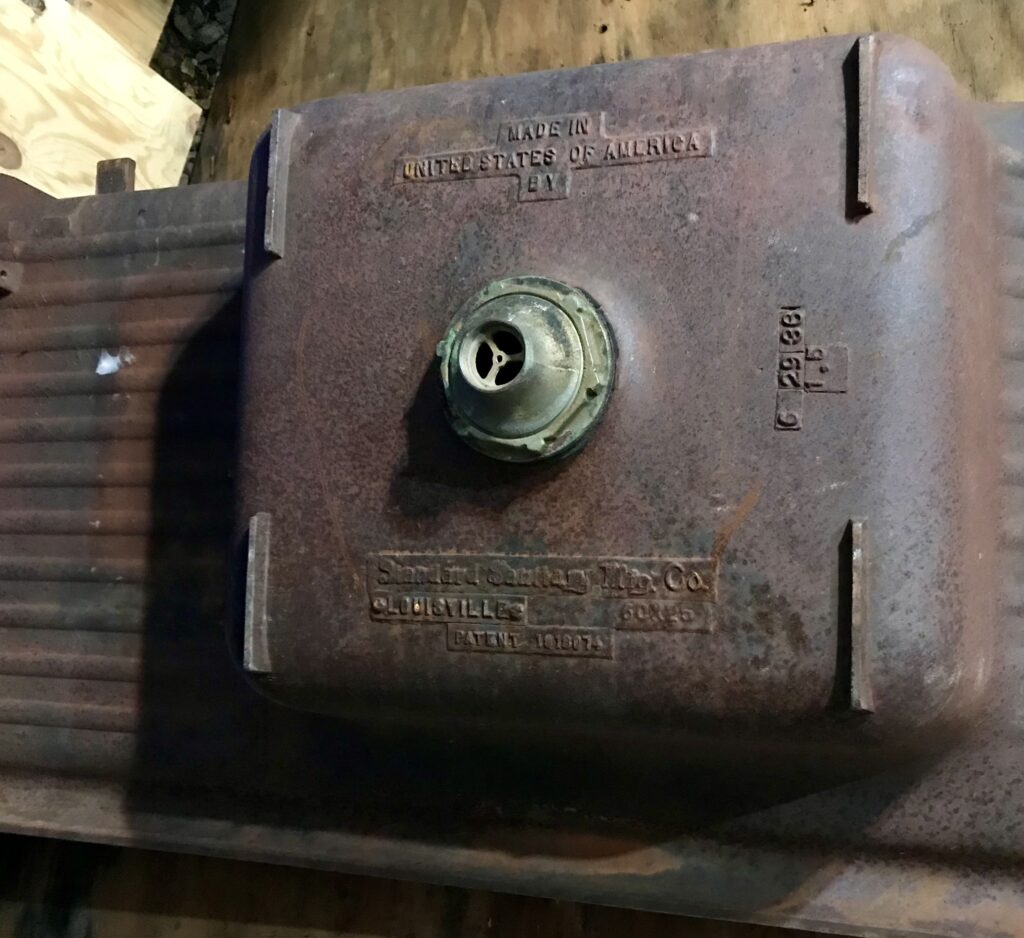
There’s our sink! An apron sink from 1936 so it’s two years younger than our house – spot on with what we need to maintain the time period.

And that’s where the kitchen sink is going to go, under the window in the kitchen.

ITEMS TO DO:
- Kitchen and laundry room walls will be redone.
- Bathroom wall will be removed to make one big bathroom.
- Living room and kitchen will be opened up into one large room with a vaulted ceiling.
CAST IRON SINK DETAILS
The sink we bought was dated June 29, 1936, which was only two years after our house was built! You could clearly see the date stamped into the bottom of the sink and that it was made in the United States of America by Standard Sanitary Manufacturing Company in Louisville. And it even showed the dimensions of 60×25 and there was even a patent number on it. This was a single basin with double drainboard cast iron sink with porcelain over it. We later had it refinished by a local company in our area.
I know that there are some sinks that come with one drainboard, but I really enjoy having two drainboards. Because on one side, I can dry my dishes and the other side, I can also use to prep food and wash vegetables and sort them out. Kinda helps when you’re still living in a construction zone and you don’t have a lot of space to prepare your foods.
We also found some antique gems from our neighbors who also have historic homes, which are even much older than ours. They gave us old original beadboard and even shiplap from an old garage, which would be demolished.
We salvaged many other items from our neighbors as well. We’ve got so much more to share in upcoming blogs and videos about those really awesome finds!
NEW HOUSE FRAMING BEGINS
Now that we bought an antique cast iron sink with double drainboard, it was time for the new house framing to begin!

Alright so we are finally going to be getting into the framing! We hired some contractors to take care of this for us because we have no experience in this arena.
The new house framing begins as the fellows (contractors) are here tearing it up!
They actually had to wait until we got our building permit from the city to even begin working for us. Once we finally got it, the framing fun began!
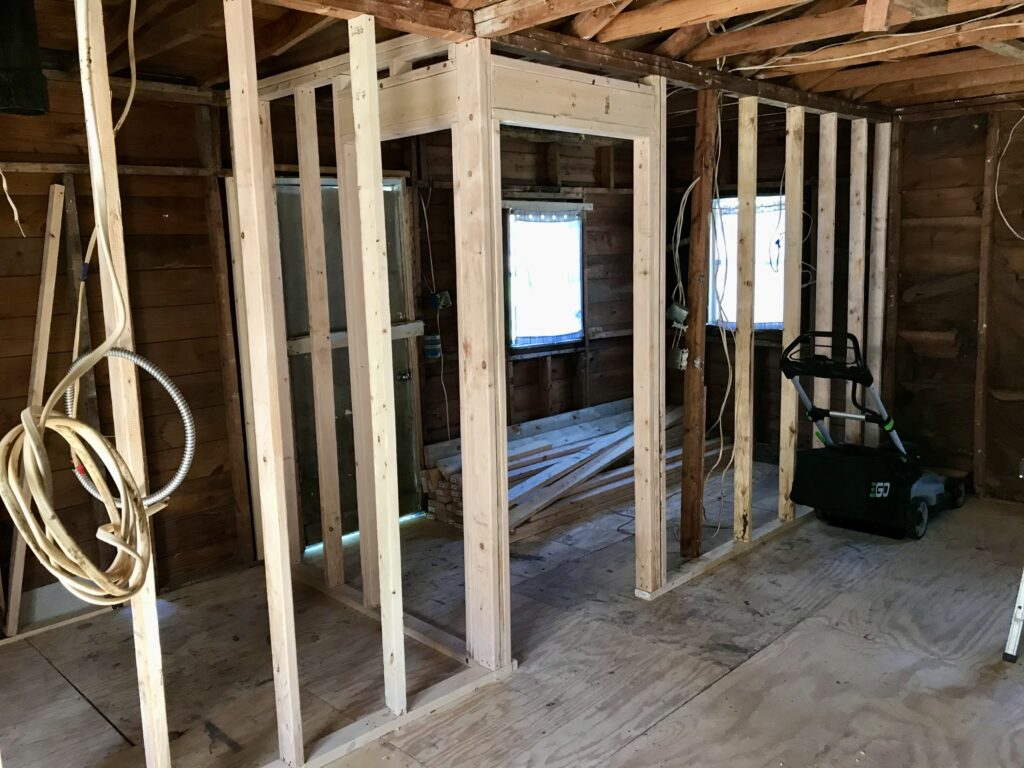
The contractors were all over the house completely redoing all of the framing everywhere. It was a pretty impressive site and a lot of work!
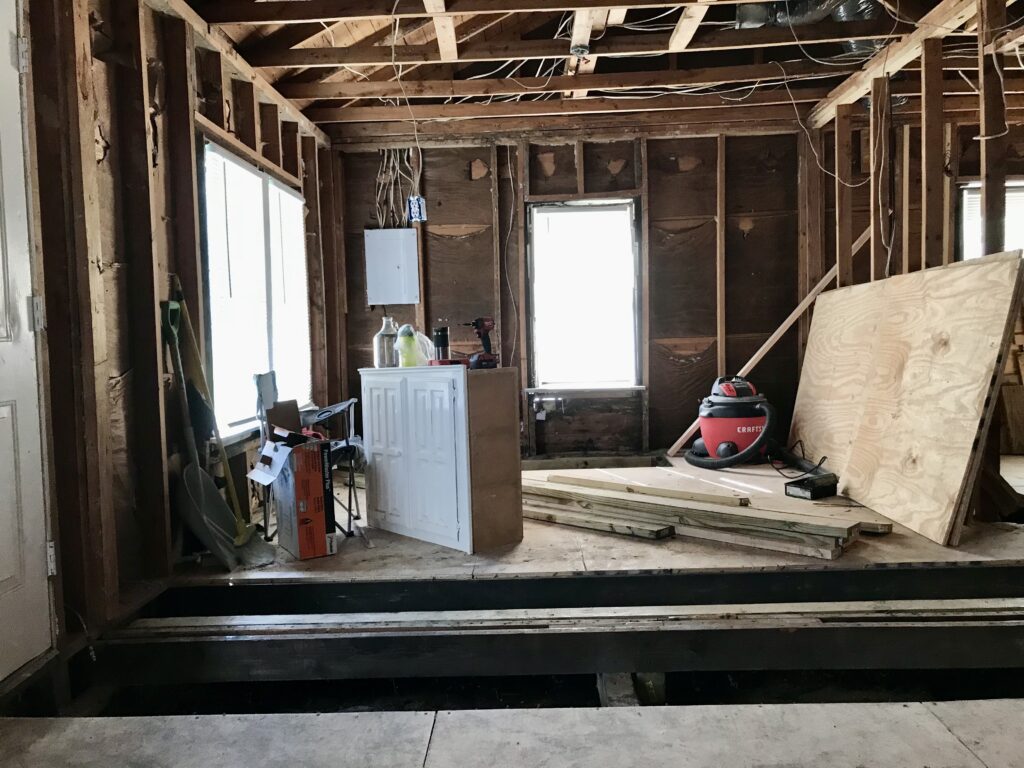
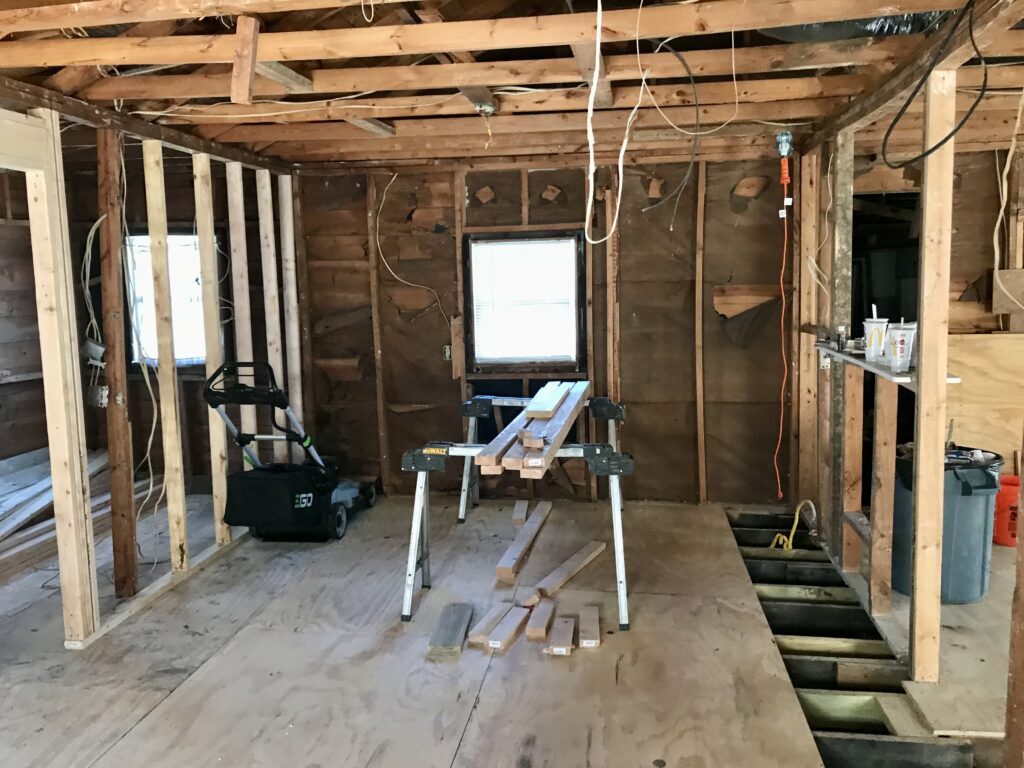
So in our previous videos, I mentioned that when the plywood went down as temporary flooring, that meant the foundation underneath it was all finished. Well, now here we are, pulling it up again! We just keep taking two steps forward and then two steps back!

In order for the framers to redo the floor frame, they had to repair the floor joists that were not properly done by the previous contractors.
A lot was accomplished in only a few short days. The office wall was removed and the last of our original flooring was also taken up that was covering a middle beam.
MORE EXCAVATING
Nate needed to remove a dirt mound in the foundation in the living room and planned to move to the kitchen as well. Yep, that meant more digging and excavation!
And just when we thought excavating was behind us, Nate had to dig some more! Poor guy..

He cleared it out and took it down quite a bit and then moved on into the kitchen area. The dirt there was like clay and really hard to remove and difficult to work with. He had to scoop it out with gloves.

When he tried to shovel it out, it just sank like quick sand and would not come up or loosen and was like glue. It’s much easier to work with when it’s dry or a little moist.
NEW HOUSE FRAMING PROGRESS


Joshua 24:15
But as for me and my house, we will serve the Lord.
CHECK OUT OUR VIDEOS
Thanks for joining us on this journey! We hope that you will find inspiration watching us learn as we go while we’re attempting to renovate and rebuild this old small historic home mostly on our own. Stay tuned for more progress updates ahead!
You can also watch a video about this here.
To see more adventures of our tiny fixer upper journey, click on the links below.


It’s so fun to see the progress you guys are making! And I love the sink!
Thank you! And yes, it was a great find 🥰
As time goes on, I learn more and more that newer is worse. I appreciate that in your busyness and hard work, you’re not sparing quality!
Isn’t that true! Yes, quality is so hard to come by sometimes it seems and you just have to get out there and find it! ☺️
Well, that is the sink of my dreams!! So fun to see your process. 😍
Mine too! Love how unique the one we found is! Such a treasure 🥰