DIY Simple Flooring Removal and Excavation
It was a challenge to DIY flooring removal and excavation simply in our small fixer upper. We were determined to get it done and accomplished it though!
Pulling up the flooring in our small fixer upper became a larger and longer task than we had anticipated. Since Nate was working on this all by himself as a DIY project, he approached it in the most simple way he could figure out.
Luke 6:48
He is like a man building a house, who dug deep and laid the foundation on the rock. And when the flood arose, the stream beat vehemently against that house, and could not shake it, for it was founded on the rock.
You can also watch a video about this here.
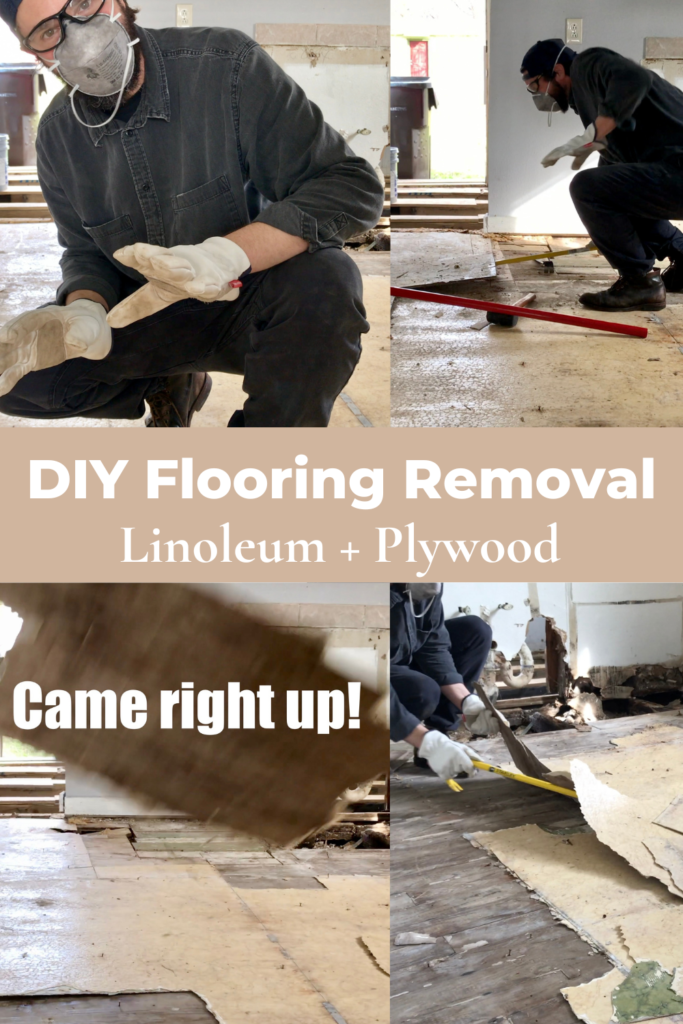
DIY SIMPLE FLOORING REMOVAL – LINOLEUM
The first way we tackled DIY flooring removal and excavation was to remove the linoleum or vinyl flooring in the kitchen now that all the floating floors and plywood above it were removed.
Nate decided to tackle the project with a crowbar in hopes that it would work out. He was new at this and didn’t have experience with flooring removal. It was a DIY project that he figured out as he just did it. As a matter of fact, a lot of his projects have been accomplished by just doing them. I guess that’s the best way to learn – just do it! Nate’s simple comment on tackling this project, “This big crowbar is lifting it (the linoleum). Hopefully it won’t be as bad as I thought.”

DIY RENOVATIONS – REFLECTIONS
We reflect on how far we’ve come on the house after two weeks of DIY renovations. A full time job done by one man (my husband) with no experience doing this sort of thing. I suppose it started to become an experiment of how much we could accomplish on our own and save money. Another plus is the new skills we’ve learned along the way. We hope to inspire you by sharing what we’ve accomplished especially if you’re in the same boat or thinking about doing something similar by taking on a small fixer upper.

DIY REnovations – week 2
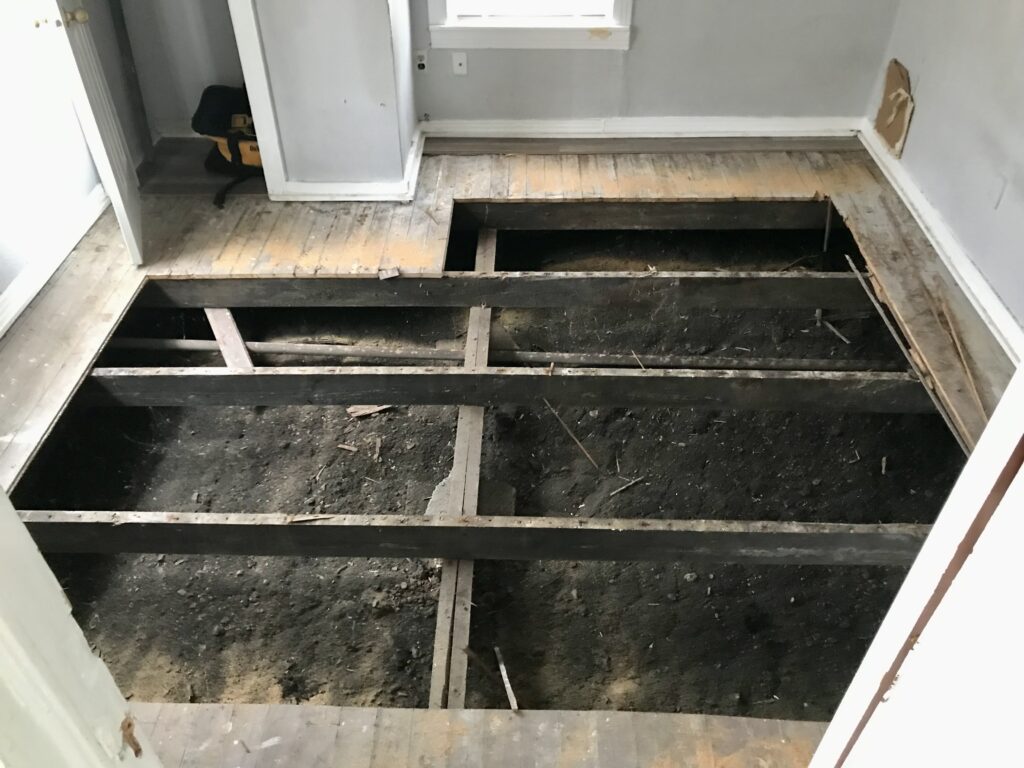
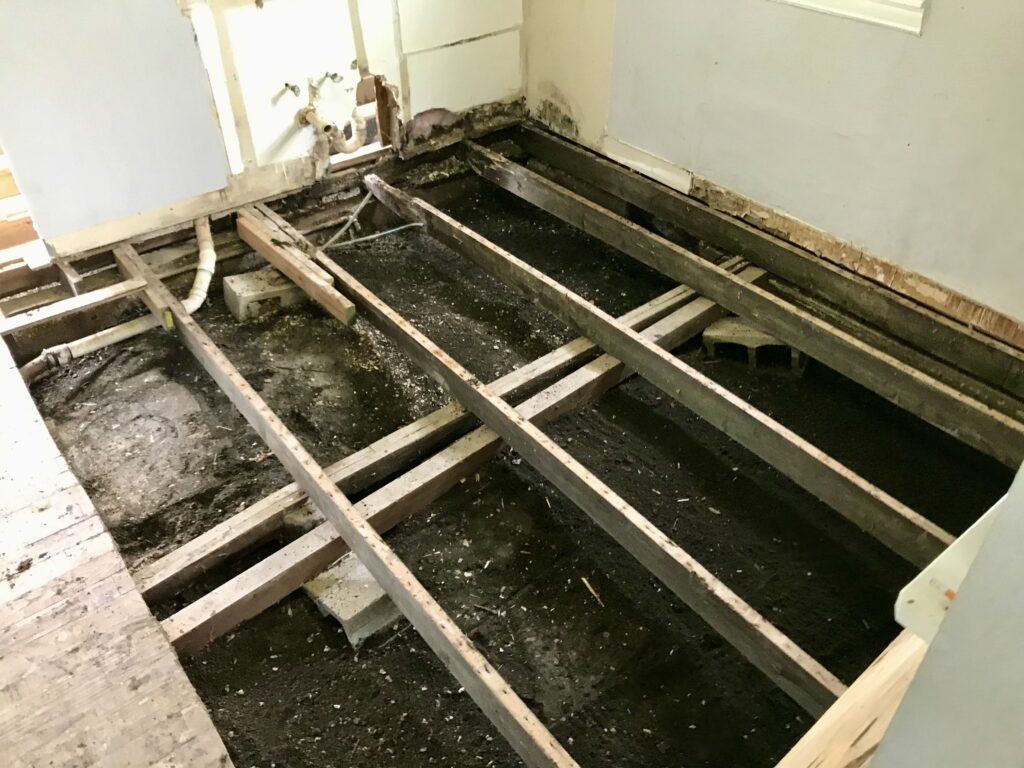
I asked Nate what the house looks like after the second week of renovations. His response, “It’s being gutted.” The result is that we don’t see flooring anymore, just dirt! We would remove the rotted sub flooring and replace it.
We had more layers of flooring that still needed to be removed. Nate pulled up a lot of flooring in this small fixer upper already! But, there was still a ways to go. He continued to remove the layers of flooring in the kitchen and then the original hard wood floors as well!
DIY SIMPLE FLOORING REMOVAL – prep
It’s a Monday morning and the work begins again. As he preps for the job, he reflects on how he moved the fridge out of the kitchen and emptied it. And how he took a bunch of boards outside, bad ones into the garage, nasty demo boards and nails outside.
Now it’s time to continue working on the kitchen floors. It’s a beautiful day and the doors and windows are open to let the fresh air in like a natural fan. Let’s get to work!
tools used for diy flooring removal
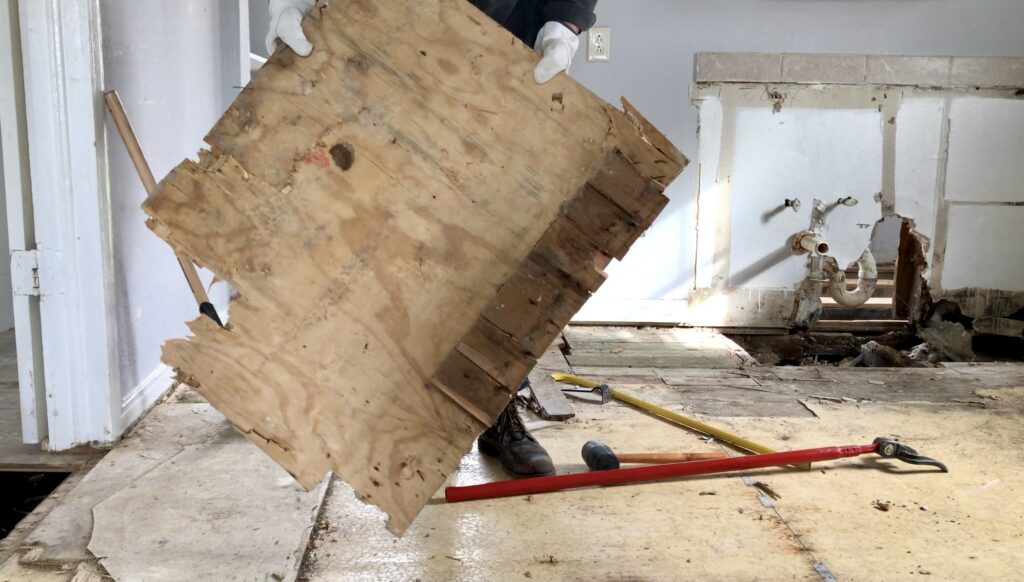
He used the pry bar to pull up the layers of linoleum. There was even more plywood underneath those layers! Has anyone else ripped up this many layers of flooring or are we the only ones here?

Ok, only a few more layers left to go and then we’re down to the original hardwood floors! Come on honey, you can do it! So that plywood that had the linoleum on it took forever to remove. And as a reward to removing it, there was even more linoleum underneath to continue to remove. Let’s keep going!

Well, and I guess to brighten the mood, at least they were cheerful colors like yellow and green! Although they seemed a bit nostalgic, at this point they were beginning to look a little dingy and grimy. All the more reason to have motivation to get those nasties out of our kitchen!

Now he wasn’t sure how easy it would be to keep removing the flooring the closer he got to the hardwood. He grabbed that trusty yellow crowbar and got to work. Rip. Rip. Ahh.. the sounds were so satisfying. It reminds me of when you rip a label off of something and you’re not sure it will rip away clean and it does. It’s truly a great feeling when that happens! That’s probably why I can hear Nate in the background exclaim, “Wow!”

DIY SIMPLE FLOORING REMOVAL – hardwood floors
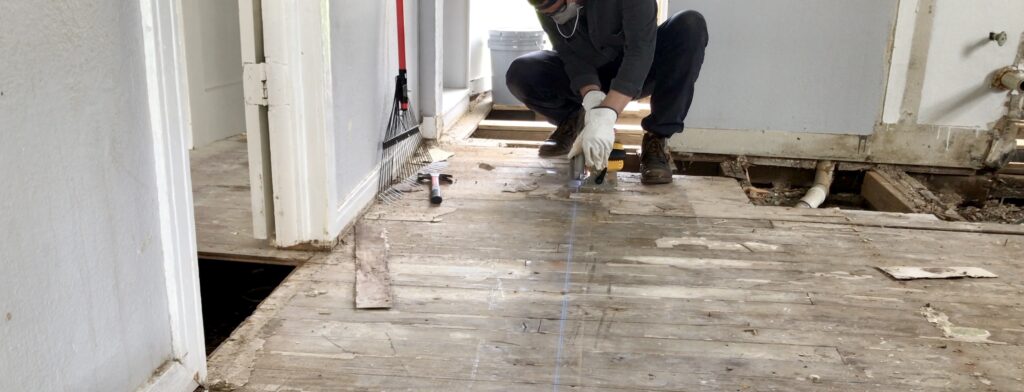
Alright now that all the linoleum has been removed, it’s time to start salvaging the hardwood floors. He made a straight line down the boards and using a skill saw began to cut all the way down the line. Then he carefully began to remove each plank at a time as a precious piece of history that we would try to save. Those poor planks have been suffocating under all those nasty layers of old flooring. Now we’re giving them another chance to survive and one day be a showcase in this house when we get to that point.
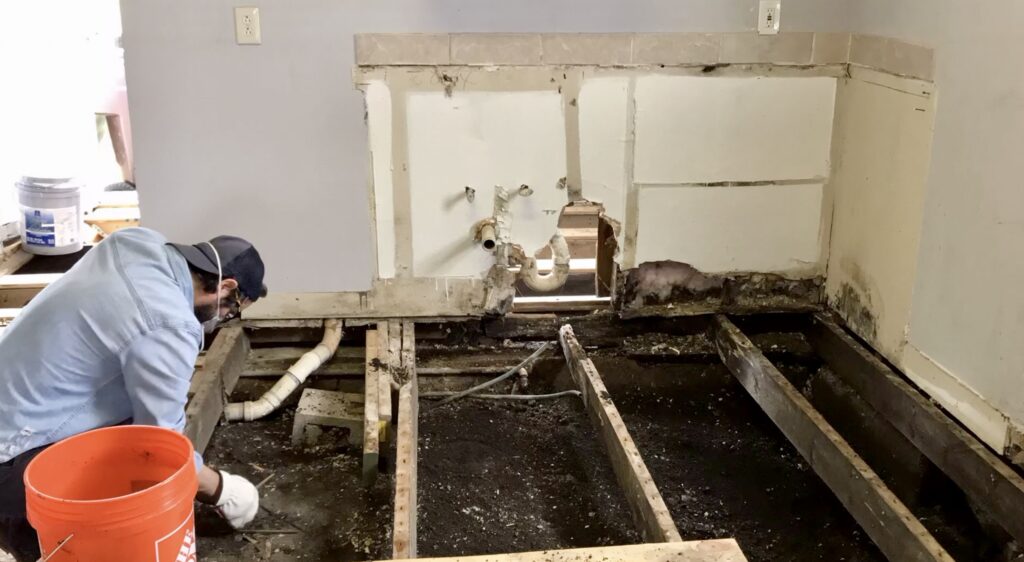
After Nate removed the hardwood floors, some of the leftover nails remained on the joist and needed to be removed. That was the next task for the kitchen, main bedroom, and office.

DIY excavation
Then after the DIY flooring removal, it was excavation time! That basically means removing the dirt underneath the flooring. He was hoping to find low spots in the yard to add the dirt to and repurpose it. While excavating the kitchen, he had to also pull up gross rotted and moldy construction materials that were under the flooring.

He shoveled tons of dirt into Home Depot buckets. No wonder he has strong muscles! When all of the excavation was done it rained and the next day he noticed puddles of water throughout the foundation of the house. We definitely needed to do something about that. That’s what we had to work on figuring out next.
All we see now in the kitchen, bedroom, and office is dirt by day 10 of renovations and demo. It’s incredible to me that my husband has been doing all of this by himself!
creative accomplishment
The kitchen looks so spacious now. We can really tap into our creativity. It’s like removing everything and starting from scratch. Now we can be creative and move things around like placing the sink under the window instead. More to come on that as we actually did make that change. We can rebuild our kitchen the way want to now.
Our little old grandma, born in 1934, is finally able to breath. We are brining her back to life and it feels amazing! The entire house is also being aired out and smells fresher and not all moldy and gross like when we first bought it.
DIY flooring removal and excavation can be done simply! Give it a try if you are in the same situation. I hope that what we were able to accomplish with no experience gives you inspiration for your own projects!
check out our videos!
If you want to see our complete kitchen demo and a video we made about our initial DIY flooring removal, click on the links below.


Oh gosh wow you guys did a great job! What a big task!!
Thank you~ It has been such a BIG task! Getting closer and closer every day.
It looks like you’ve come a long way! Good job! We are preparing to redo the floors in our 1910 farmhouse so this was great to see.
We sure have and thank you! Are you really? I’d love to read any of your blogs on your floors if you write them! We love older historic homes, especially farmhouse ones. We are treating our minimal traditional small historic home as a mini farmhouse and incorporating some of those elements.
This is like a nightmare situation for me haha… but I know it happens pretty often with older homes. And since I plan on buying an old home I imagine this may come up in my future! So, thank you for travelling this road and sharing it with me.
At times it does feel like a nightmare! Haha. But yes, there is a risk with older homes. However, there is also satisfaction in the preservation efforts too! I’m excited to hear more about your older home search in the future!