DIY Simple Flooring Removal With No Experience
Next up on our fixer upper project list is to DIY flooring removal with no experience. The plan was to tackle this in the most simple way possible. I’ll break down what we learned to give you inspiration along the way.

Now that the kitchen demo is done, it’s time to continue removing the flooring from the house. There was so much work to do on it that we wanted to share the details with you! We hope that it will also give you some ideas for your own projects.
You can also watch a video about this here.
Hebrews 3:4
For every house is built by someone, but He who built all things is God.
We are making some progress! My husband removed about 75% of the floors the first week of DIY renovations. He removed several layers of flooring in the kitchen. And this included a complete demo of the cabinets, countertops, and sink area. It was quite the job for one person. I’m impressed by his productivity! You go honey, and get that kitchen demo done! But, we are barely scratching the surface here though. So.. let’s keep going with more DIY renovation projects!
diy flooring removal with no experience
Thanks again for joining us on this journey as we are learning as we go with absolutely NO EXPERIENCE. We hope that you are able to learn with us and gain some inspiration for your own DIY projects and renovations. And, of course, we want to keep sharing more of our love for small space living. This has been the ticket that leads us to freedom and adventure!
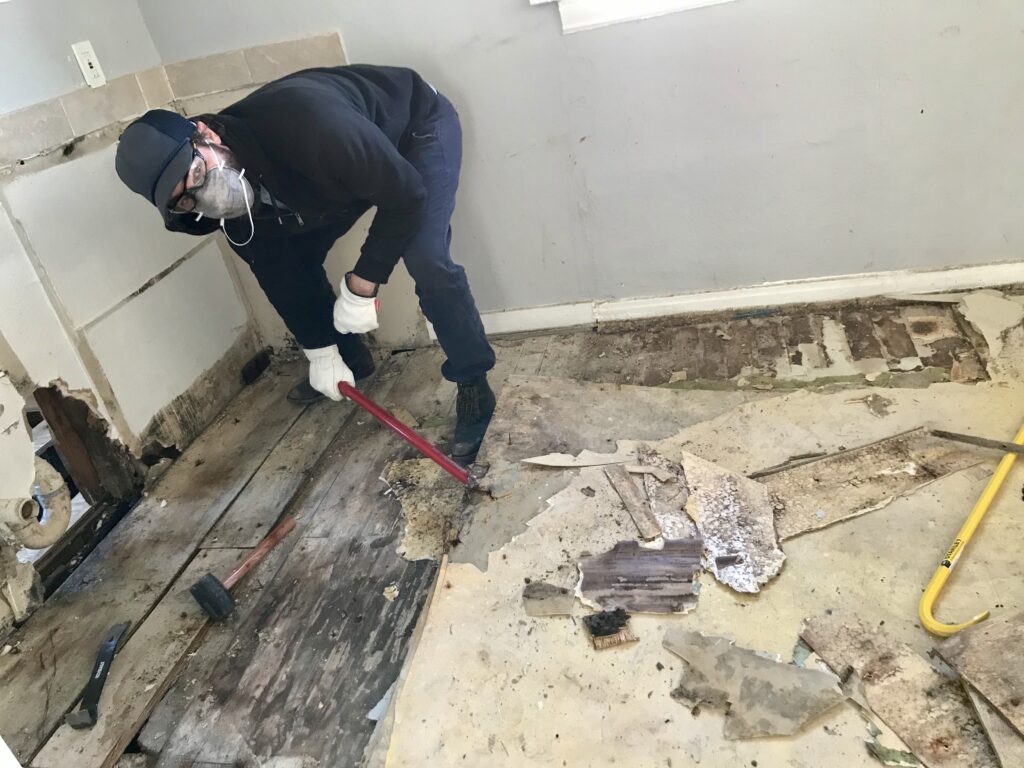
Here we go sharing our progress along the way, and what we were able to accomplish each week. Now, on to removing the flooring in the main bedroom. Since we previously discovered the original hardwood floors, we tried to salvage as much of it as possible. The plan was to eventually reuse it. However, my husband also noticed a lot of it was also pretty rotted.
He watched videos and gathered the tools he believed would be necessary to accomplish the task. Most of the time it seems he learns the best as he just gets started by doing something that makes sense!

figuring out a simple method to diy flooring removal
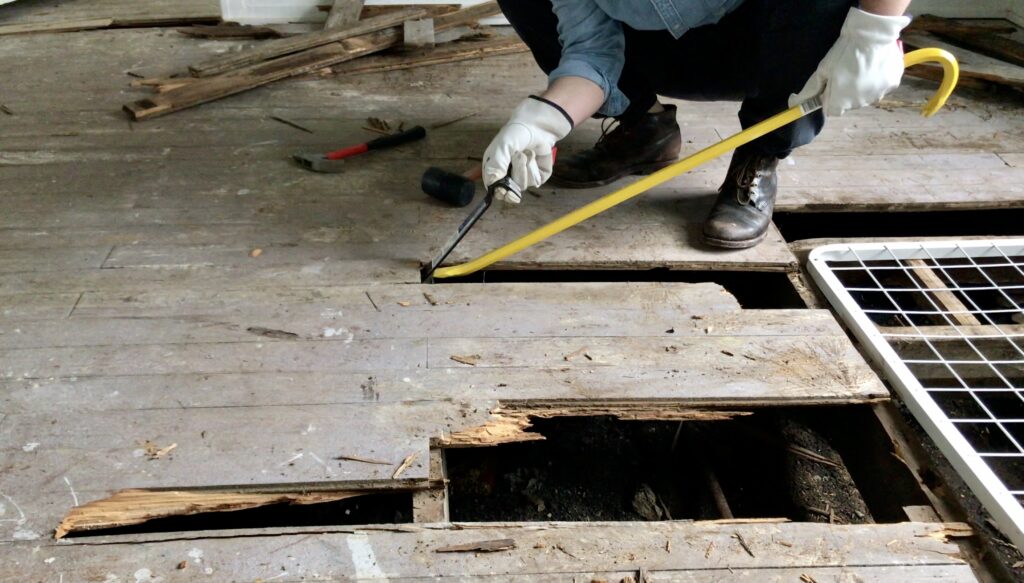
As he was removing each plank, he was trying to figure out a system to make the process move faster. Remember, he had no DIY flooring experience. He used a reciprocating saw for the first time to help detach the wood from the foundation. Then he also used a pry bar to actually pull up the wood.
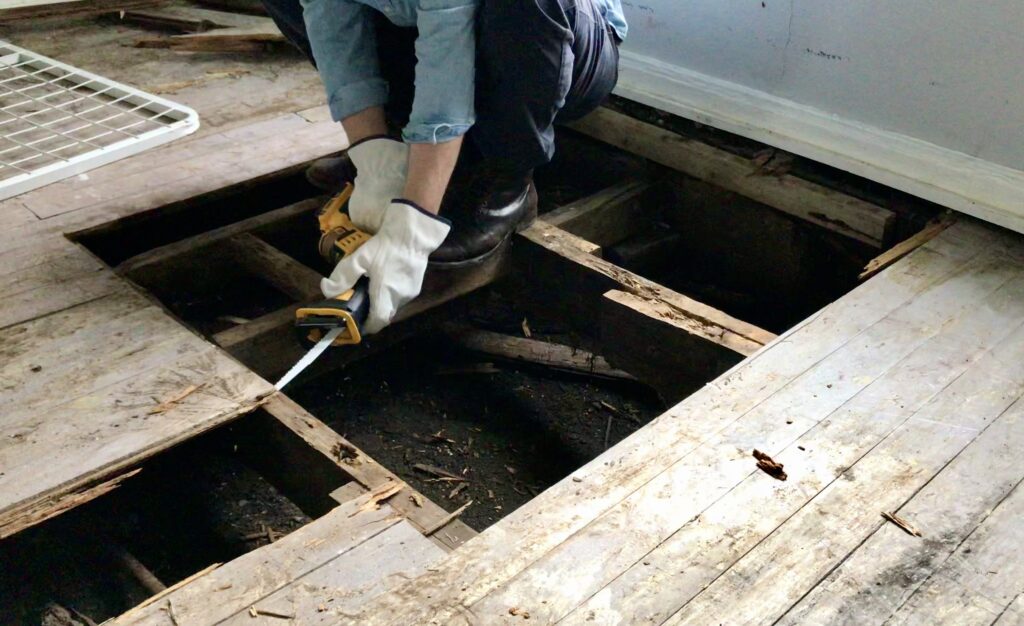
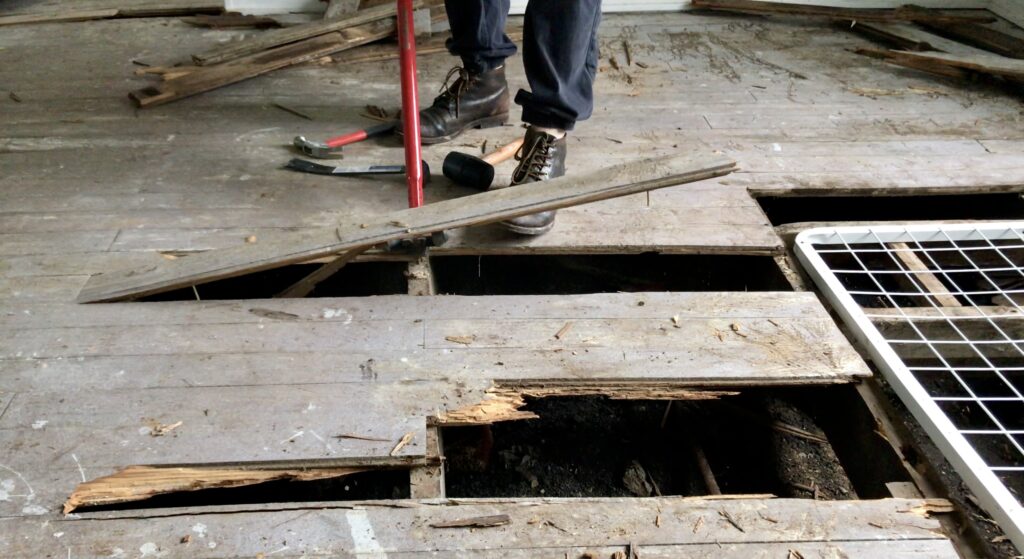
You could hear the sounds of cracking and crunching as the wood was ripping up from the foundation. It was a bit painful to see some of the wood breaking and getting damaged before it could be salvaged. I know that we saved quite a bit in the end, but still a lot was lost and unsalvageable.
That was a bummer for sure, but my husband did his best. It was a lot of work for one person to tackle, so moving as fast as possible was also essential. Although this probably resulted in the loss of more planks than if you went slower and took more care. Time was not on our side as we were working as fast as possible. We needed to get as much done as possible so we could move in while finishing up the rest.
challenges with diy flooring removal
My husband ran into challenges while working to DIY the flooring removal in a simply way with no experience.
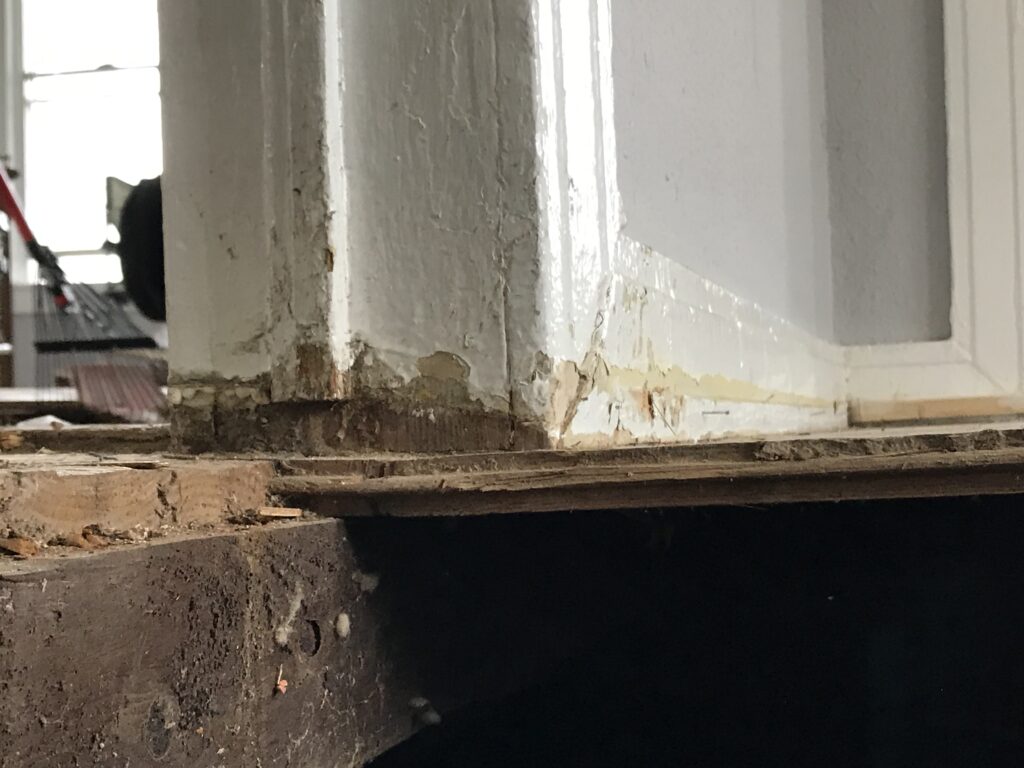
The work came to an unexpected halt when my husband discovered that the wood floor was attached to the wall and the weight was on it. This posed an obvious structural challenge. He had a to stop and move on to another project until he could figure out what to do next in the main bedroom.
It was time to move on to the laundry room to work on the flooring in there. The floor in that area had screws in it as it was newer flooring, which made it easier to remove. But, it also had nails around the perimeter that needed to be removed.
He had several varieties of pry bars to get the job done. It was an experiment figuring out which one to use depending on the flooring. The laundry room had large slabs of plywood. It was a matter of loosening one end of the large piece and then manually pulling it up. It was very heavy though!

As soon as he pulled up the plywood, he realized that there was water underneath. That was definitely an indicator that we needed to get the foundation repaired to prevent that from happening in the future.

The laundry room was actually an addition to the house. That means our house was actually smaller than 750 sq ft at one time. The wood paneling all around the small room appeared to be knotty pine. My husband later removed it and saved it for another DIY project in the future.
Now all I could see was the dirt underneath where the flooring and plywood use to rest. Nate did his best to DIY the flooring removal and this was the progress. What I also saw was a web-like cotton of what appeared to be mold spores. No wonder my throat was sore! {Cough. Cough.}


learning as we go!
The tiny house movement inspires us to be minimalistic about how we plan our house design. It’s still small and has the same principle as tiny houses. We are on a mission to creatively organize and make plans to prevent as much clutter as possible. That may be the goal for any small space dwelling!
We are documenting our journey with this blog and by making videos on YouTube. I’m sure it will take several years before our renovation days are done! I can’t believe it’s already been over two years since we first purchased the house and started the renovations.
This is also exciting because I have a lot of plans, including adding a cute little garden to our small landscape. We are excited for this next journey down the road!
check out our videos!
If you want to see our initial walkthrough of this tiny fixer upper and a video we made about our complete kitchen demo, click on the links below.


