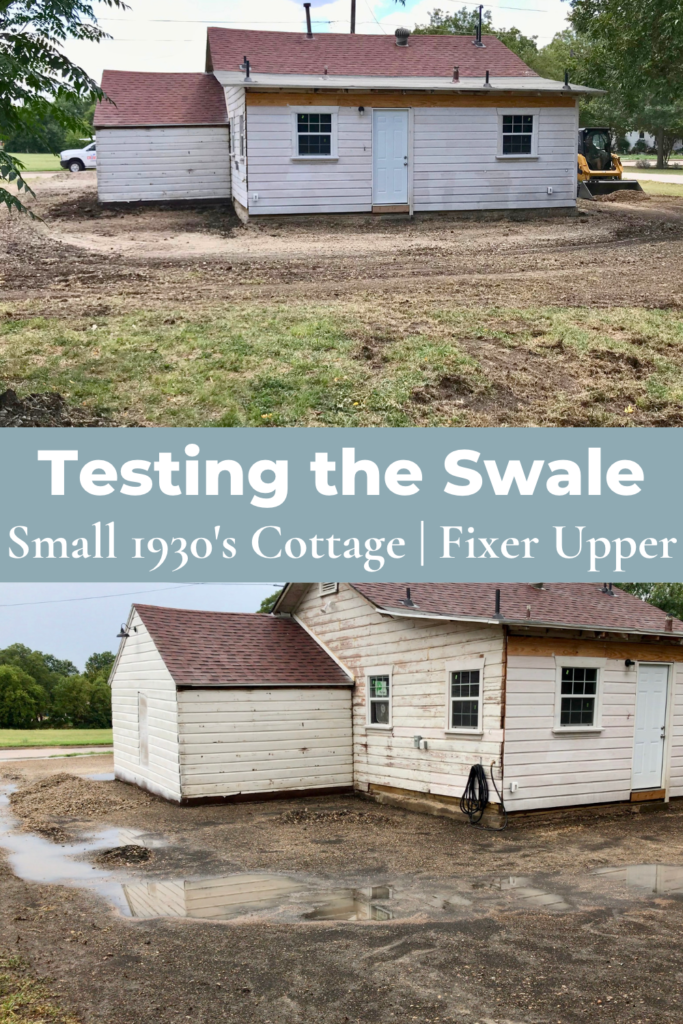
Testing Out the Swale After the First Storm
Testing out the swale after the first storm was exciting when we saw the rain finally pulled away from the house and foundation!
We were finally putting in our swale! We’ve been wanting to do it for so long because of all the heavy rains and flooding that we had been getting. You can see plenty of flood waters from our previous blogs and videos.
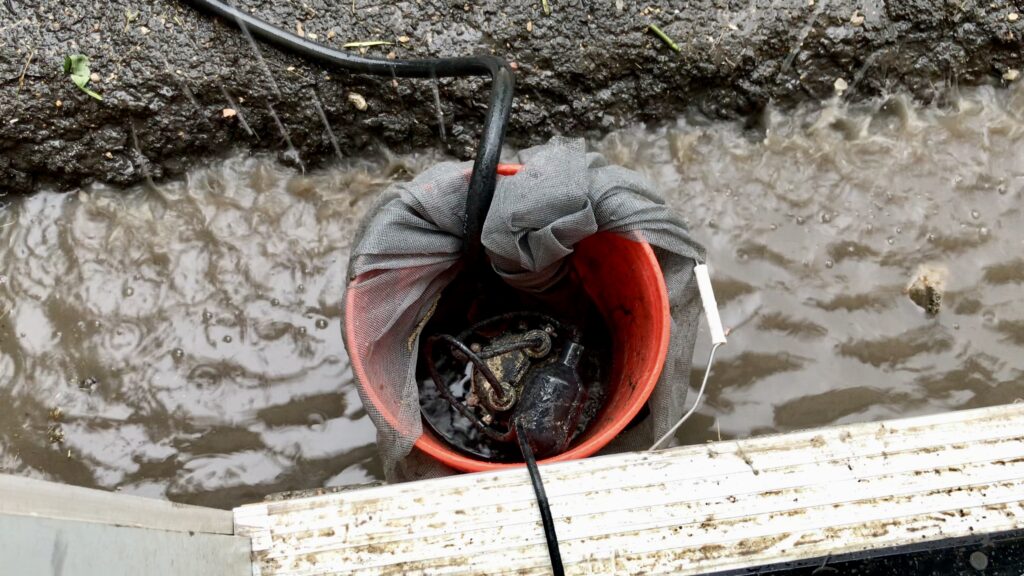
The flood would just bring the water into the foundation of the house and then we’d have to use the sump pump to get the water out. It has been quite a nightmare! A little bit scary to have water under the foundation. Not a good thing. So now we were finally getting some guys in to make us a swale.
SKETCHES OF OUR SWALE
Here are a few sketches Nate drew up so that we could have a visual of what the swale would look like. The first one shows our house and normally when it would rain, the water would go down into the foundation of the house.
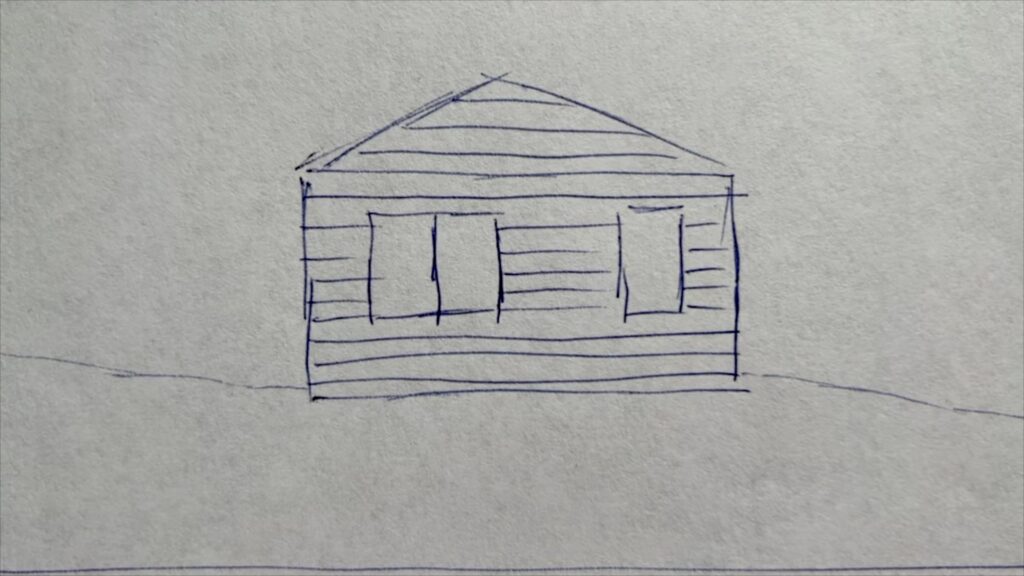
In the second sketch, the water would run off in like a u-shape or horseshoe shape away from the house and not go under our foundation.

The third sketch is an aerial view where it shows the water going toward the house. Instead of going under the foundation, the water would be carried around the house and onto the street where it belongs!

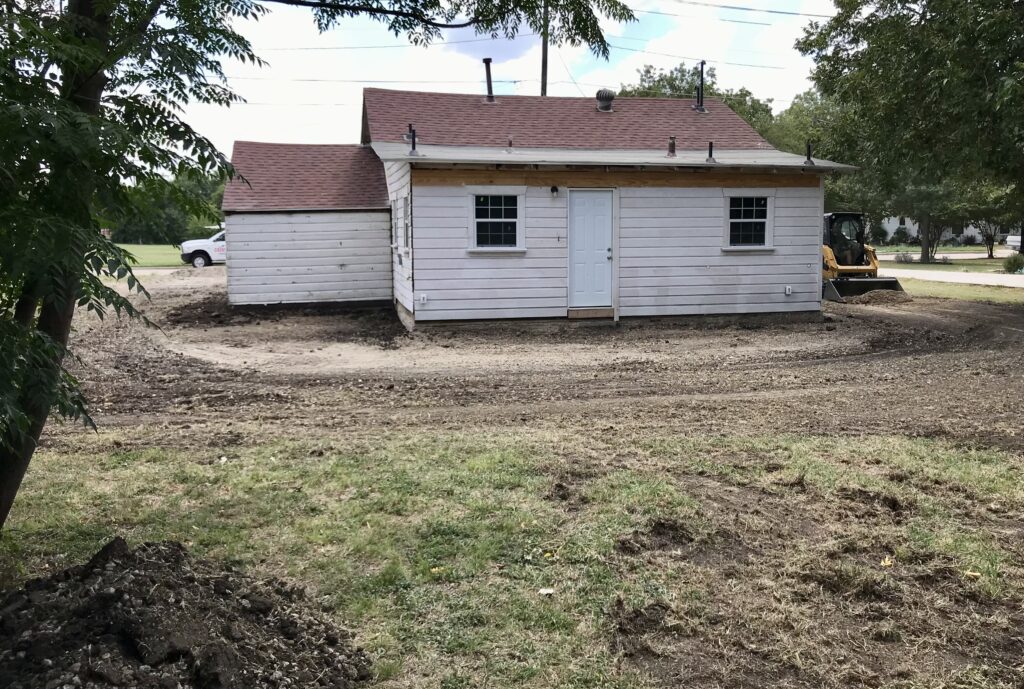
GRADING A LOT OF DIRT FOR THE SWALE
Wow, they dug up so much dirt. The mounds of the dirt that was dug up while they were grading was about as tall as me! We were walking around and inspecting the job they had done. During our inspection, I found some old bricks underneath the landscape that had people’s names on them so that was interesting. One of them had the name Cole written on it.

Nate asked me what I thought about the backyard with all the dirt everywhere and much of it removed. I replied that I guess this is what you would call, breaking ground! We both couldn’t believe how much dirt they removed from the backyard. I also noticed huge chunks of cement that came from underneath our dirt, grass, and landscape. It’s just crazy what you’ll find buried underneath everything on your property. I didn’t realize they would actually grade the entire yard at the time! Wow, what a lot of work.
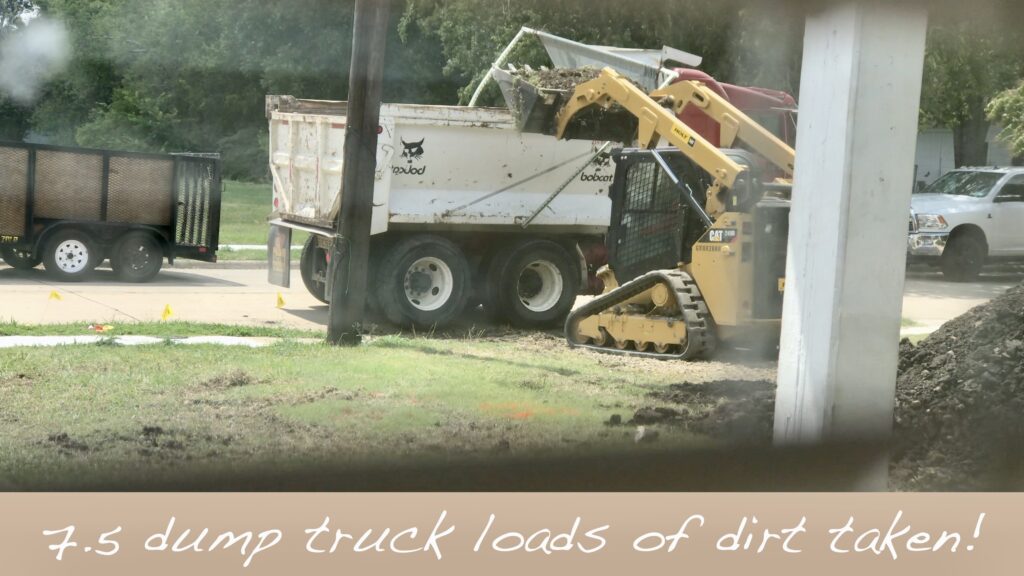
HUGE PILES OF DIRT REMOVED FOR THE SWALE
There were huge piles of dirt all over the property. Then they had a large dump truck come and load up all the dirt and haul it all away. I wasn’t even sure how many times they had to haul it away and come back. But, I was certain it was quite a bit because there was a lot of dirt that was taken out. It was so great to finally have the yard graded and swale put in. Nate later shared with me that it was about 7.5 dump truck loads of dirt that was taken!
After the yard was graded and a swale was created, Nate went through to rake it. He had a large heavy duty rake and said it would grab all the big rocks so he could remove them. Then the smaller rocks would just settle right though it. Nice that it reached very wide as well. It was like taking a large comb over the yard and smoothing it out. I can’t believe he did that over our whole yard! That was a big job.
He said that it was a good rake and about $50. He explained to me that he was going through and raking the whole yard to level it out. That way when it rained, it would be more even and effective to keep the water away from the house.

I asked why they graded the entire backyard as I thought they would stop in the middle of the property from the house to the back property line. He said to smooth out the whole yard as a lot of it had junk from the foundation up toward the back. There was apparently a lot of dirt piles back there from the foundation we previously excavated along with nasty glass and trash buried in the landscape.
Nate said that since the rake was so wide that if there was a dip in the yard, when he raked over it, it would fill in those holes and gaps.
PREPPING THE LANDSCAPE FOR THE STORM
He used the rake to even out the area. We used to have all this grass, but after the grading there was just dirt everywhere. It looked really bad and we felt so sorry for our neighbors. They just keep seeing one eye sore after another around here! But they know that our intentions are good and they still continue to cheer us on with our DIY renovations! Thank goodness!
In any case, he worked on evening out the landscape where the swale was put in. Then eventually we would be putting grass seed down so we could get our greenery back. Because whenever it rains, and it does soon after the swale was put in, it would be a muddy mess. We now have grass in our yard, but it was just kinda weird to have bare dirt all around your house for a while.
When we had our first storm come in after the swale was put in, it was time to put that thing to the test! It actually worked and helped to keep the water from the foundation. It pooled up the water in the backyard where the swale was and you could see the water going around the perimeter of the house now like a u-shape or horseshoe shape.
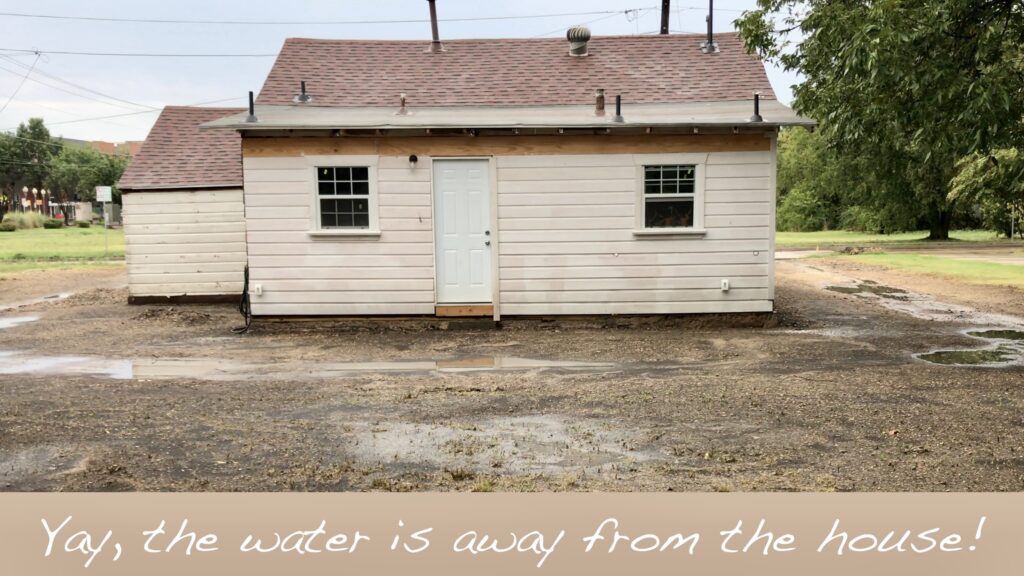
As long as the water is away from the house and our foundation, we’re all good with that. We’ve finally got the swale put in! It was an investment, but one that was very necessary and needed. Now we’ll just have to maintain it because the clay soil in our area is constantly moving. We’ll be keeping an eye out on it to make sure it doesn’t settle back to what it was before. It was a lot of work to get that done so we’ll continue to do our best to keep it maintained.
Proverbs 24:3
Through wisdom a house is built, and by understanding it is established.
CHECK OUT OUR VIDEOS
Thanks for joining us on this journey! We hope that you will find inspiration watching us learn as we go while we’re attempting to renovate and rebuild this old small historic cottage mostly on our own. Stay tuned for more progress updates ahead!
You can also watch a video about this here.
To see more adventures of our tiny fixer upper journey, click on the links below.


