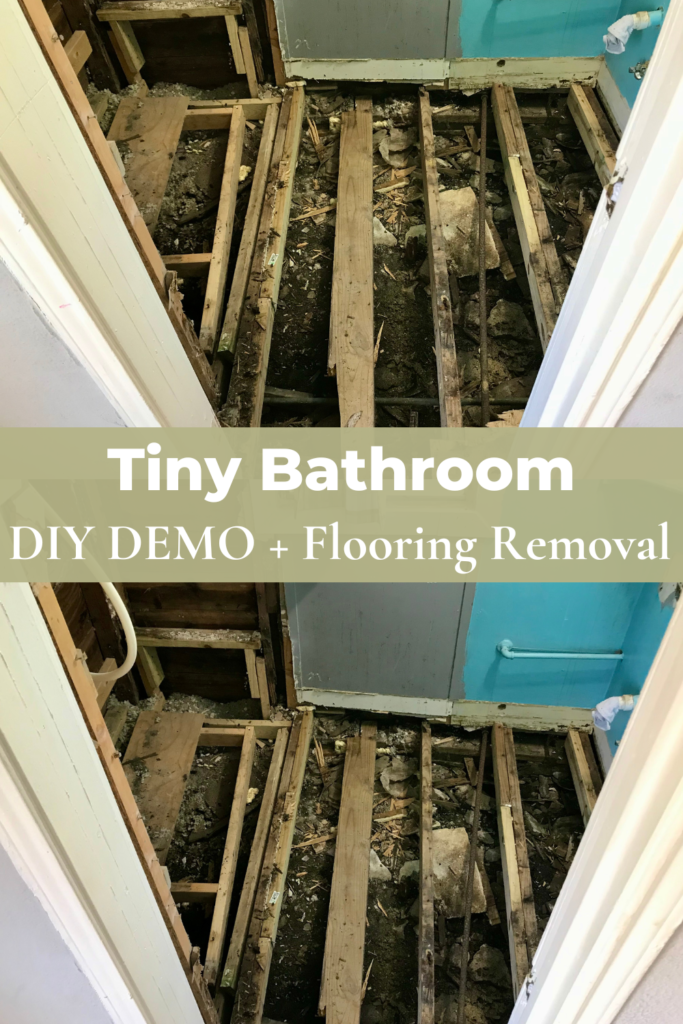
Tiny Bathroom | Simple DIY Flooring Removal
This tiny bathroom in our small fixer upper was in need of some simple DIY flooring removal now that we have finished our bathroom demo!
Philippians 4:19
And my God shall supply all your need according to His riches in glory by Christ Jesus.
a toad living in the bathroom under the bathtub!
Also, Nate found a toad in the bathroom! Yes, we’ll get to that soon! In the last blog and video, we talked about the family of cockroaches we found under the toilet and the leopard gecko hanging out in the pink insulation tucked into the shower walls. Now, we find a toad that was living under the bathtub. It’s like we’re experiencing nature from the inside of our little fixer upper!

Here is Nate describing the little guy he found.

You can also watch a video about this here.
DIY Bathroom Flooring REmoval
Now that Nate has removed the entire shower and bathtub, the sink, and toilet, it was time to start removing the flooring in the bathroom next. And that turned out to be quite a task!

Day 11 of renovations. So the bathroom floor has probably been the hardest to remove because of the screws.

You would think screws would be easier to get up than nails, however, the screw heads are all rusted so you can’t really get the bit onto them. Now that he got this one piece up, it should go more smoothly.
When you hear that pop it’s a good thing. That’s the wood breaking through the screw head. It’s a bear, but we’re getting somewhere now! This floor has been a nightmare trying to get out!

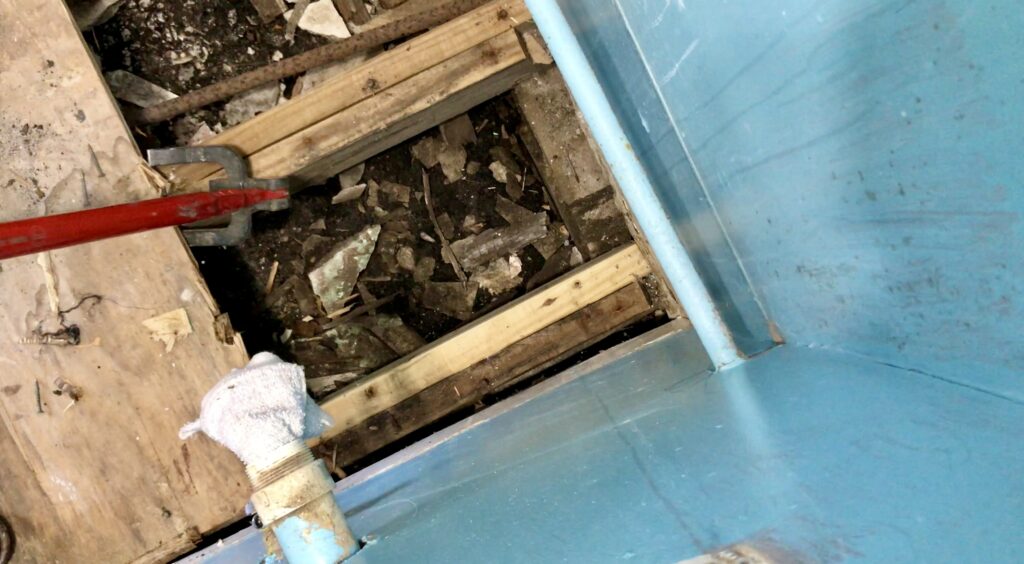
There was this one plank straight up and down. It’s the one in the middle of the photo and cracked a bit at the bottom. Nate had to tear the whole thing up to get it out. It would not come off the piece of plywood that you see next to it.
That was the hardest piece so far. He was working on this one section for about an hour to an hour and a half. But, it finally came out!
cleaning underneath the bathroom flooring
Nate pretty much removed all of the flooring and then he had to go through and take out some of the junk and boards out of the bathroom next.
Just like when he began excavating under the kitchen and bedroom floors, there was a lot of junk and debris to remove from under the bathroom floors as well. It seems as though he’s becoming quite the expert at removing crap from under flooring or something like that!

It’s been a lot of work, but feels so good to have a clean house, inside and out!
reflections of our diy bathroom demo
And you know, I got to thinking about this. I realize that a lot of people when they buy homes, are probably not going behind the walls or under the flooring to really see what’s behind or underneath the drywall or the flooring. The fact that we have been able to do that in this small fixer upper gives me peace of mind that we actually know what is behind every wall and under every floor in this tiny house.
next up for our diy bathroom demo
Next, Nate is going to start working on this beautiful and delicious looking wall. “I want to try and knock this wall out,” he says. “I’ll probably leave some of it, but I want to see what it looks like if I start knocking it down. There are a lot of pipes and there’s a light in there. I will leave those for now, but I want to start working around them.”
Reflections on the bathroom resident – Mr toad!
“I found this little fella in the bathroom,” Nate exclaimed. “You found a toad?” I tried to clarify. “Yea, there was a toad in the bathroom, underneath where the bathtub was. I think there was water coming in the house somehow and he found his way inside. So there was a toad trapped in there.”
“I brought him out here. I don’t know if he’s having stage fright or what. It’s crazy where I found him. He was hanging out under where the bathtub was. Somehow he got into the house from the outside. No more, you can’t come back in, buddy. You’re lucky I saved you! Well, I don’t know, he might be back in!”

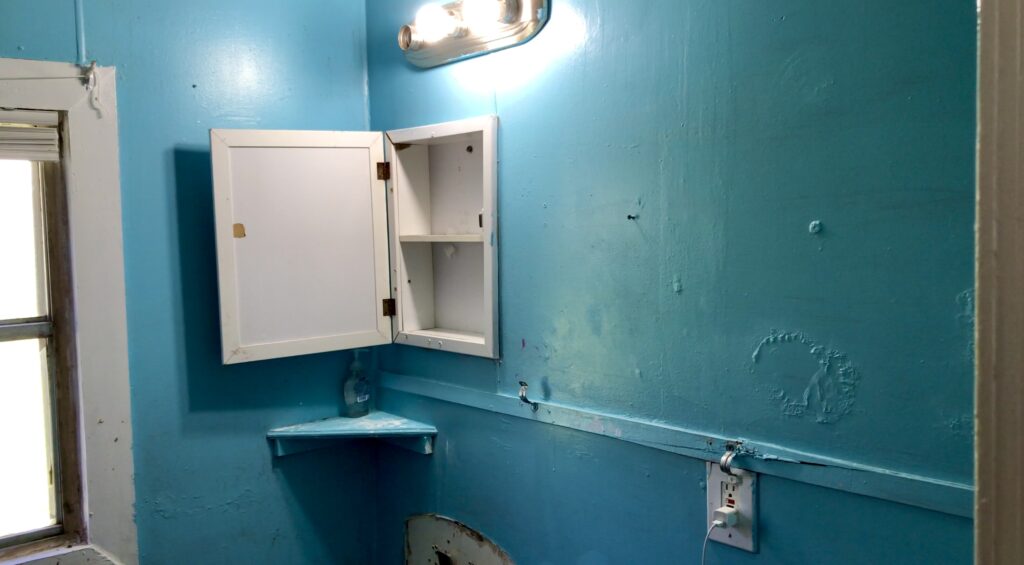
“I just found that frog or toad right down there in the bottom of the bathtub area,” Nate said. Check the photo below next to the bathtub faucet where there is a small white wall panel and right above it, it’s open to the outside. We think that is where the toad may have come from!
“When I was getting ready to clean stuff out, I noticed he must have come in from here or somewhere else. Looks like we need to do some serious sealing up of this house!”
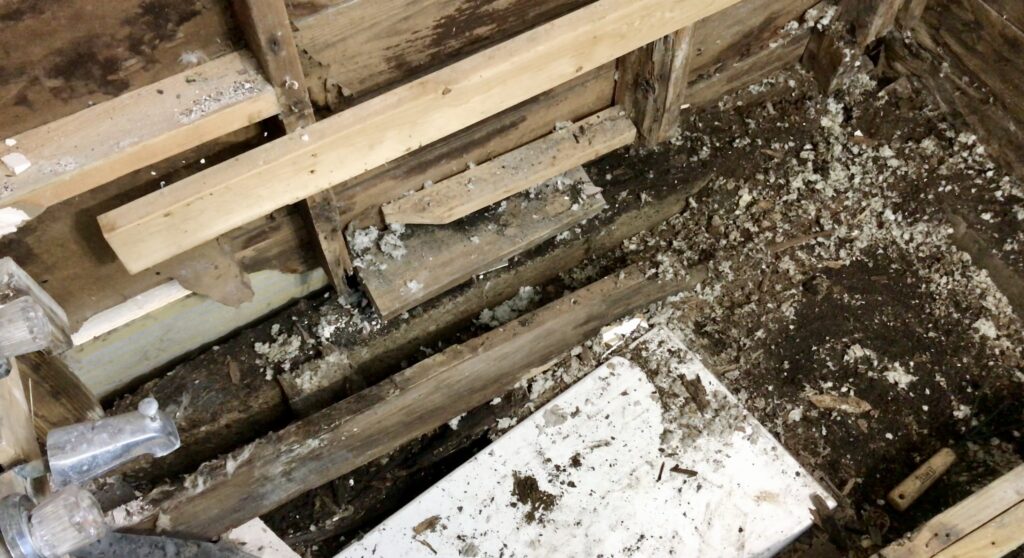
Nate acquired a huge pile of flooring that he tore out. There were several bags that he would fill up and put in the trash. He did a pretty good job so far! “I need to get a shop vac and come back through here,” Nate says to himself (and the YouTube world). “You would not believe how much stuff I got out of the bathroom.”
There was a little spot that looked really bad in the corner, but was actually nothing compared to what he did in the shower!

Underneath the flooring is all cleaned out. He set this plywood down so he could tear the wall out and not have it all go underneath the flooring. “I’m going to leave the wall up, but just take out the drywall down I think. The floor is cleared up and it’s unbelievable how much I took out of here. Shocking!”

“When I gut this wall, I’ll probably leave the studs in there. I want to see what’s behind it. Eventually we’re going to take this out and make the bathroom bigger!”
I never realized how you could demo walls in a bathroom to actually make it larger. It was such a huge blessing for sure! The bathroom was my least favorite part of the house when we first bought it. Now we have hope to make it just the way we want!
Thanks for joining us on this journey! We hope that you will find inspiration watching us learn as we go while we’re attempting to renovate and rebuild this old small historic home mostly on our own.
check out our videos!
If you want to see our bathroom demo and a video we made about our DIY flooring removal, click on the links below.


This is crazy!! You guys are brave. I know many of these projects come down to necessity, but tackling them alone is really something. And crazier… when we lived in a cabin the first five years of marriage we had a skink that lived in our toilet lol… it took us years to catch it.
Sometimes we do feel like we are crazy tackling all this on our own. It has been an interesting learning season to say the least! Trying our best to save money and live simply. It took you years to catch it? WOW! 😍
So much work, but it will be worth it in the end. We completely gutted a bathroom before and it was so nice knowing that everything under the drywall was fresh and clean!
It is SO much work, but yes, very well worth it. Our bathroom looks completely different now, but we are still not finished! Yes, love knowing that everything is cleared out behind the walls and floors! 🥰
Mr toad was the highlight! Lol!
Wasn’t he a delightful addition to the story?! Haha, thanks! ☺️