Walkthrough to Check Out Ceiling Framing and Plumbing Progress
Our walkthrough to check out the ceiling framing and plumbing progress was exciting as we were getting very close to move in day!

Here we are again doing another walkthrough to check out the current progress after some framing and plumbing work has been completed. At this point, we were getting very close to moving in. Yes, even in this condition. I know, you still think we’re crazy. And looking back at the footage now, I feel the same!
TEMPORARY COLONIAL STYLE WINDOWS INSTALLED
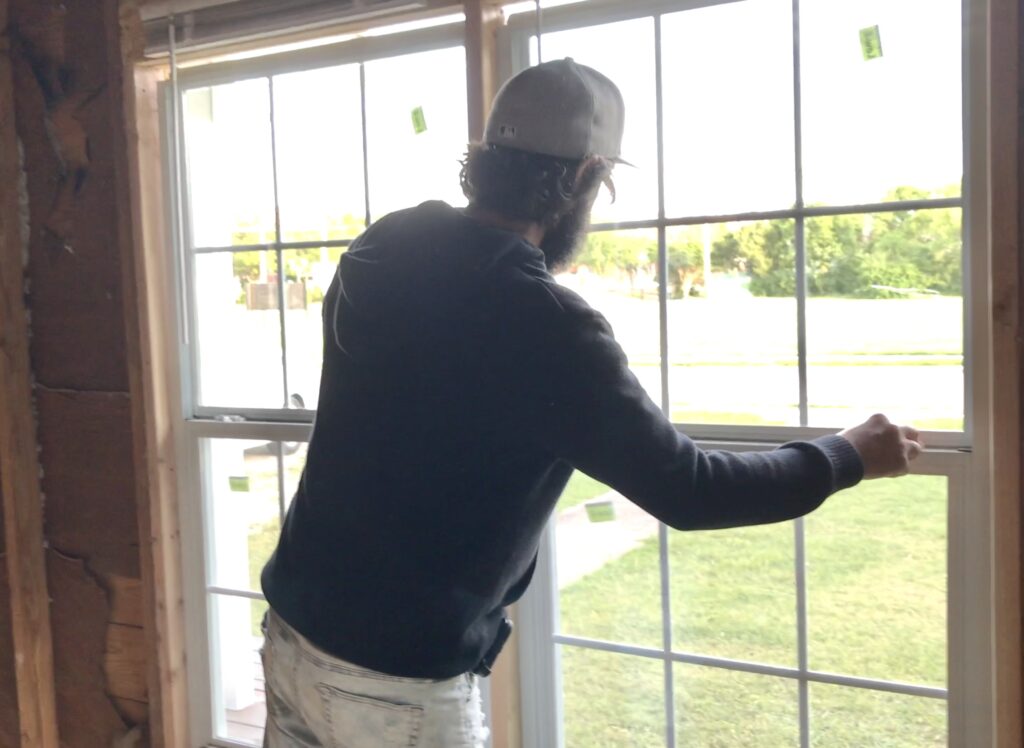
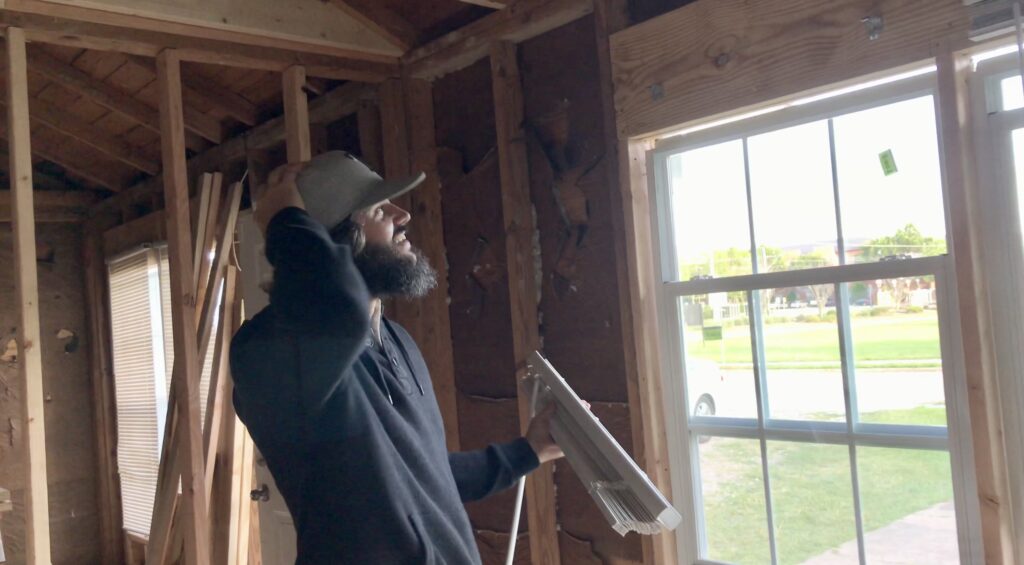
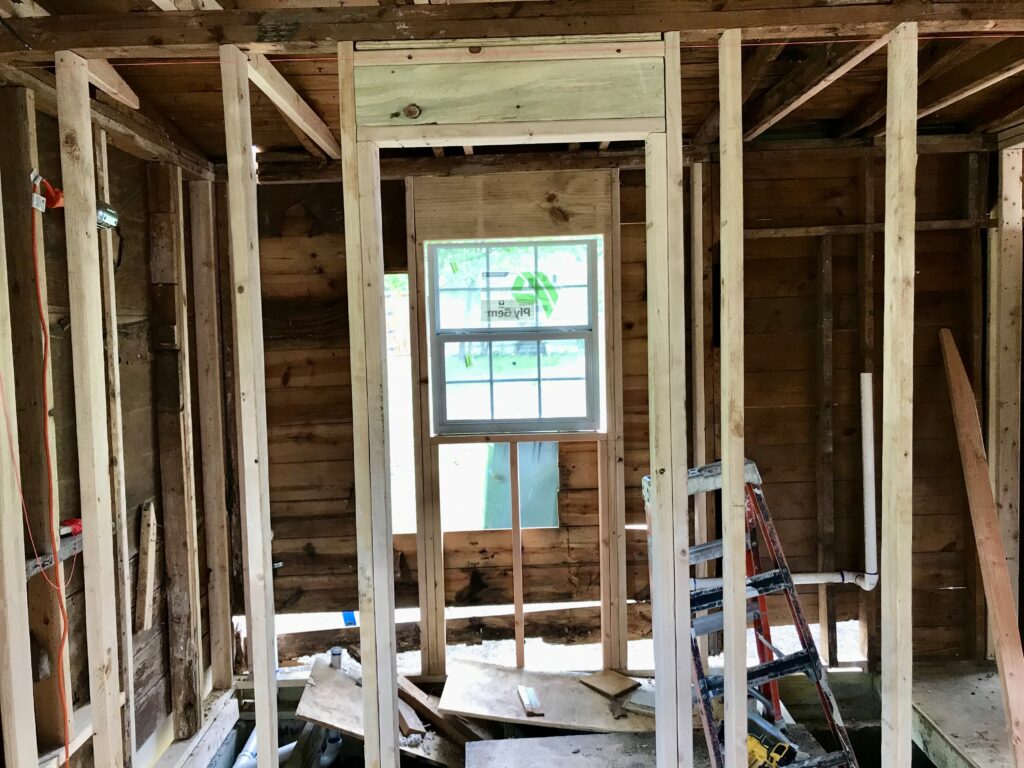
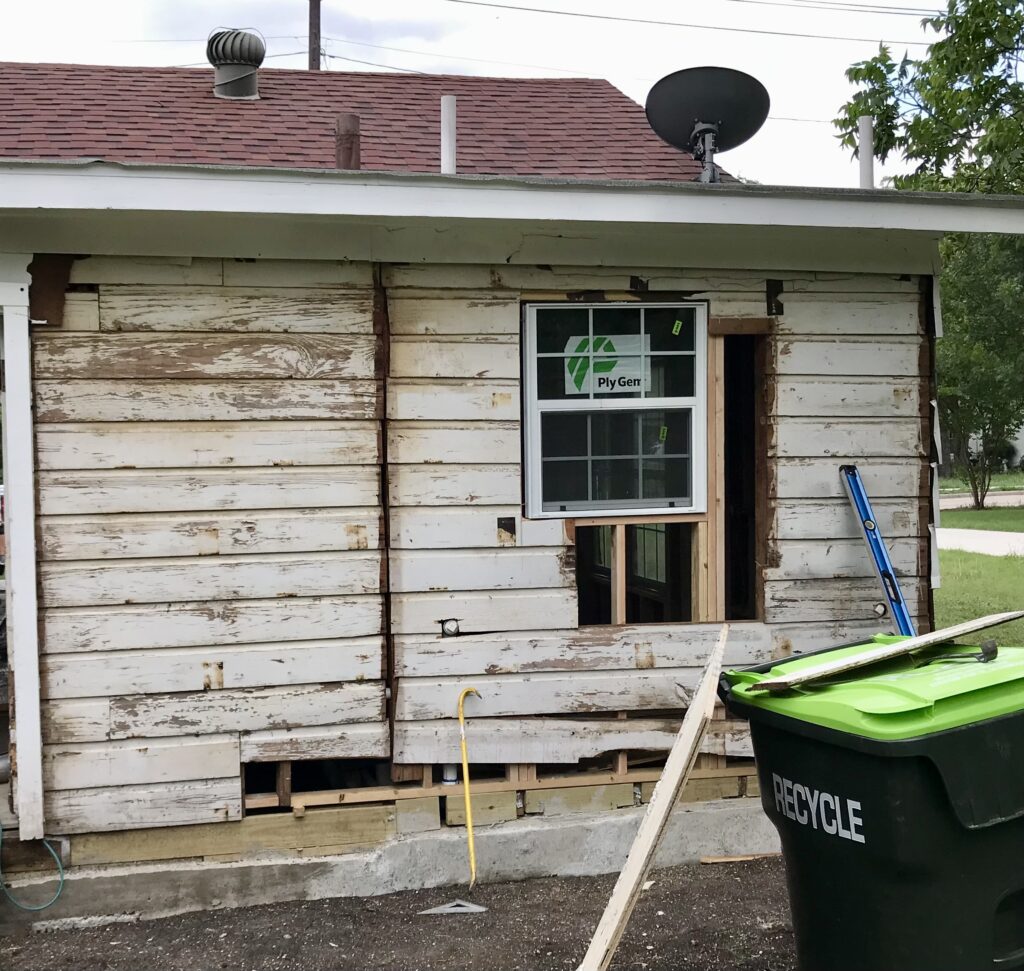
The first thing we checked out were the temporary colonial style windows that the framers installed for us. They would also build a frame around them as well on the outside. We hired them to frame our house and they ended up doing a lot more like the windows and helping to repair the foundation footer.
Not sure how we would’ve made it without their help in such a short time crunch. At the time, our apartment lease was almost up and we had to move out and into our small fixer upper. We are minimalists and savers and didn’t want to continue paying for housing in two different places, so we had to make this work somehow.
It was so awesome to see that we finally got some windows and they are beautiful! They are like old colonial style windows. I love them. It’s so nice to have brand new clean windows. Again, these are temporary and if we are ever able to replace them with time period wooden ones, that would just be icing on the cake!
CEILING FRAMING PROGRESS
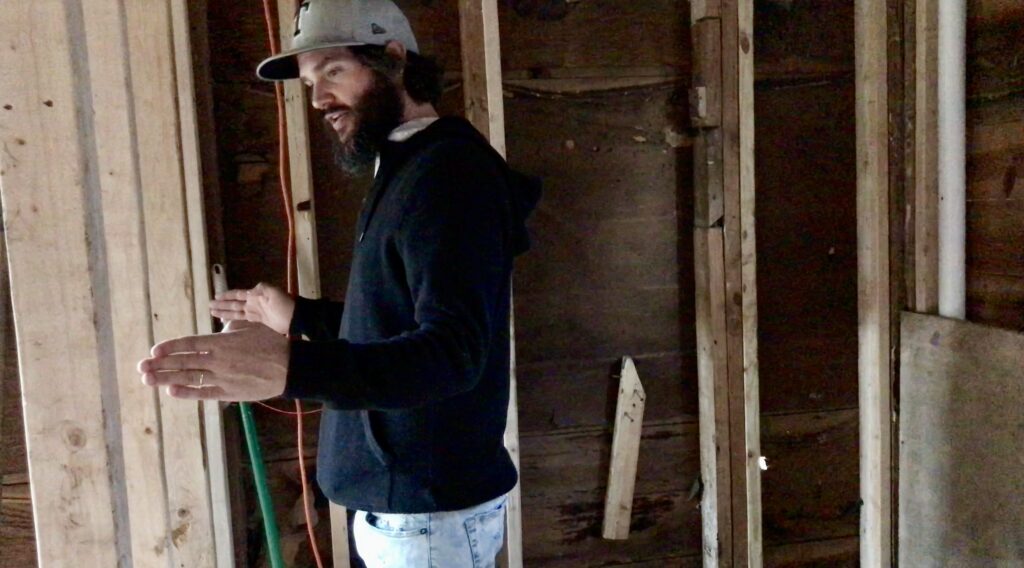
Our walkthrough to check out the ceiling framing and plumbing progress began with our office tour.

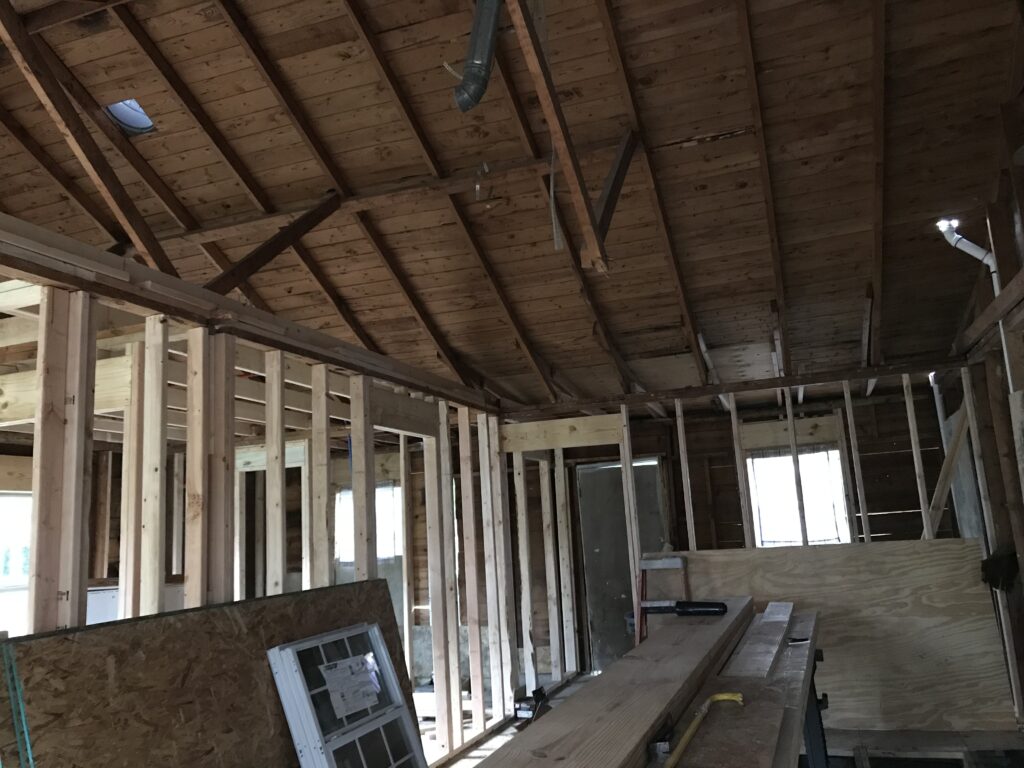
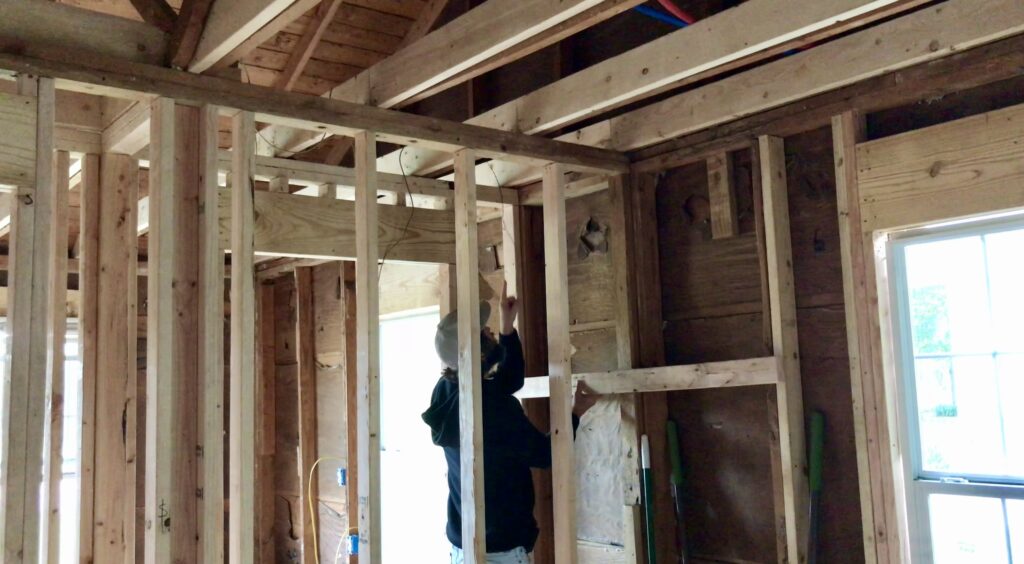
Nate brought my attention to the frames on the ceiling in the office next and shared how the framers framed the ceiling. It was so cool to see how the inside of our small fixer upper was coming together. We are finally building it back up after all the DIY demo work that was done to tear everything down. What an incredible feeling. I was excited for sure!
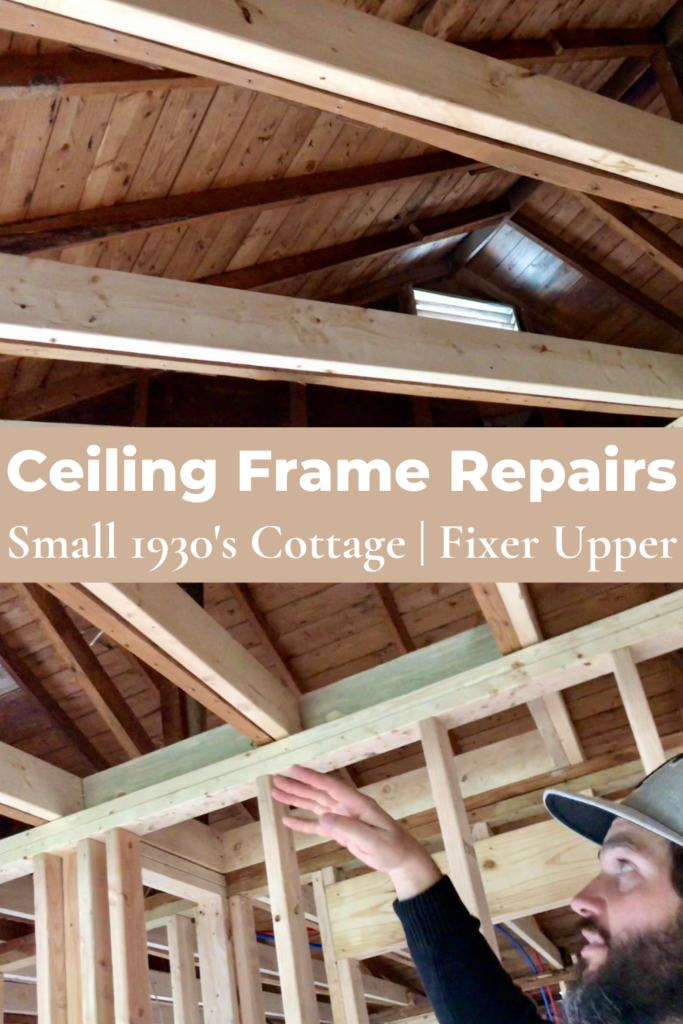
He had me look up at the ceilings and explained to me how the framers worked to redo and repair our framing. They attached new wood planks to the old ones to straighten them out. Nate showed me how crooked the old frames were, which caused the ceiling to bow in various places throughout the house.
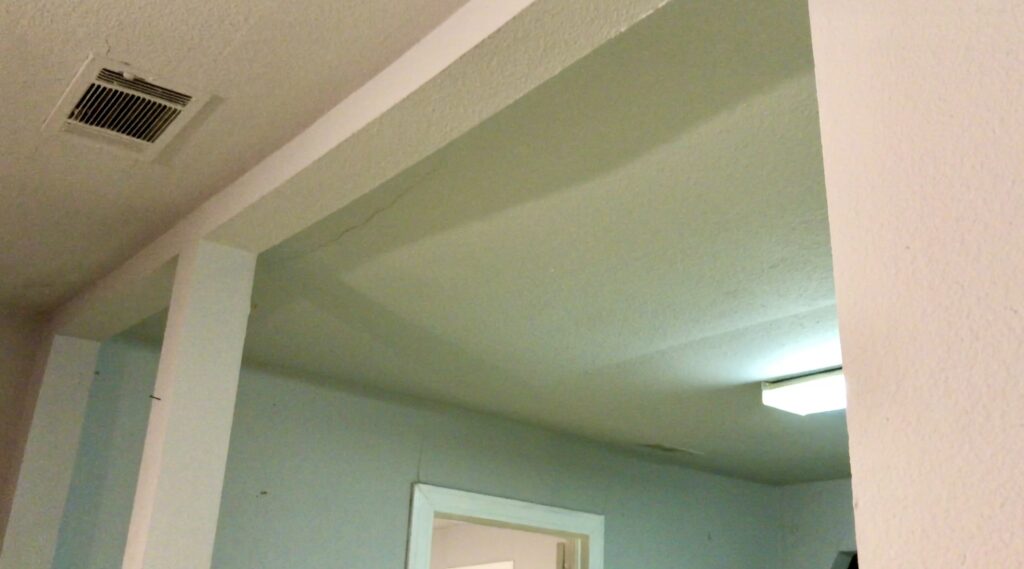
Then he walked me over to our bedroom and said it was even worse in there. It was truly amazing to see how much of a sagging condition the frames were in, which we wouldn’t have known about until we exposed them to see their true condition. So glad that we were able to spot those and have work done to repair them.
Nate points out that the original framed wood are 2×4’s and the new frames to repair and set them straight are 2×6’s. The framers were doing such a big job framing our ceilings.

TWO CLOSETS IN ONE SPACE
I really liked how the closets were now in one space for the two rooms. The framers also framed closet walls in between the bedroom and office. You could access one closet from each room and both closets were in the middle of the two rooms. It was a clever idea and design I think. It seemed to be way more functional this way.

They also seemed to be larger than the closets that were previously in the house, which we did a little demo on and removed. We remembered where the old closets were, but tried to think of how big they really were.
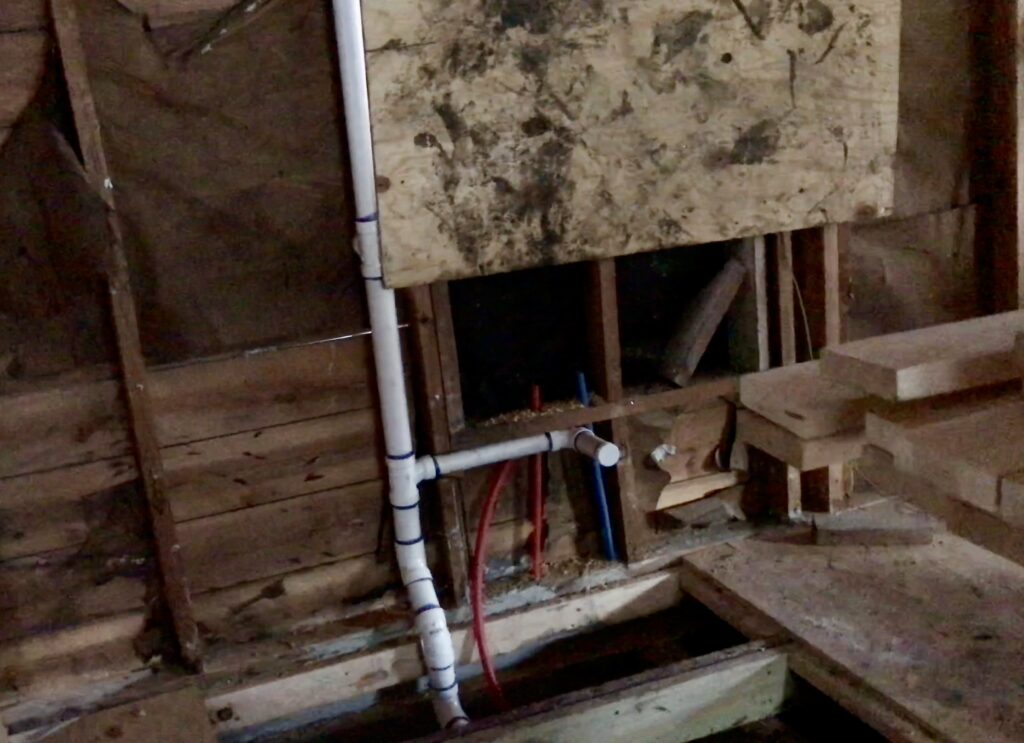
Nate also shared how the framers would use an old school method to build a stair entryway from inside the closets into the attic. You would not need a ladder with this design. They would make a hole in the closet ceiling and then they would take pieces of wood planks to build a built-in type ladder against the wall going up into the attic. There would be one on each side, so two entrances into the attic. That sounded interesting.
And then he also pointed out where the water heater would go against the wall way up in the attic.
BATHROOM AND PLUMBING PROGRESS
This walkthrough to check out the ceiling framing and plumbing progress continued to the bathroom.

As we checked out the bathroom, we reminisced about how our now large bathroom in a tiny house used to comprise of a small bathroom, bedroom closet, and water heater closet.
We continued to discuss our bathroom design plans.
Nate shared the dimensions of the area we planned to place the clawfoot tub. The wall it would be placed in front of is 39 inches and the tub would be around 30 inches, so he said there would be about three to four inches of room on both sides of the tub.
I was so glad we changed up the placement and moved the toilet to the right of the window instead of having it right below it. My initial thoughts were to build a floating shelf (maybe) under the window and place some plants on it. And perhaps underneath it we could have a basket or cabinets filled with towels and other bathroom items.

PLANS FOR HANDMADE HOME AND BUILT-INS
It seemed so much better to have a shelf and/or cabinet next to the bathtub instead of a toilet – yuck! And you can grab a towel very easily from the bath. A much better set up in my opinion. We both seemed to agree and liked the new set up better.
We toured around the bathroom and checked out the new placement of the window, toilet, and sink. Much better than the window right behind the toilet. At least that’s what I think.
I started to plan how we could add an additional vanity above the toilet now that there wouldn’t be a window in the way.
I also thought on the other side of the sink, on the opposite wall, I could have a stand up vanity since I get ready and do my makeup standing up anyway. There seemed to be space for it and it could be a functional use for the area. Plus I would get the benefits of natural lighting coming in from the window. We’ll see how this all pans out as we continue to finalize our plans for the bathroom.
We also decided to change the two bathroom doors to pocket doors instead as better space savers and the framers were working with us on that.
LAUNDRY ROOM AND KITCHEN PLUMBING
Now we have the washer and dryer hook ups installed in the laundry room. They are placed under one of the windows, which is a change from where they were originally at on the wall attached to the kitchen wall. I like this new spot much better.

And then I start to dream of the plans I have for the laundry room and that is still a work in progress right now. I thought of taking up some of the space in there for my “gardening center” as I’ve been dreaming of having a garden!
We also visualized where our antique cast iron sink would be plumbed in the kitchen right under the window for a real charming farmhouse like feel right in the city.

Isaiah 32:18
My people will dwell in a peaceful habitation
In secure dwellings, and in quiet resting places
CHECK OUT OUR VIDEOS
Thanks for joining us on this journey! We hope that you will find inspiration watching us learn as we go while we’re attempting to renovate and rebuild this old small historic home mostly on our own. Stay tuned for more progress updates ahead!
You can also watch a video about this here.
To see more adventures of our tiny fixer upper journey, click on the links below.
DISCOVERING OLD ORIGINAL SIDING ON SMALL 1930’S COTTAGE
HIGH VAULTED CEILINGS? 🤔 | HUSBAND PLUMBS THE TOILET WHERE?! 😬


Sounds like great progress on some major renovations! Wow! I love your idea for a “gardening area” in the laundry room.
Thank you! 🥰 The “gardening area” will have easy access to the backyard – perfect location!
We redid our family cottage a few years ago. Each family member had a different small task. Mine and my wifes was getting and refinishing a clawfoot tub to put in. Learned a lot in the process, especially how crazy heavy those things are but they do look nice. Nice windows too, I really like that style
Oh, how awesome! We love clawfoot tubs, they are just so timeless! And yes, they are super heavy. Thanks for stopping by 😁