Installing Reclaimed and New Shiplap on Walls
Installing reclaimed and new shiplap on our walls gave it a cozy cabin feel and we thought about not painting the wood.
OLD RECLAIMED SHIPLAP
Ready for some more reclaimed stories? Well~ we were able to get some reclaimed shiplap from a local Dallas home from around the 1920’s or earlier. It was original to the house we got it from. They were large pieces and beautiful.
Unfortunately, by the time we got there to pick it up, a lot of it (at least the best ones) were already taken. The good news is that we got it all for free. And had we shown up a bit earlier, we would’ve gotten more. Oh well~ can’t have it all!
We tried our best to salvage as much of it as possible. And that required a lot of work. Nate has been getting pretty used to cleaning up and restoring old reclaimed wood. He’s always developing great systems to get it done well and efficiently. Nothing like bringing those old gems back to life. And the best part~ displaying them in our cozy little pine cottage.
RESTORING OLD RECLAIMED SHIPLAP
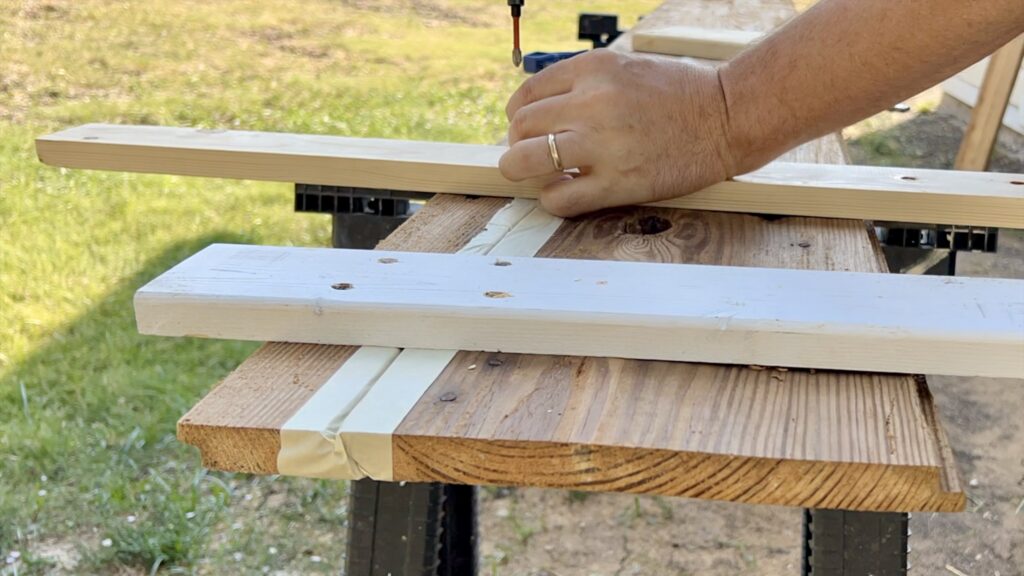
Since we ended up with some pieces that were in pretty bad shape, there was a lot to do to restore them. Nate ended up fixing large cracks in many of them too. Gluing, taping, and clamping was the name of his game in many ways. Guess we could start calling him the wood doctor or salvage king!
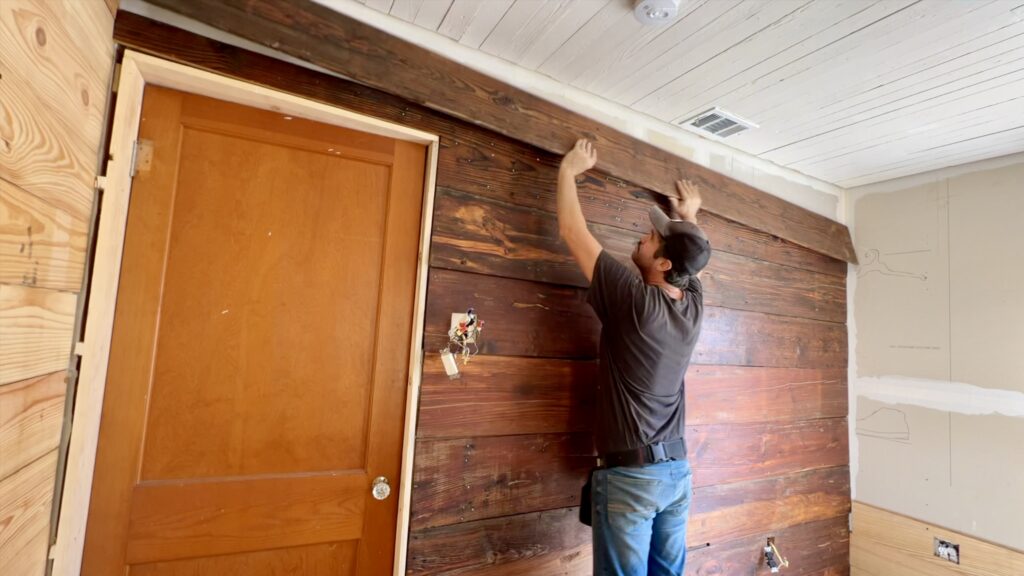
We make sure to give every piece of reclaimed wood a second chance around here. After they were restored, Nate applied some tung oil to them. They drank up that oil like it had been waiting a lifetime to quench its thirst.
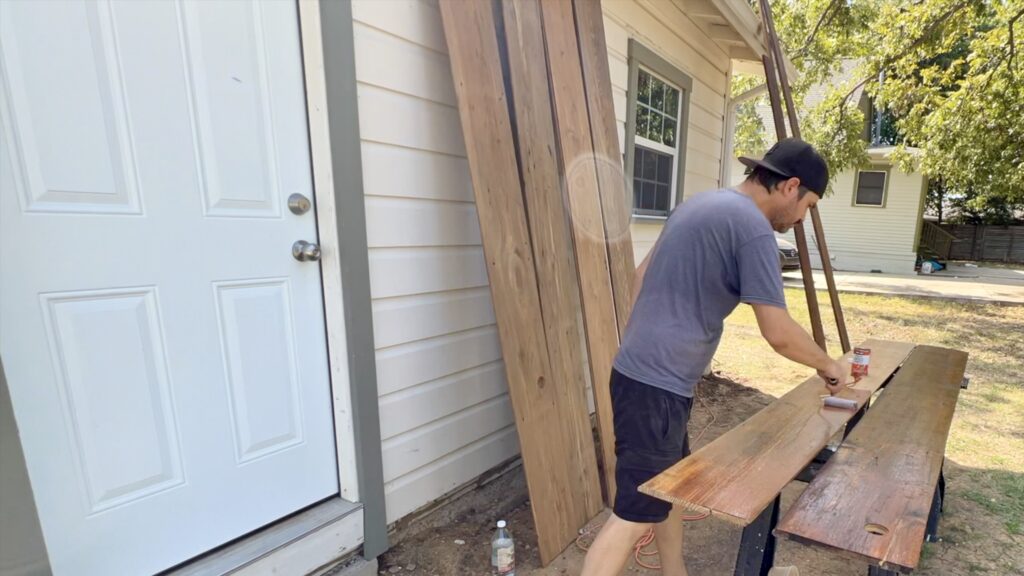
The dull old wood that was waiting to shine again came alive with a wonderful dark brown color. They turned out so beautiful!~ It’s amazing how you can take something so old and neglected and make it look like a million bucks.
BUYING NEW SHIPLAP
There was only enough reclaimed shiplap for one wall in the office. Gosh~ really wish we got to that house earlier to salvage more of it before others came and picked it up. Free wood like that can be gone so fast.
Because of that, Nate decided to buy new shiplap from a local box store to install on the three other walls. We also thought about maybe keeping the other walls normal drywall. But, with all the dust that would be required to eventually sand it all down, Nate thought it would be best to just keep the wood theme. Less dust since of course we were still living in the house while it was being renovated.
The cool thing was that the new shiplap had been in the store for a long time without anyone buying it that it had naturally formed a bit of a patina look. So it was going to somewhat fit into our space.
Think about it~ we had just installed reclaimed wood on the ceiling and on one wall. Now we would be installing new shiplap on the other walls. And then we would install reclaimed pine flooring after all this too! It’s like becoming a little pine cottage log cabin. Maybe something you’d find in a woods somewhere. A wooden house in the woods, get it?! Couldn’t help that pun!
INSTALLING NEW SHIPLAP
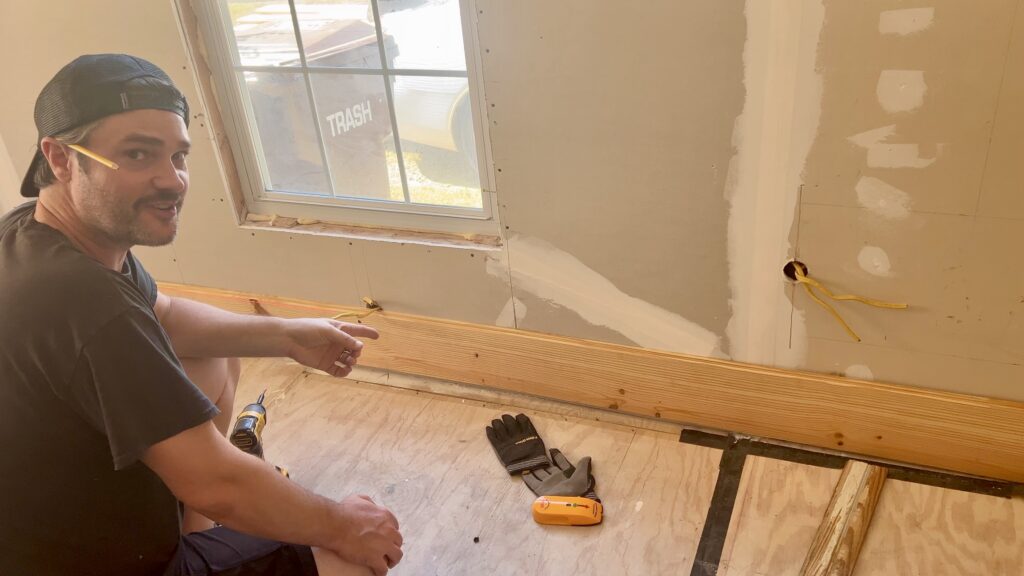
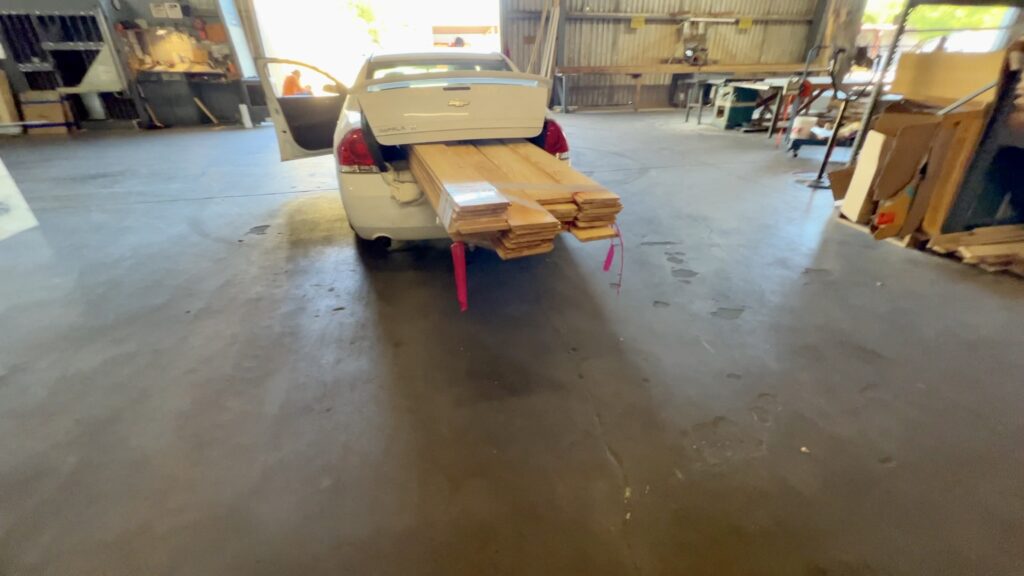
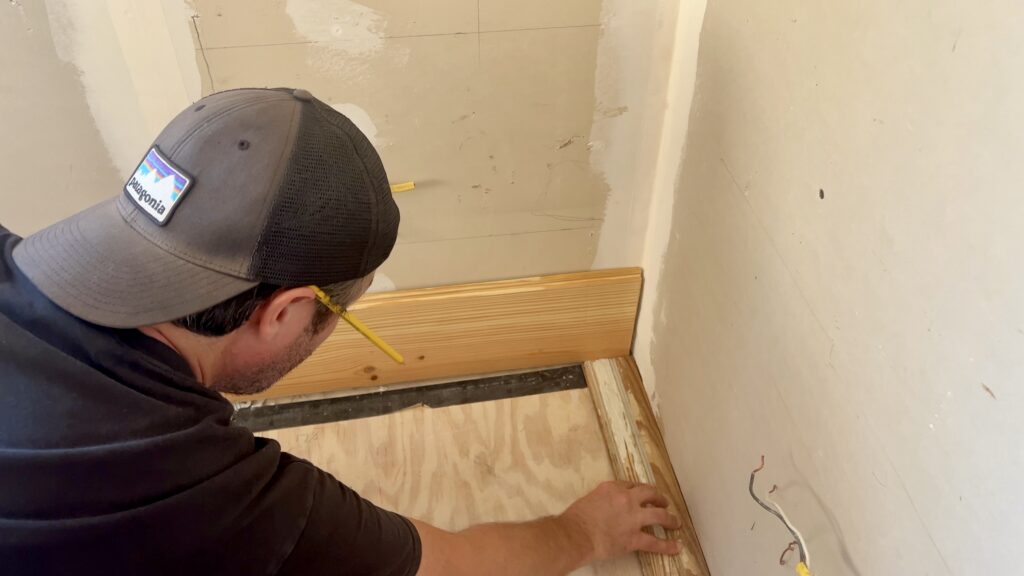
Nate picked up a ton of the new shiplap at the local box store and believe it or not fit it all in our car. It was quite the delivery to the house. Then he worked on installing it on the other three walls in the office.
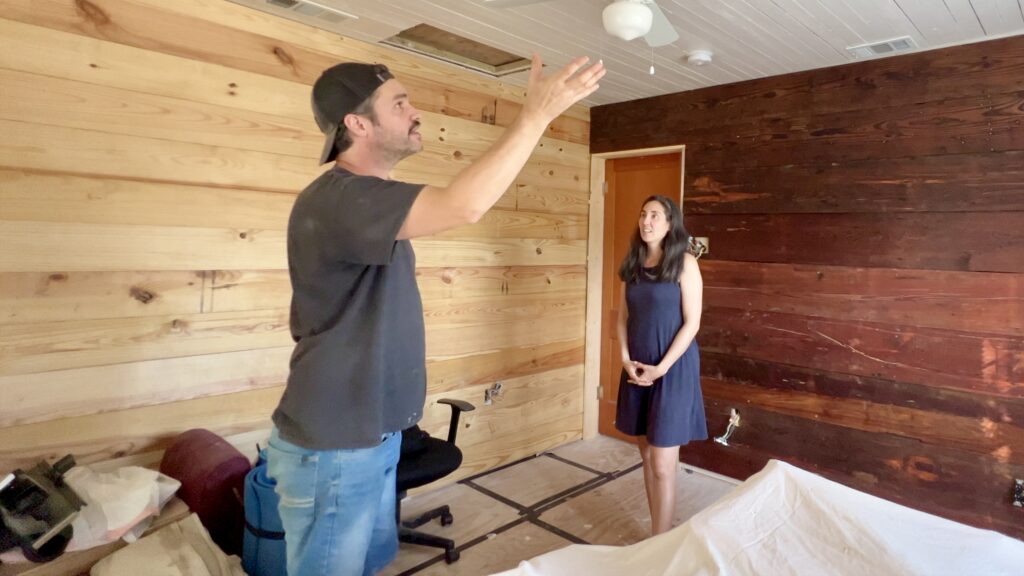
You can watch our video to see him in action. For the piece closest to the ground, he had to make sure there would be enough room for the pine flooring below it. More on that project in the next blog.
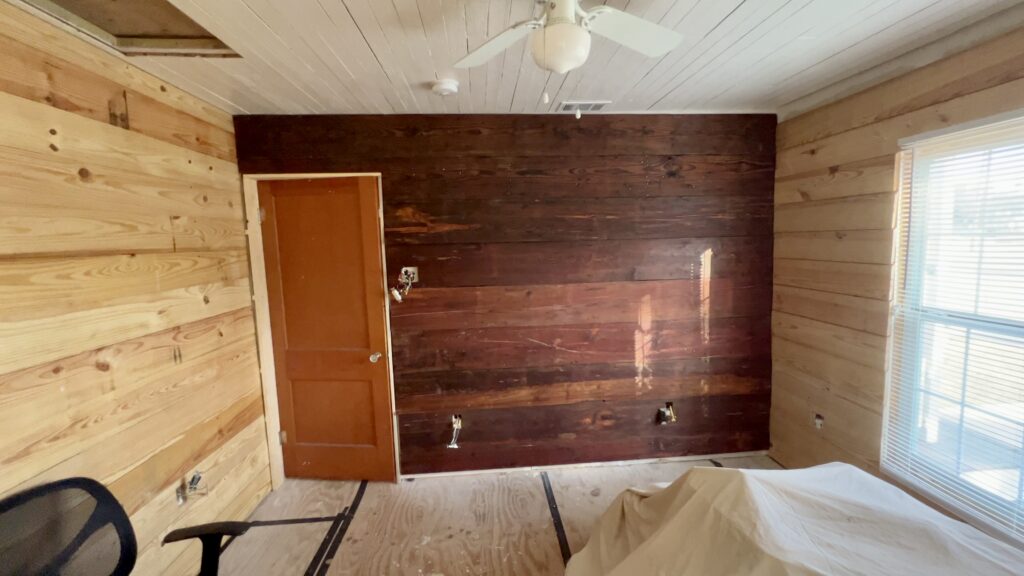
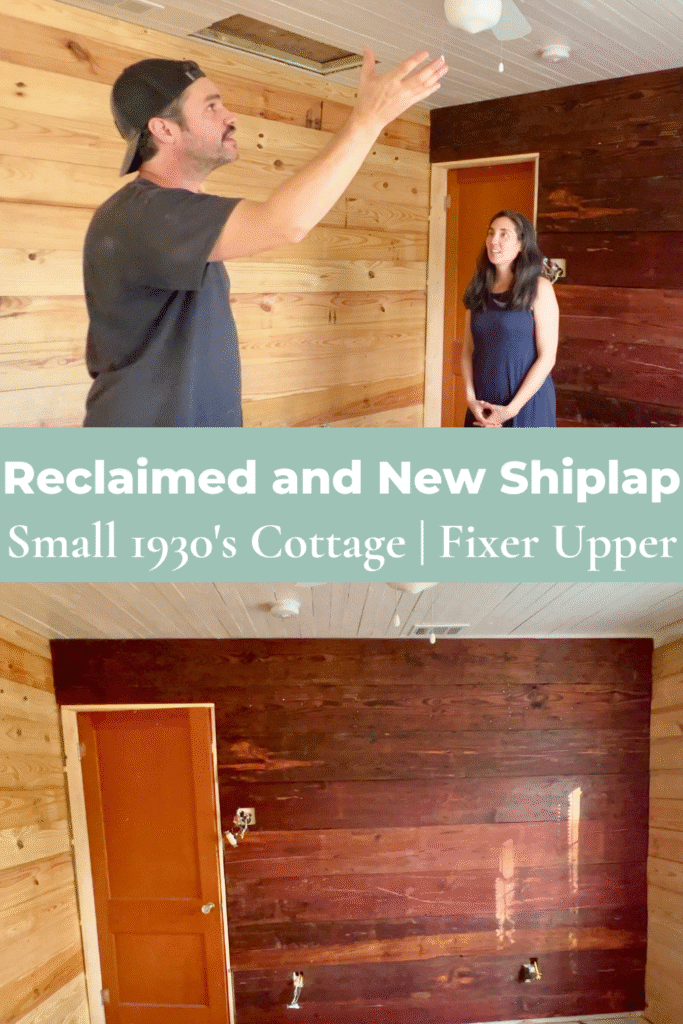
The reclaimed shiplap was darker and the new one was quite a bit lighter. So the darker shiplap almost looked like an accent wall. And that would be the wall where a tv could be placed with a darker background. It was perfect.
The installed new shiplap was lighter, but it provided a nice contrast and lightened the room. Plus the reclaimed wood on the ceiling from our original flooring was painted white. It somehow all came together really nicely despite the randomness of the colors, look, and feel.
We wanted to try our best to use as much salvaged materials as possible. But, realistically, that may not always happen. So, you just have to improvise and sometimes get the new stuff. It doesn’t necessarily need to take away from the old reclaimed feel. If anything, it seems to me that it could just enhance the gems of real stuff all around.
MIXING OLD AND NEW SHIPLAP
Sometimes we just have to mix the new with the old and that is ok in my opinion. We live in a modern society with the wonderful amenities to prove it (which I am completely grateful for!). So, we just work with what we got, what we can find, and if we have time, the stuff we work to restore.
Using old stuff may not always be the cheaper and easier route, In fact, many times, it can be harder and more expensive. But then again, you get quality that seems to last a lifetime. Have fun with your old projects and don’t hesitate to bring in the new when you have to or want to!
Installing reclaimed and new shiplap on our walls gave it a cozy cabin feel and we decided not to paint the wood this time!
CHECK OUT OUR VIDEOS
Thanks for joining us on this journey! We hope that you will find inspiration watching us learn as we go while we’re attempting to renovate and rebuild this old small historic cottage mostly on our own~ while working full time jobs! Stay tuned for more progress updates ahead. Read more about us here.
You can also watch a video about this here.
To see more adventures of our fixer upper journey, click on the links below.
💪🏼🧰 INSTALLING OLD RECLAIMED PINE FLOORING ON 1930’s COTTAGE CEILING 🪵🏚
🪵🪚 CUSTOM TRIM FOR VAULTED CEILING AND INSTALLING VINTAGE CHANDELIERS 🏚🕯️


