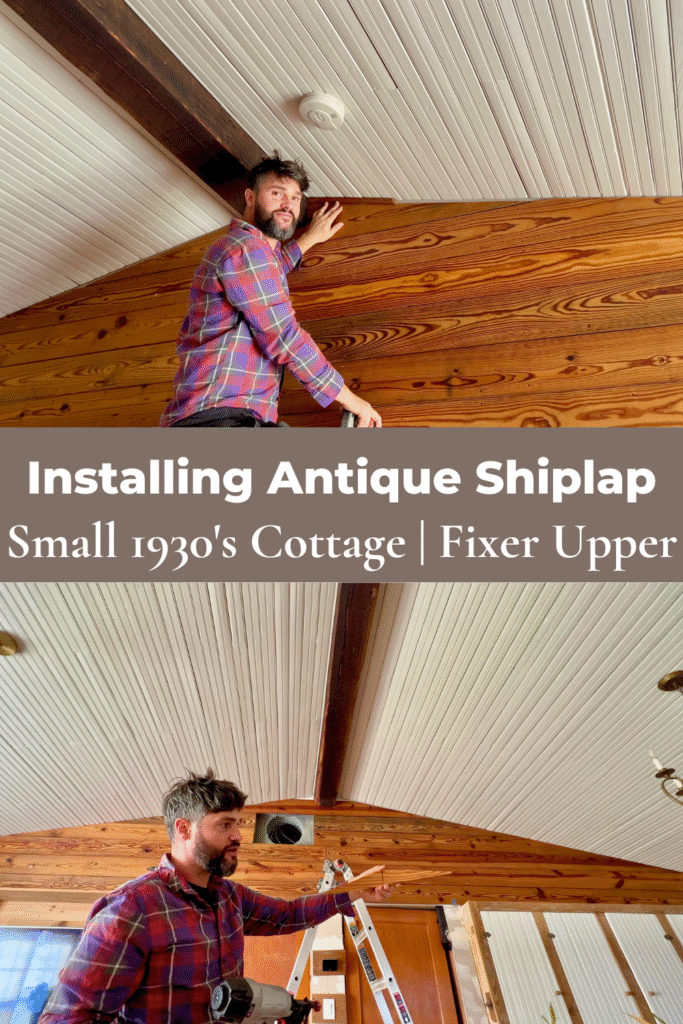
Prepping Antique Shiplap to Install in Little Pine Cottage
Prepping our antique shiplap to install it in our little pine cottage made our small space come alive with character.
We got our antique shiplap from a neighbor who was tearing down their old garage that was probably over a hundred years old. There was old original shiplap in there and we made sure to remove and salvage it before the tear down. What a treasure to save those precious gems!
Our goal has been to preserve the time period in our little pine cottage. Having reclaimed materials like this helps us to do so. In all seriousness, our home is becoming quite a mini museum of our historic neighborhood. Thanks to the many neighbors who have gifted us with their priceless gems to display throughout. We are stewarding these heritage projects with pride and love for our local history here.
PREPPING ANTIQUE SHIPLAP
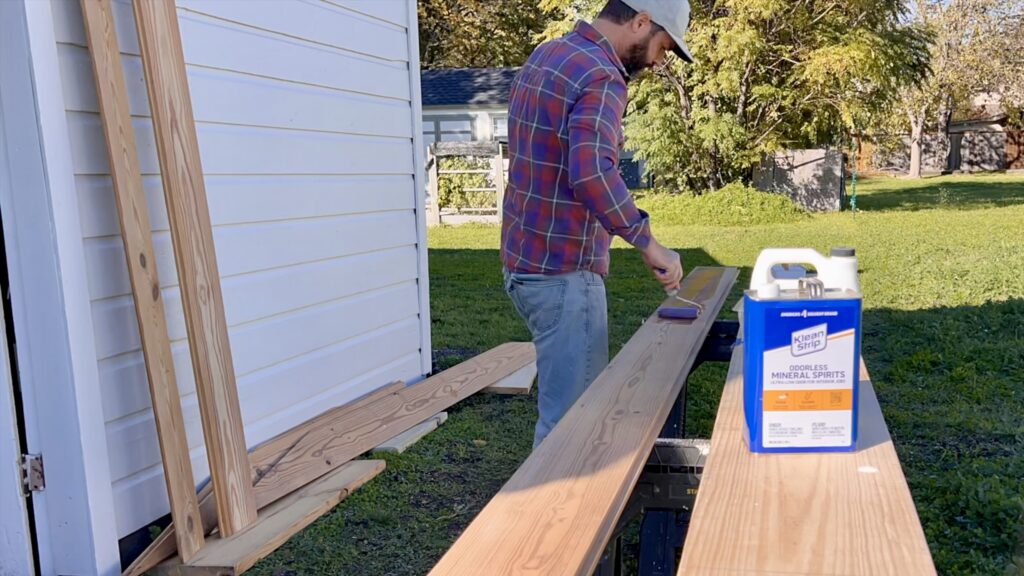
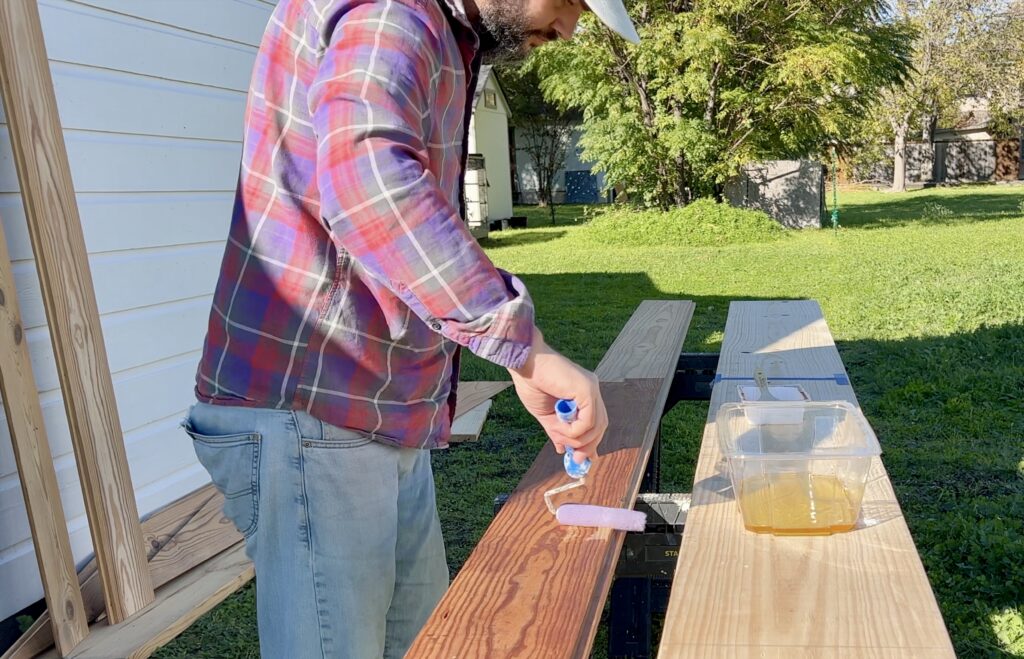
There were some holes in the shiplap from previous installation mockups. So, Nate was filling them in with wood filler. Then he would sand them down and apply tung oil. He added a little mineral spirits to it to thin it out for the first coat. Eventually he would apply about three coats to each board. This tung oil also had some orange oil mixed in with it.
We were paying about $10 for the tube of wood filler. And the walnut color we had was not completely matching with our shiplap. Nate heard the guys on This Old House say that you could make your own wood filler with saw dust from the wood you are working with and some glue.
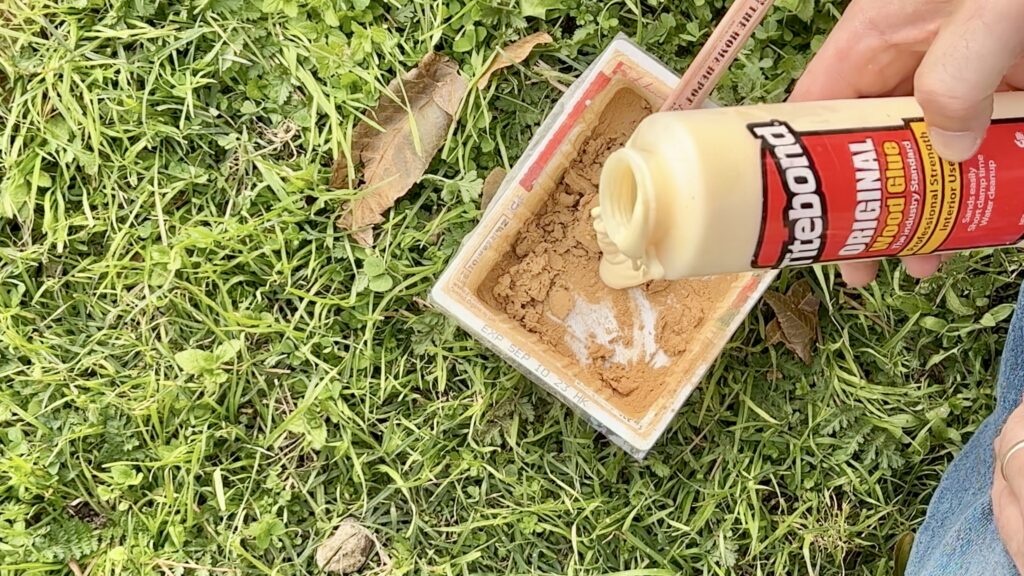
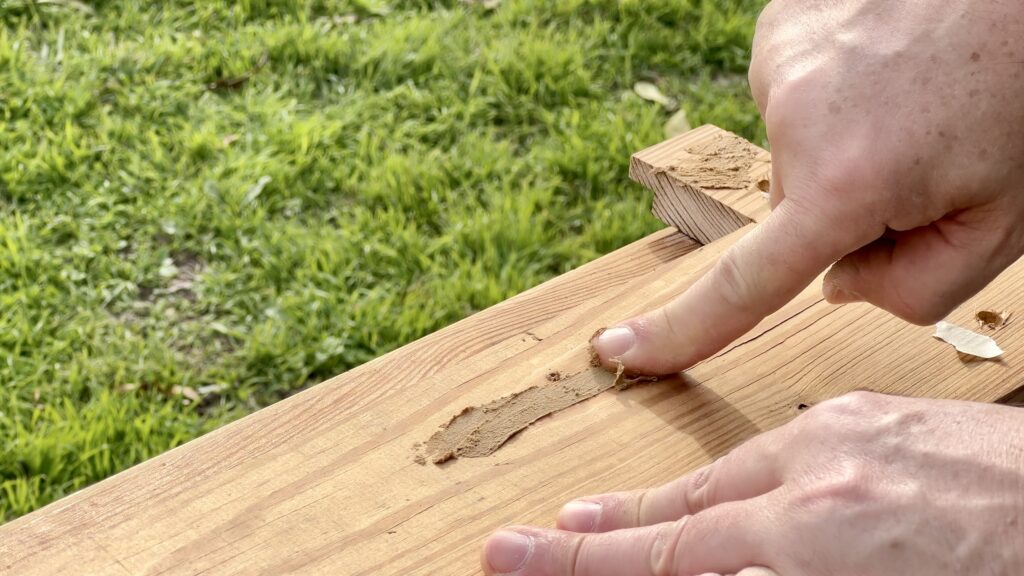
That would not only create a more accurate match, but would be a lot cheaper since saw dust is free from the wood. And you would just need to buy the glue. He experimented with it and it seemed to work just fine. Then of course, he had to re-sand it and apply tung oil again. The orange patina from the tung oil really made the shiplap pop!~
LITTLE PINE COTTAGE HISTORIC PRESERVATION
In the last blog, we talked about the reclaimed beadboard on our vaulted ceiling. And the old growth pine beam we installed in the middle of the peak. We are loving the historical preservation stories we now have to share because of these salvaged materials.
The beadboard came from another neighbor (other than the shiplap neighbor we’re mentioning in this blog). She had a bunch original to her house and gifted us with them to make good use of them. They were just sitting in her storage shed collecting dust and dirt. It was time to bring them back to life and let them shine on display!
And we (I mean Nate) sure did take on that task. He cleaned them up and restored them with such amazing loving care. Now they are beautifully displayed over our entire vaulted ceiling which hovers over our living room and kitchen area. Later, we will show what else we used them for in our renovations.
The old growth pine beam we picked up I’m sure also has some history and stories behind it. Nate worked to hollow it out for ease of install and safety. There was a lot of prep work involved in getting that gem to also shine and display its glory.
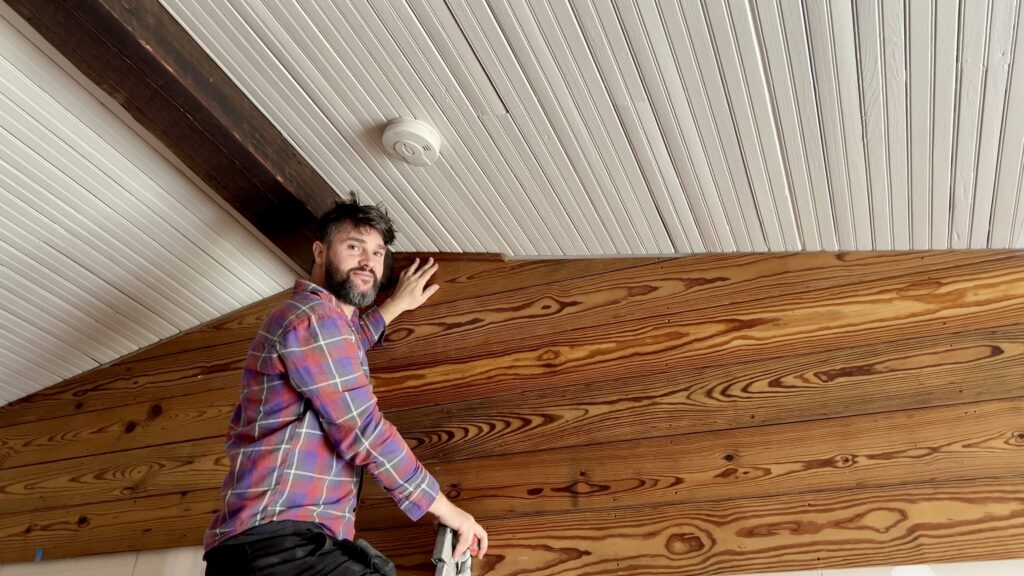
Now we are installing the reclaimed shiplap around the walls below the beadboard and pine beam. They are really tying everything together like a beautiful heritage bow! A compliment and addition to the wonderful historic stories to carry on here in our little pine cottage.
I’m hoping one day our heritage commission would recognize our place as a sort of local neighborhood museum of preservation. We have certainly tried our best to maintain the core of those principles in our renovations. She is transforming into a historic beauty!
INSTALLING ANTIQUE SHIPLAP
Now that the drywall in the living room area was all taped and mudded, it was time to add the shiplap back on the walls. We previously had them up temporarily as a mock install and to dry fit them. Now the final install was being done. A project long time coming.

The shiplap looked amazing when it was being installed. The prep work of filling in the holes and applying tung oil (three coats of it!) to it made an incredible difference. You could see the grain of the precious old wood, which made it stand out and shine. The color of the wood was brighter instead of that faded old look. It complemented the newly painted beadboard ceiling and oiled beam.
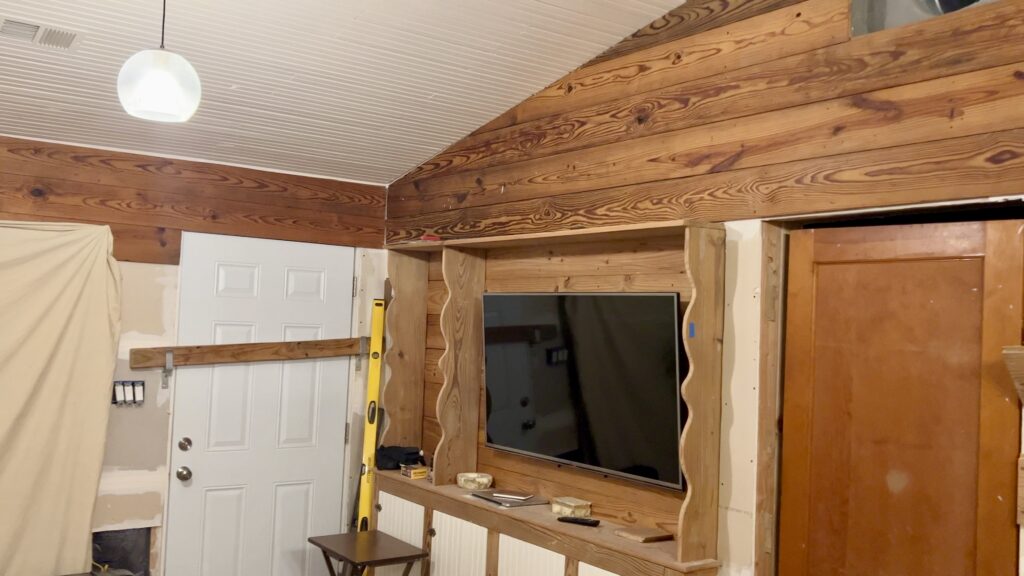
Nate built an entertainment built-in that housed our tv and did not apply tung oil to it. It was right below the shiplap he was installing. So, you could see the difference in the color. He plans to later maybe paint the built-in wood instead of applying oil to it. We’ll see what we actually end up deciding on. Paint or oil.
He was installing the shiplap with screws. Although many would use a nail gun, which would be a lot quicker and easier. But Nate wanted to easily remove it if he needed to get behind it and access the drywall for anything. The screws would be a lot easier to remove than nails. He used screws with small heads so they would be less noticeable.
Fitting the shiplap around the pine beam at the peak of the ceiling would be a challenge since it was not shaped in a perfect square. It had a bit of a curve to it. Nate got creative (as he always does!) and designed a template to cut the exact shape to the shiplap he would install in that area. It worked out beautifully. Check out our video to see how he made it happen.
The final decision we had to make on this project was the trim at the top of the shiplap. This is where the shiplap and beadboard meet. Would we oil it and keep it wood or paint it Shoji White like the beadboard. That’s coming up soon when we get to it!
CHECK OUT OUR VIDEOS
Thanks for joining us on this journey! We hope that you will find inspiration watching us learn as we go while we’re attempting to renovate and rebuild this old small historic cottage mostly on our own~ while working full time jobs! Stay tuned for more progress updates ahead. Read more about us here.
You can also watch a video about this here.
To see more adventures of our fixer upper journey, click on the links below.
👨🏻🎨🏚 PAINTING BEADBOARD VAULTED CEILING AND INSTALLING OLD GROWTH PINE BEAM 🌲🪵
🌲🏚 DESIGNING A SIMPLE COTTAGE KITCHEN ISLAND AND CABINETS 🧰🔨


