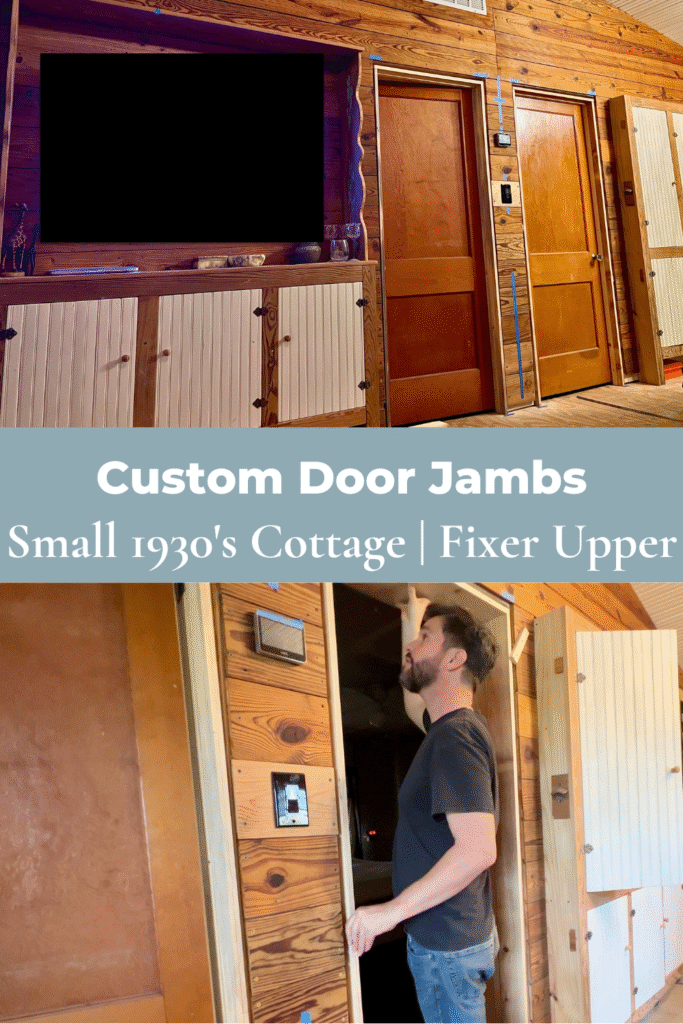
Building Custom Door Jambs for Vintage Doors in Little Cottage
Building custom door jambs for the vintage doors in our little pine cottage required quite a bit of engineering skills we had to learn.
VINTAGE DOORS
We scored on finding these wonderful vintage doors from about the 1930s on Facebook Marketplace. It’s been our goal to find time period gems for our little pine cottage. We wanted to make sure we did so with the best quality we could when we took on the task to renovate ourselves. That included the materials we fill our humble home with.
The doors were prepped and ready for the door jambs to be built. I mentioned in our last blog that Nate had to cut the bottom of the doors down to make them even. Guess that could be a lesson if you are also planning on buying old reclaimed doors. Bring a tape measure with you and make sure those bad boys are even!
WHY CUSTOM DOOR JAMBS
There were many challenges that lead us to build custom door jambs in the first place. We will describe that more in this blog. This is where the engineering skills come into play. We would have to have wider door jambs because of the handmade built-in pantry in our kitchen and entertainment center in our living room.
The walls where the door jambs would be placed is where Nate had to make the wall larger. That was so the built-ins would straddle the kitchen and living room with the bedroom and office equally. Welcome to our custom built home in general. This strategy was used so the built-ins would not take up as much space sticking out in the kitchen and living room. You don’t even notice any wall space being sacrificed from the bedroom and office.
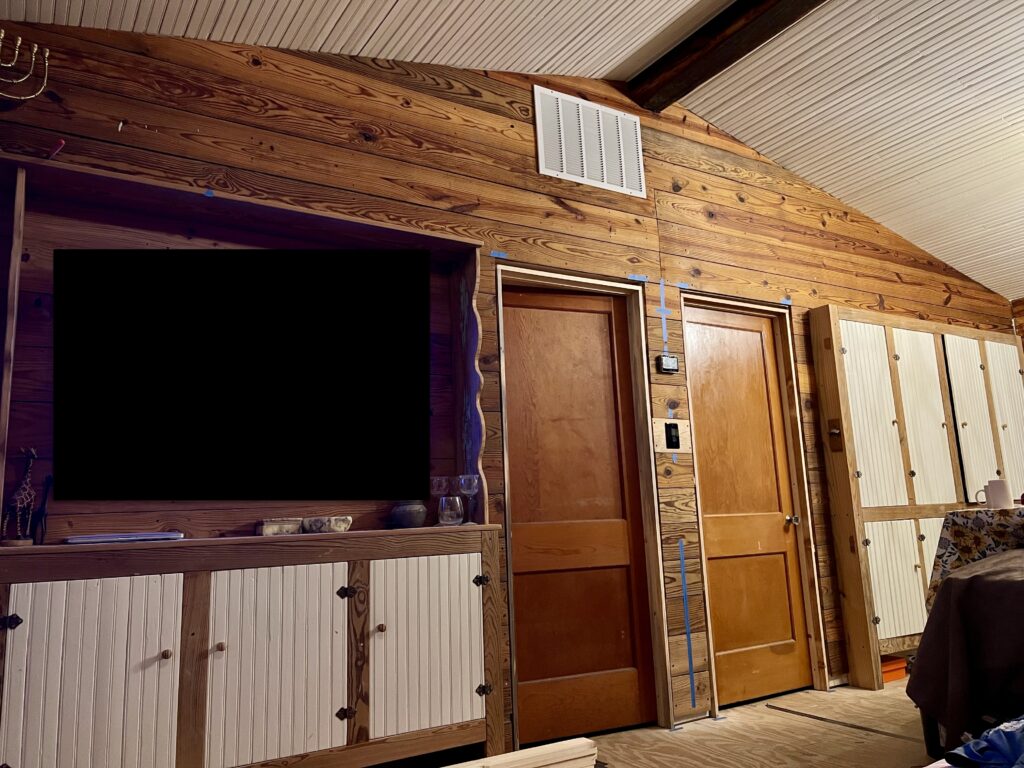
PLACEMENT OF DOORS IN CUSTOM JAMBS
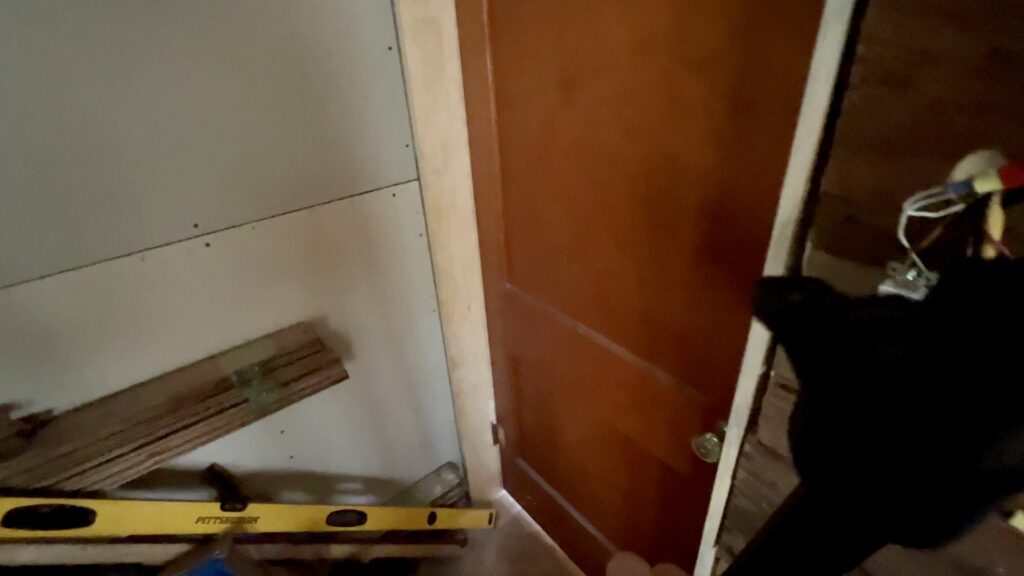
There is something else about this project that made it custom and quite unique. The way he built these door jambs was so that the doors facing the living room and kitchen were not placed so far back in the jambs and into the rooms. They were placed more forward like normal doors to give the illusion of just being regular door jambs.
I mention all this because we have seen custom door jambs for other historic homes where the doors were placed so far back into the rooms. That’s fine if you like it done that way. We just wanted to also make sure we created a bit of normalcy and modern every day touches to our renovations while preserving the time period. The preservation efforts are not diminished either way I think. It just comes down to your preference and how you want it to look and feel like.
CUSTOM DOOR JAMB PLANNING
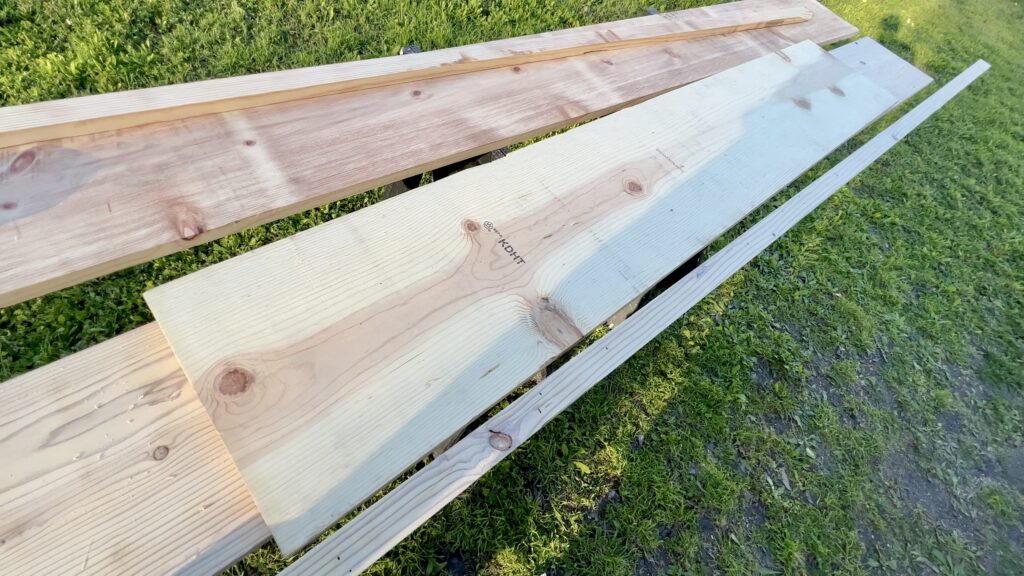
Nate took 12 inch boards down to 9.5 inches to build the custom door jambs. There was a bit of math including some engineering and planning involved. Oh, there was also lots of laser level action going on. That is one thing that he will continue to rave about. How the laser level saved him on more than one occasion. A great tool if you are working on a similar project yourself.
If you want to see some strategies and tips that worked for us, check out our video. It goes over more details about the process. We were learning and working on the project at the same time like usual. We’re happy to be a part of that with you if it helps you out in any way or gives you ideas and inspiration. Oh and hey~ if that’s the case, we’d love to hear about it from you!
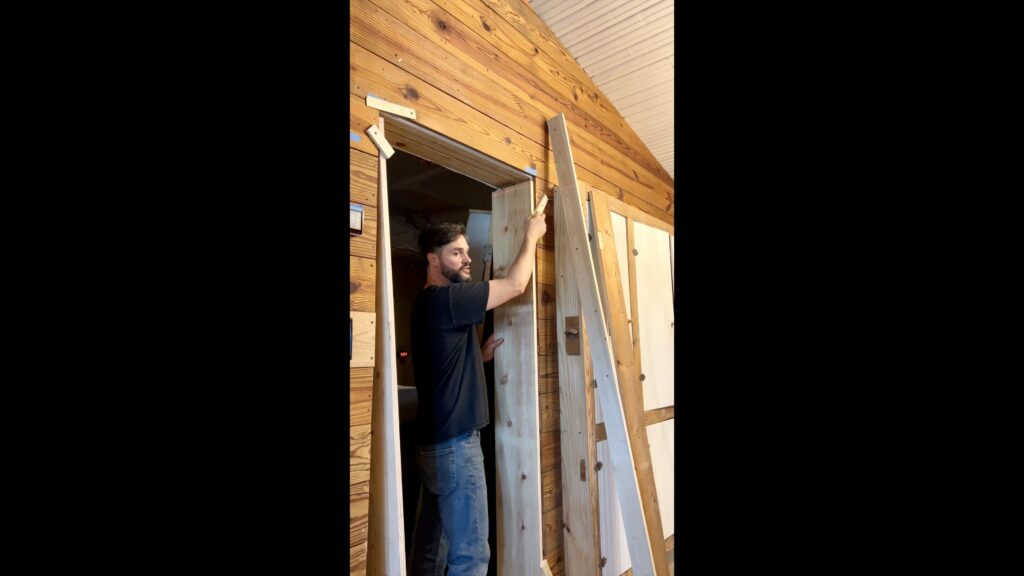
ADDING HINGES TO THE DOOR JAMBS
We worked on the placement of the hinges in the door jambs to hang our precious vintage doors once the door jambs were built. Then we used the old door jambs to measure where the hinges would be placed in the custom door jambs. That way they were spaced properly and installed like an ordinary door would be.
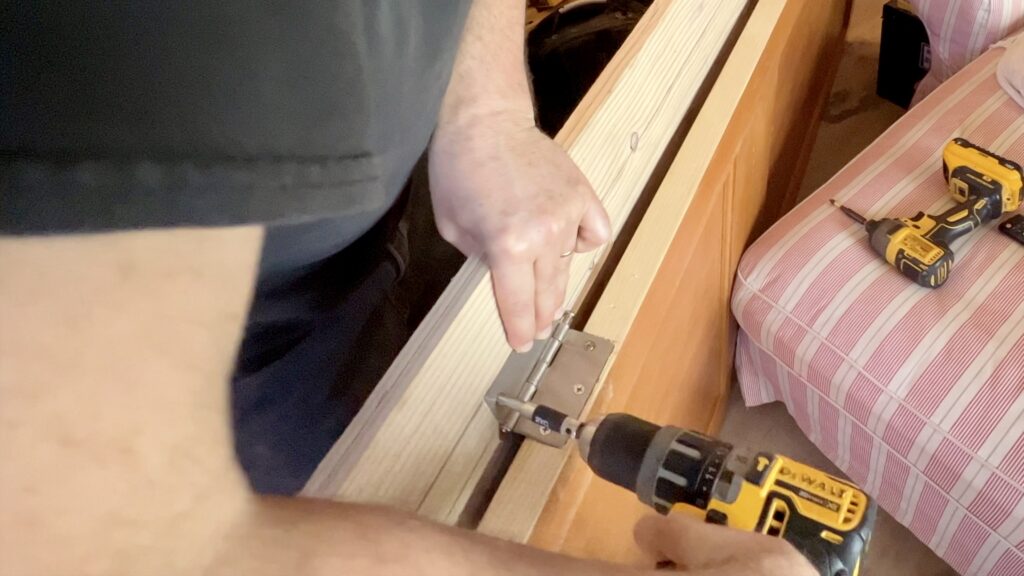
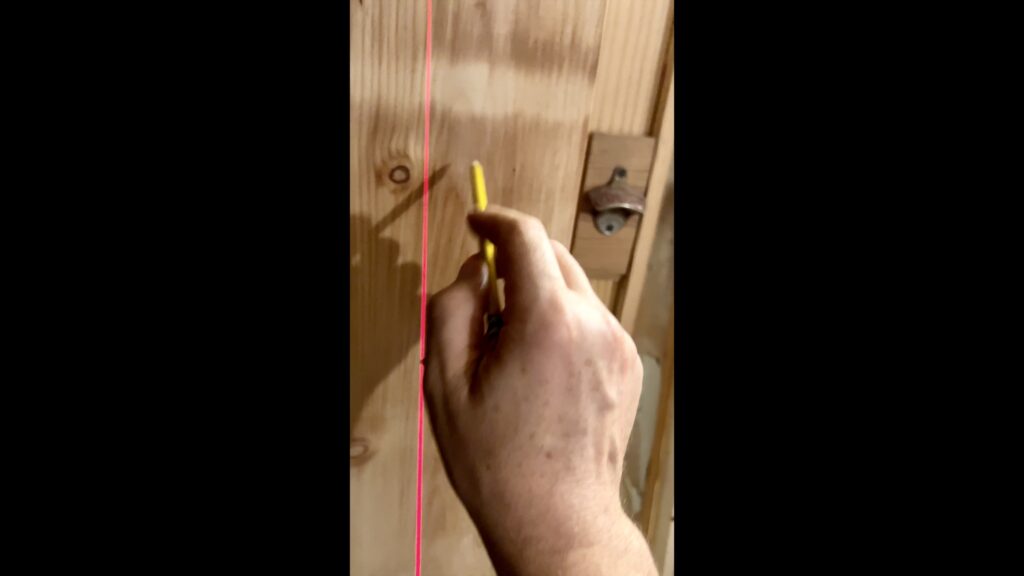
Nate marked off where the hinges would be placed in the custom door jambs. Then later would measure exactly where in that marking the hinges would be installed. I mention this again since we have wider door jambs and the hinges would not be placed in the center of them. But, closer to where the door would hang to give the illusion that it was placed like any other normal door in an ordinary door jamb.
You would notice that there was a lot more door jamb going back into the room when you walked into it. I honestly don’t mind it as it gives the room a bit more character. Plus, Nate with his artistic abilities connected a gorgeous trim design that gives off that historic wavy look. We also have that on our living room entertainment center built-in.
I’ll share more about those details in a later blog when we get to the trim and how those were also custom made. They turned out so good. I’m beginning to think that Nate has some pretty cool carpentry skills in addition to everything else he’s been learning and working on.
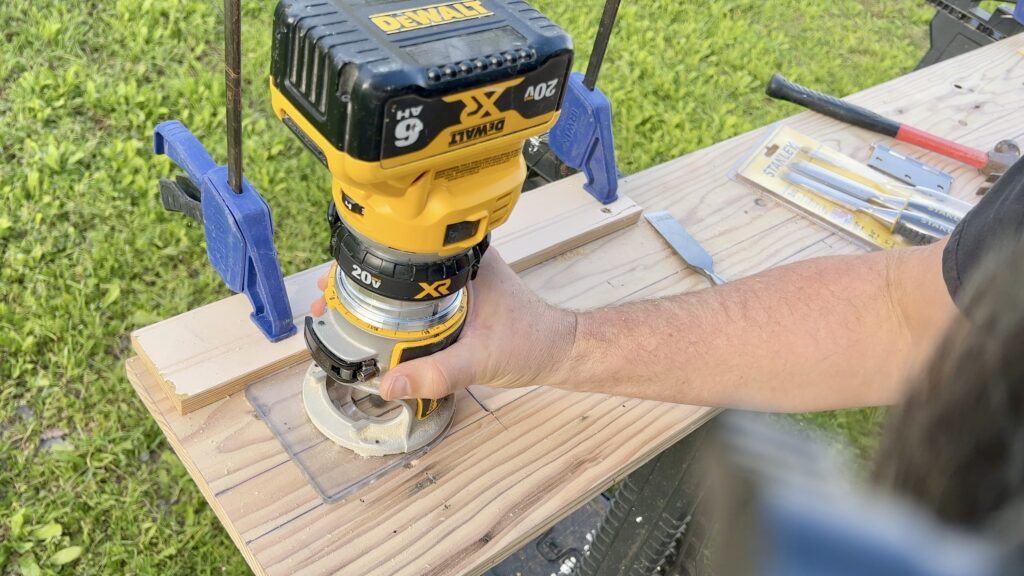
He used a woodworking router to carve out the space where the hinges would be installed when the markings were completed. The pin for the hinges was routed a bit deeper since it has a deeper depth to it.
CHECK OUT OUR VIDEOS
Thanks for joining us on this journey! We hope that you will find inspiration watching us learn as we go while we’re attempting to renovate and rebuild this old small historic cottage mostly on our own~ while working full time jobs! Stay tuned for more progress updates ahead. Read more about us here.
You can also watch a video about this here.
To see more adventures of our fixer upper journey, click on the links below.
💪🏼🪵 WORKING ON RANDOM PROJECTS AROUND THE LITTLE PINE COTTAGE 🏚💚
🪵🧰 PREPPING ANTIQUE SHIPLAP TO INSTALL IN LITTLE PINE COTTAGE 🌲🏚


