Designing Huge Custom Clamp for Unique Butcher Block Countertop
Designing a huge custom clamp for our unique butcher block countertop was a rewarding experience using our diy skills.
You might just have to work from the skills you’ve built along the way with a bit of research. This can be the case especially when you are building something on your own with no real template or design plans. It took a lot of trial and error as we continued the custom build of our unique butcher block countertop. We were just learning as we go! What’s new around here, right?
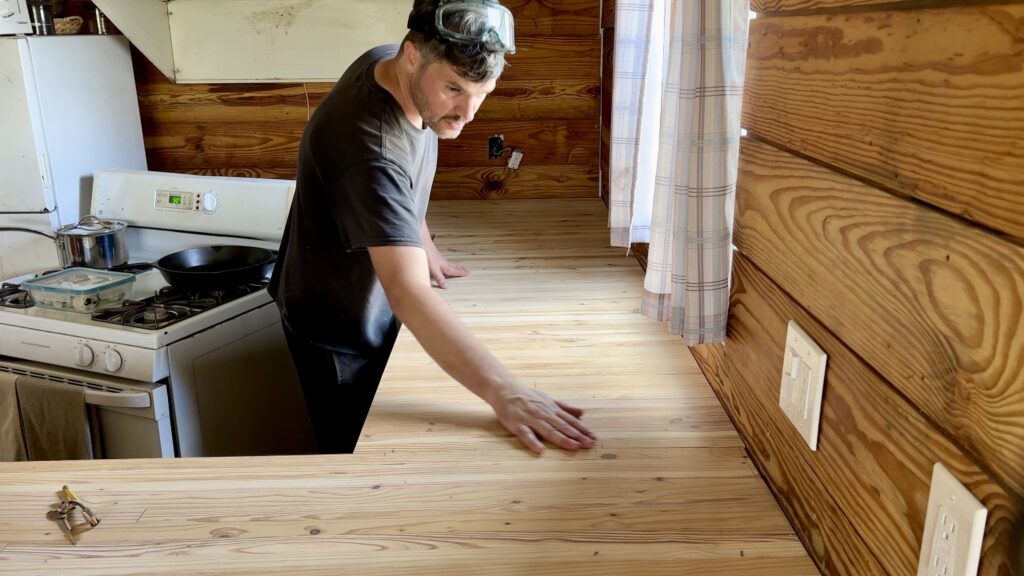
The reclaimed pine was looking so good after we salvaged it to build this custom countertop. It was a great feeling to know that we were able to salvage those old beautiful gems. There were several steps to the process and many pieces. I’ll break that down next.
UNIQUE BUTCHER BLOCK COUNTERTOP
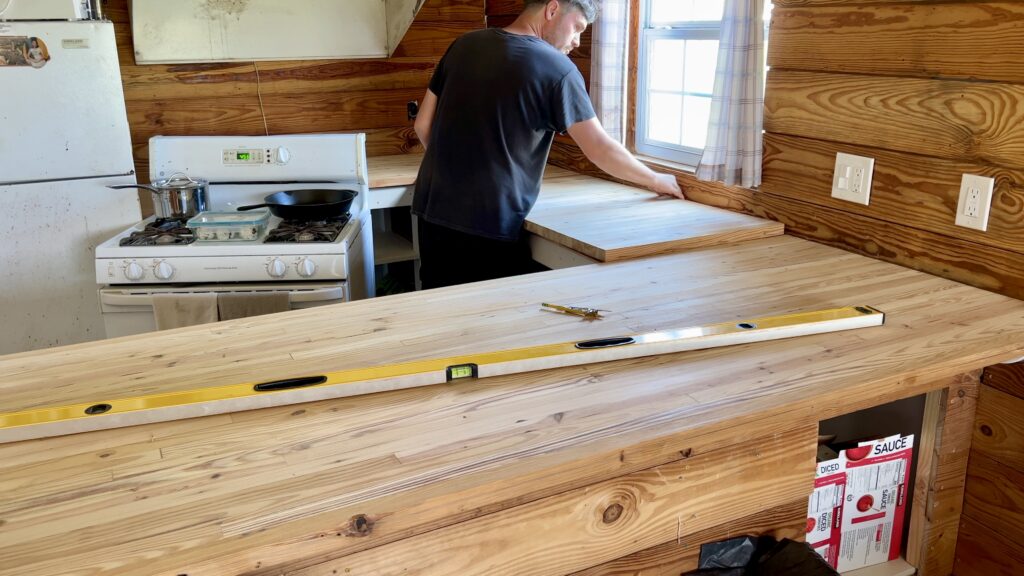
The first part of the countertop we built was actually the large and long island (or peninsula). I’ve heard it called a peninsula since it would be connected to the sink countertop going the horizontal direction. Think of the L shape as the island would be going vertical.
I explained how we were building the sink countertop in the last blog in a vertical direction with the pine wood as well. To maintain a consistent and seamless design approach.
It would appear to be an L shape when you look at the countertop. The main island (peninsula) was built with butcher block going in a vertical direction. The connecting countertop in the L shape would appear to be going horizontal. But would also be going in a vertical direction.
BUTCHER BLOCK COUNTERTOP SECTIONS
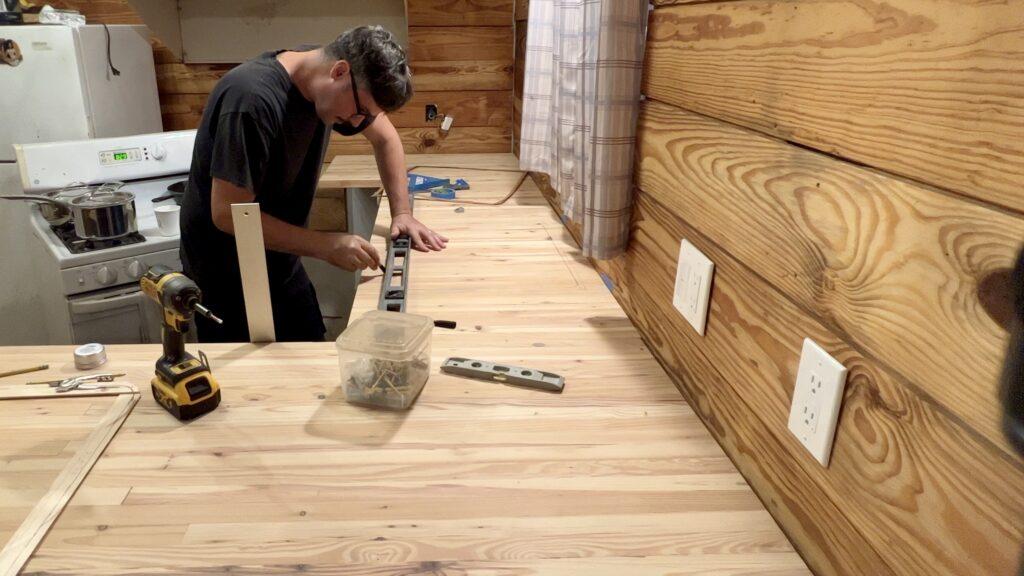
This L shaped countertop is meant to be one seamless area. However, they were built in several sections and then slowly put together.
We built the main island in three separate sections so that we could get it to fit the width of the planer. Then we clamped together those three sections to make one huge island.
We built the middle part going into the L shaped section where the sink would be installed in five sections. And we also clamped those together to make one section.
Finally, we built the last section to the left of the whole countertop and sink when you’re facing it in two sections. We also clamped those together to make one section.
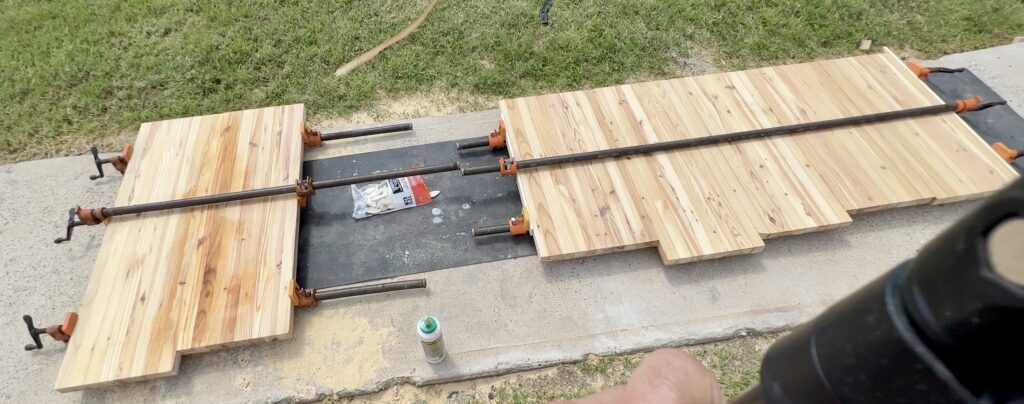
We had three separate sections that were each clamped together to make those sections as you see. The main island would be its own section so it was complete. The additional two sections were on the other side of the L shape and needed to be clamped together.
Unfortunately, we did not have access to a clamp that wide. To basically clamp two larger sections together containing seven smaller sections total. This is where the huge custom clamp comes into play.
DESIGNING HUGE CUSTOM CLAMP
Nate just used some old scrap wood to cut wedge shaped triangle like blocks to design the custom clamp. It was a totally diy yet creative way to design a custom clamp. And it helped to put these butcher block sections together.
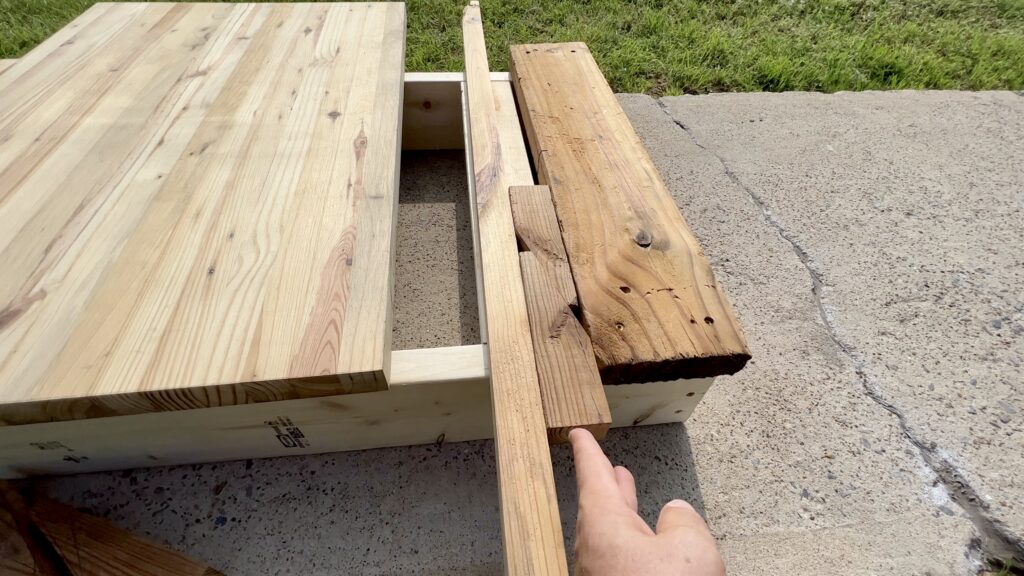
To make the whole “jig” (as Nate called it) work, there were many moving parts. Talk about learning some engineering skills. He placed the butcher block on top of a wooden type frame to hold it up. He would just place them on the clamps when he used those.
Then he took two pieces of 2x4s and screwed it in at each end of the butcher block countertop to make sure everything was stable. This would also help the weight of the countertop to go against it.
He placed the wedge blocks next to the 2x4s and then another strip of wood on the other side of it. That way the wedge blocks were not pushing up against the butcher block, but only the strip of wood. If you watch our video on the process you will see a much better visual of it all.
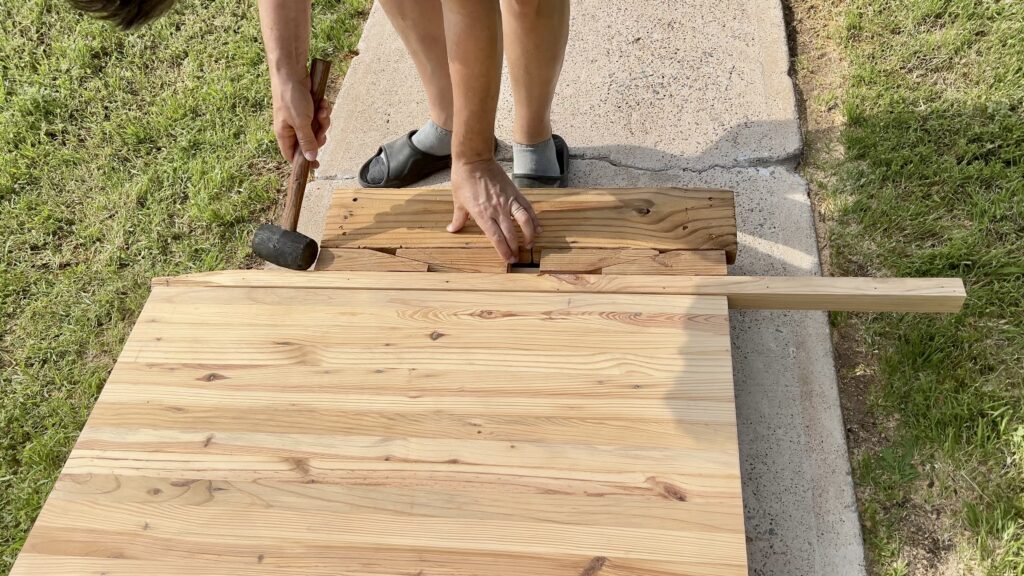
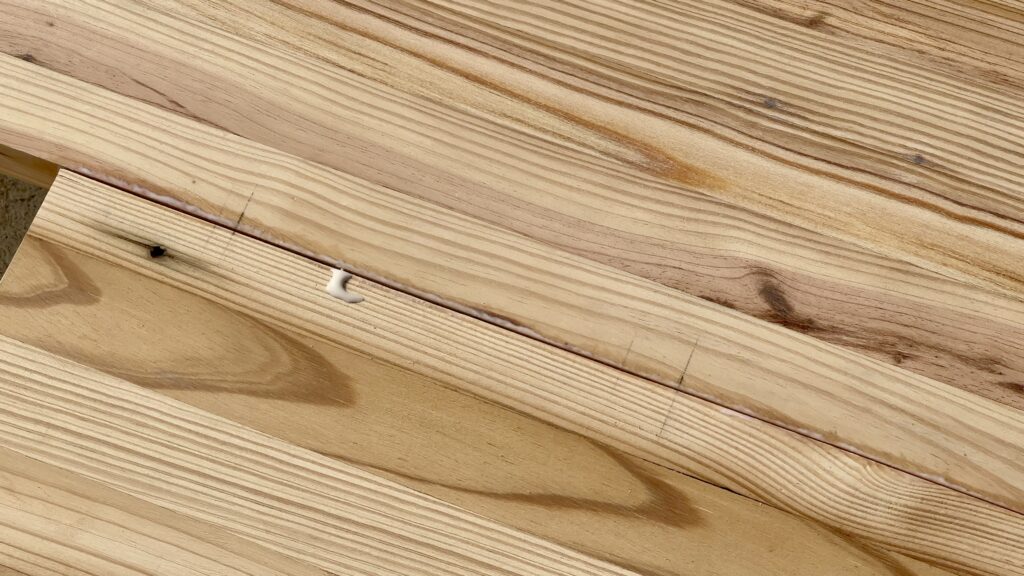
It would push the strip of wood toward the countertop as he would hammer the wedge blocks. This acted as a clamp as it would hold and set the sections together like a clamp. You would actually see the glue coming up as it was being clamped by the new engineered “jig” as we call it when the sections were glued together.
It was a great innovative design and totally worked. You just have to make your own I guess. Especially when you can’t find the right tool to meet your needs! That’s what we did and I hope you are inspired to do the same. That’s one solution to meet your needs by being creative and trying things out.
SINK CUT OUT IN COUNTERTOP
We needed to make a cut out in the countertop for the kitchen sink. That is a task that we’ll share more of in our next blog.
Nate used some cardboard to make a cut out template of the sink measurements. He would take his time on this one to make sure it was done right since all that work went into making the butcher block countertop. It would be a shame to mess that one up.
The project is all starting to come together and is almost finished. Stay tuned for the next blog where we hopefully are able to share the completed butcher block countertop.
Designing a huge custom clamp for our unique butcher block countertop helped us to get closer to the finished product!

CHECK OUT OUR VIDEOS
Thanks for joining us on this journey! We hope that you will find inspiration watching us learn as we go while we’re attempting to renovate and rebuild this old small historic cottage mostly on our own~ while working full time jobs! Stay tuned for more progress updates ahead. Read more about us here.
You can also watch a video about this here.
To see more adventures of our fixer upper journey, click on the links below.
💪🏼🧰 BUILDING UNIQUE BUTCHER BLOCK COUNTERTOP USING OLD RECLAIMED PINE 🌲🏚
💪🏼🚪 BUILDING CUSTOM DOOR JAMBS FOR VINTAGE DOORS IN LITTLE COTTAGE 🏚💚


