Dry Fitting Antique Cast Iron Sink for the First Time
Dry fitting our antique cast iron sink for the first time in our handmade kitchen was such a surprise and very exciting!

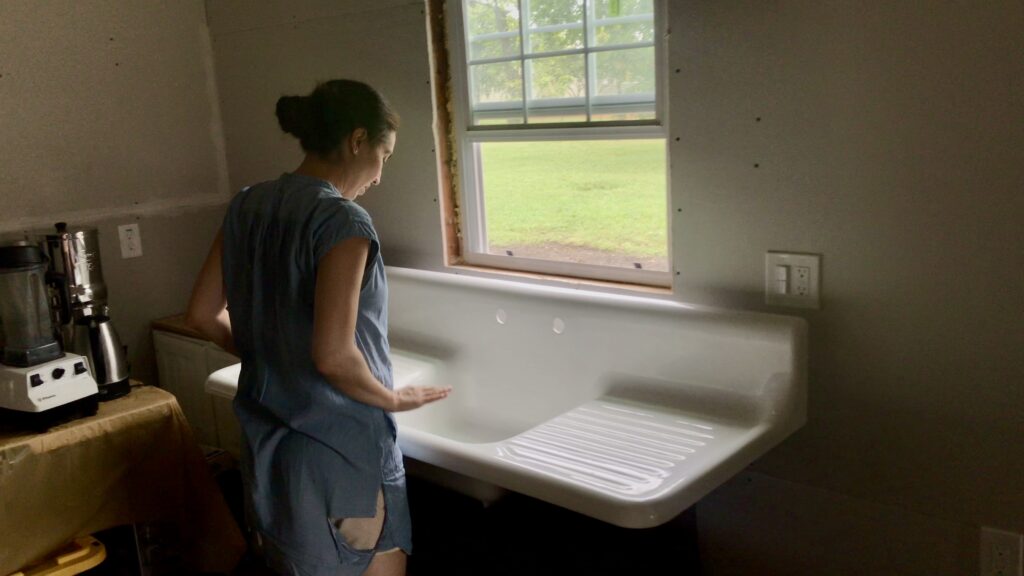
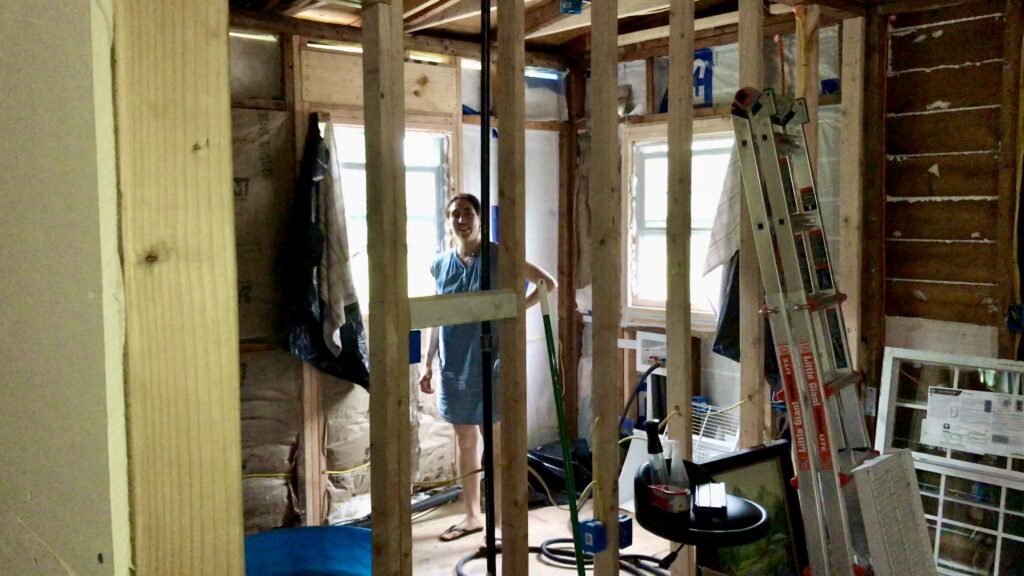
I stepped outside of my bedroom office as I was working from home. Nate surprised me by setting up our old antique cast iron sink as a placeholder. He placed it right under the window in the kitchen where we intended to install it. We hadn’t gotten it up there yet though to see what it would actually look like. We had been too busy working on other, more priority things around the house.

CHECKING OUT THE DRY FITTED CAST IRON SINK
I was so shocked to see it in place, but it looked so nice! We had it refinished and it looked like brand new.

As I walked up to the sink, I was so excited like a kid in a candy store! I couldn’t believe he pulled off the set up without me even knowing and I was in the bedroom across from it in our tiny house. He accomplished that so discreetly behind my back. But, I was definitely a happy girl!
It was just so awesome to finally have a visual of it in our very own kitchen that we were rebuilding ourselves with mostly salvaged materials.

ANTIQUE CAST IRON SINK FITTED TOO LOW
However, it was a little too low for me and how I wanted to use it. I like to have a sink at the level that I’m going to stand at where I don’t have to bend over or bend down to use it. Nate wondered though if it was at least doable and workable. I was like, umm~ no! I knew that I would be using the sink a lot and spend a lot of time there, so it had to be just right and comfortable.
The one problem we could foresee with raising up the sink, is that it would end up covering up our kitchen window! Oh no!
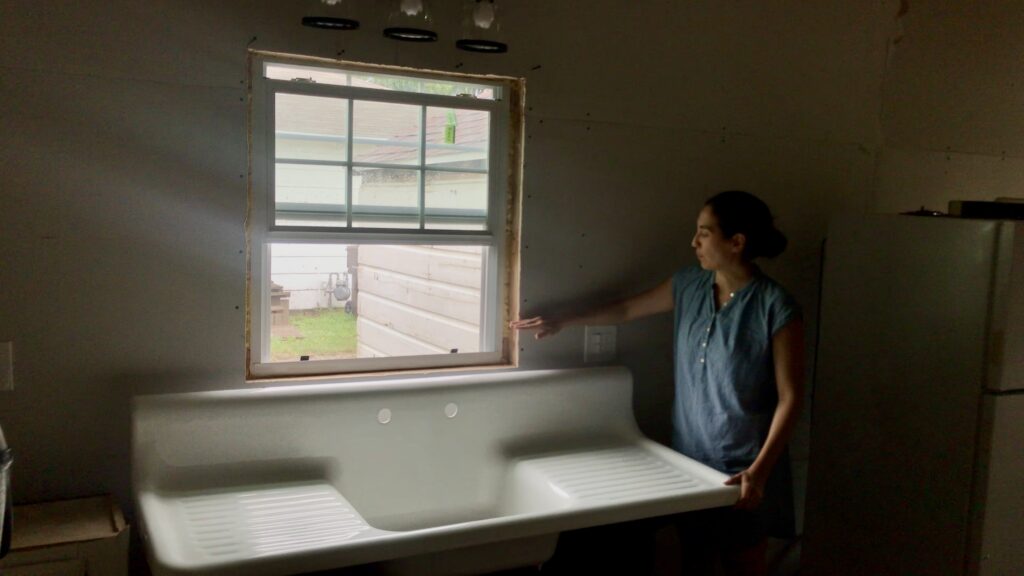
It is currently covering the window a bit, but it doesn’t look that bad. We might end up changing out the window to a different sized one later. That’s if we really want to keep the sink. That way it would not cover the window. The window we currently have opens and closes up and down. The one we received approval for would open left to right or right to left and would be shorter and higher up. That way the sink would not cover it up. We’re still not really sure what we plan to do with that yet and still trying to figure it out.
REFINISHED ANTIQUE CAST IRON SINK
Nate was so excited to hear what I thought about the sink since it was the first time I’ve seen it since it was refinished. I loved it!
But then when I looked underneath it, there was like this whole strip that was not refinished. It looked a little janky! So, if you ever have your cast iron refinished, make sure you check it on all sides and around the whole thing to make sure it was done properly. I wasn’t sure how you could finish a job like that and miss that strip!
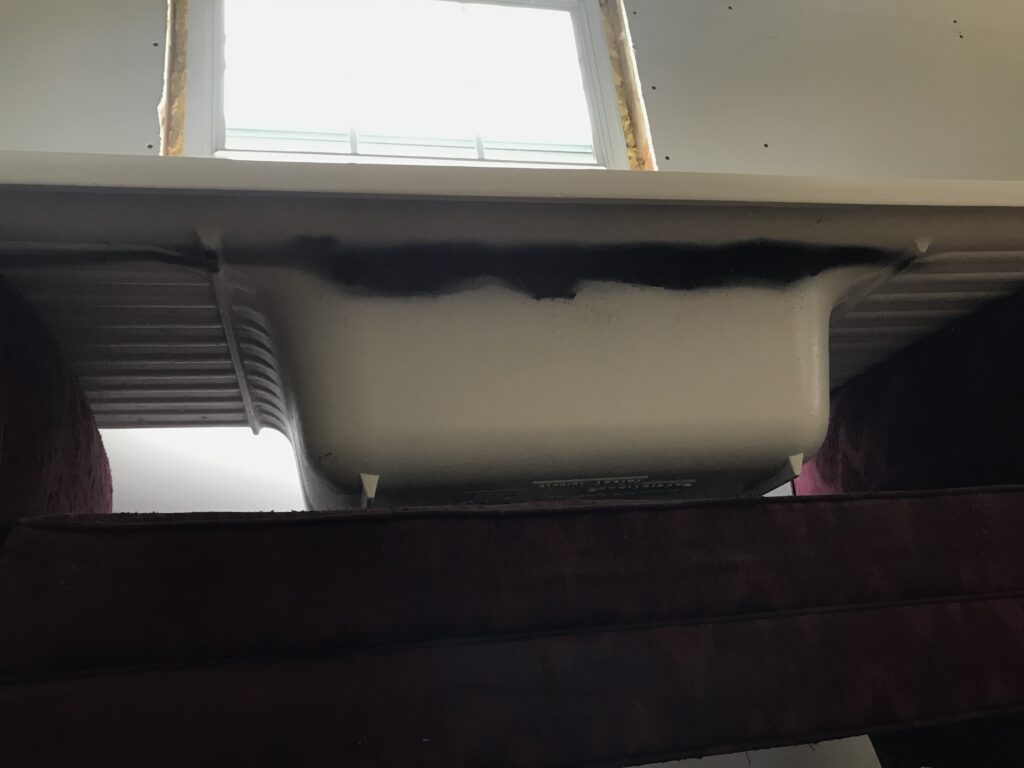
It would’ve made more sense if they just hadn’t done the bottom basin at all and they just refinished the top. But they did the bottom and there was just that little strip that was left unpainted.
Nate didn’t even notice until I told him that he needed to fix that unfinished strip. I even asked him to text the guy who refinished the sink for us to let him know. To see if we could get some money back or a discount or ask them if they could give us some paint to fix it ourselves. Who does a job like that?
FIXER UPPER COTTAGE ADDITION
Now Nate was working on the back siding of our little cottage. The back of the house was also an addition like the attached garage. Can you imagine that this house was even smaller than what it is now at 744 sq ft! I’m wondering if it was like 500 sq ft or something. The back would need a lot of work to look original like the rest of the cottage.
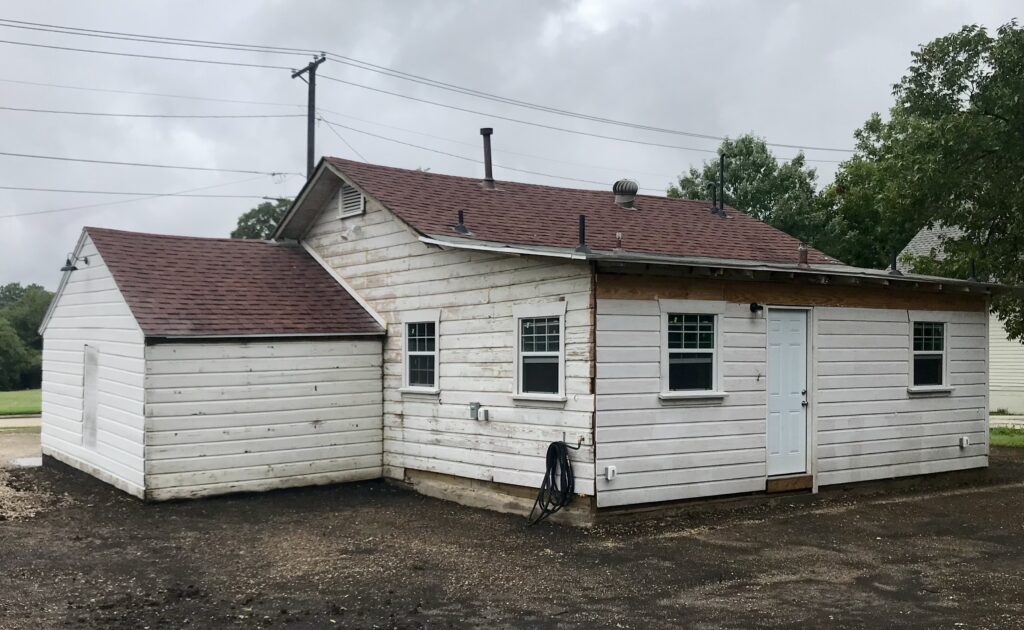
Previously Nate ripped off the cheapy cardboard-like soffit and fascia board to expose the original soffit and rafter tails to try and make it look as original as possible. However, he would need to add another fascia board to install gutters on it later. But, that would kinda take away from the historical feel, but we do need gutters. So that was something he was trying to figure out.
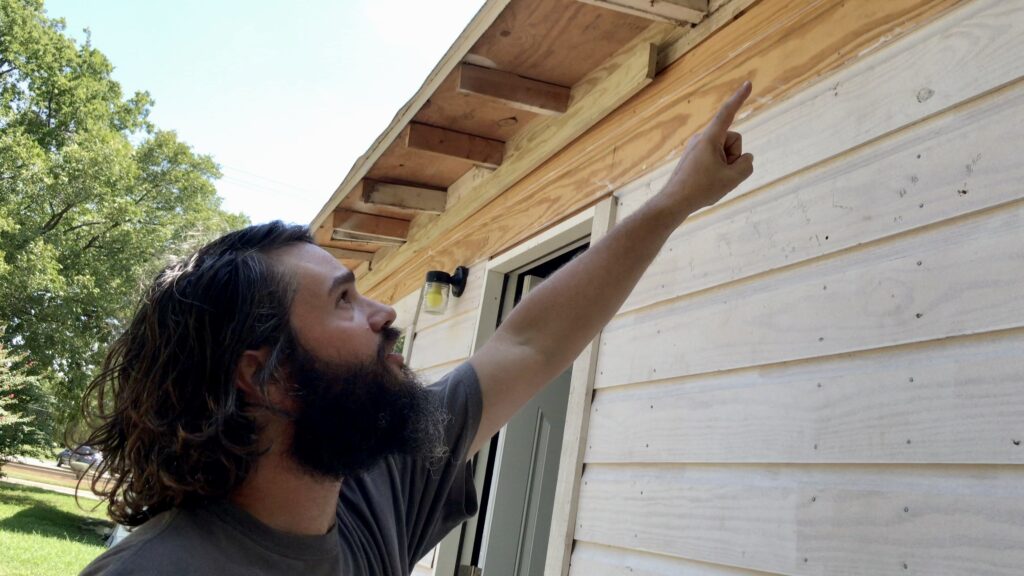
Because the back was an addition, it didn’t seem like it was done very well. There were a lot of missing boards. Nate was trying to do his best to replace those boards and to make it look nice and cohesive with the rest of the cottage and siding.
FINANCIAL FREEDOM ON THE HORIZON
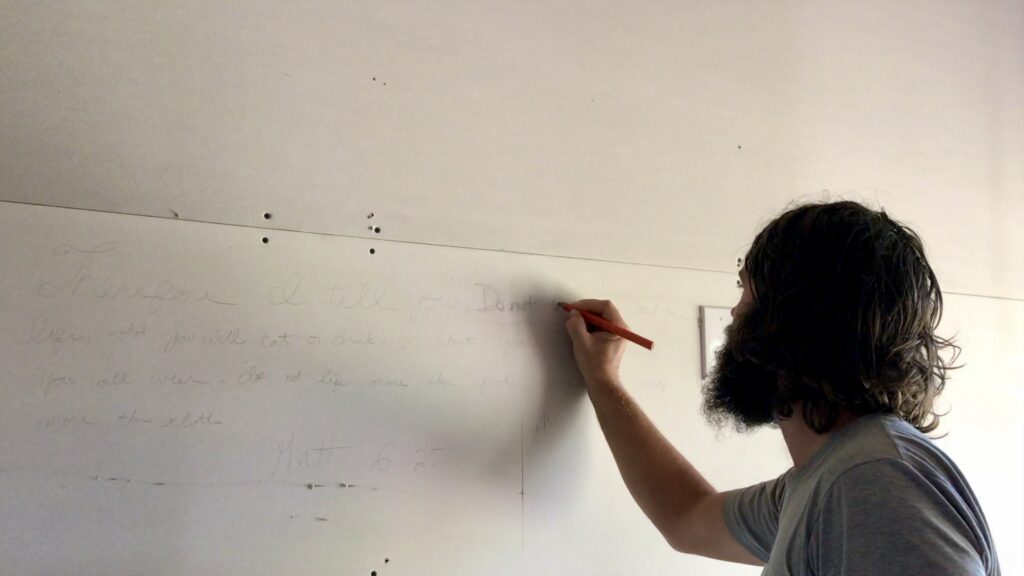
One day I caught Nate writing on the drywall in the “living room” area with a construction pencil. Turns out it was a scripture verse. He was staying up at night awake thinking about the house and how overwhelming it was and all the things he needed to do. And remember, we didn’t really know what we were doing. So he decided to write a scripture about not worrying right on the drywall.
We have had to deal with a lot of challenges since we bought this small fixer upper cottage about three years ago. The reason we were doing this was to have financial freedom! We would accomplish this by living below our means and living simply. It was awesome all the new skills we were learning in order to renovate and DIY our house as much as possible. We wanted to make sure we even accomplished all the renovations within our means without a loan or going into debt.
We certainly didn’t want to worry or be a slave to the lender!
It’s incredible to think that we will have our mortgage paid off in only three short years! It will be paid off in only a few short months from now! This is something that we never could have imagined accomplishing! But, we had to make some hard decisions to make this happen. We really had to learn to live in some tough situations, circumstances, and the unknown to get to where we’re at with this progress.
We don’t have to worry because God is our ultimate provider and takes care of all our needs. We’re going to do our best to steward what we have and live within or below our means to do that. Trusting that He will give us wisdom along the way. And he certainly has~ just look at all these blog posts and our YouTube video library to see how far we’ve come and what we’ve accomplished.

A CHALLENGING JOURNEY
It has been a challenging ride too of course! There have been days where we wondered why we’re doing this. We’ve often thought that maybe we should just sell the house and go travel or live abroad again. Yet, I’m really proud of us because I never thought that I’d ever live in a house like this! And actually do something like this~ ever! It’s so worth it knowing that in only a few short months, we will not even have a mortgage to pay!
We are very thankful and have learned that from now on that we will not worry.
Hoping you are inspired and encouraged if you are facing the same challenges. Whether that’s pursuing financial freedom or trying to fix up a fixer upper, especially if you’re living in it!
Matthew 6:25
Therefore I say to you, do not worry about your life, what you will eat or what you will drink; nor about your body, what you will put on. Is not life more than food and the body more than clothing?

CHECK OUT OUR VIDEOS
Thanks for joining us on this journey! We hope that you will find inspiration watching us learn as we go while we’re attempting to renovate and rebuild this old small historic cottage mostly on our own. Stay tuned for more progress updates ahead!
You can also watch a video about this here.
To see more adventures of our tiny fixer upper journey, click on the links below.


