Sanding and Priming Our Little Cottage in the City
Sanding and priming our little cottage in the city was a really huge task especially since Nate worked on it mostly by himself!
We still had a long way to go with sanding and priming this cute little white cottage with old original salvaged wood on it! She’s our beautiful old gem and we wanted to give her the best TLC as we worked to restore her back to her original beauty!
UNCOVERING ORIGINAL GREEN GABLES
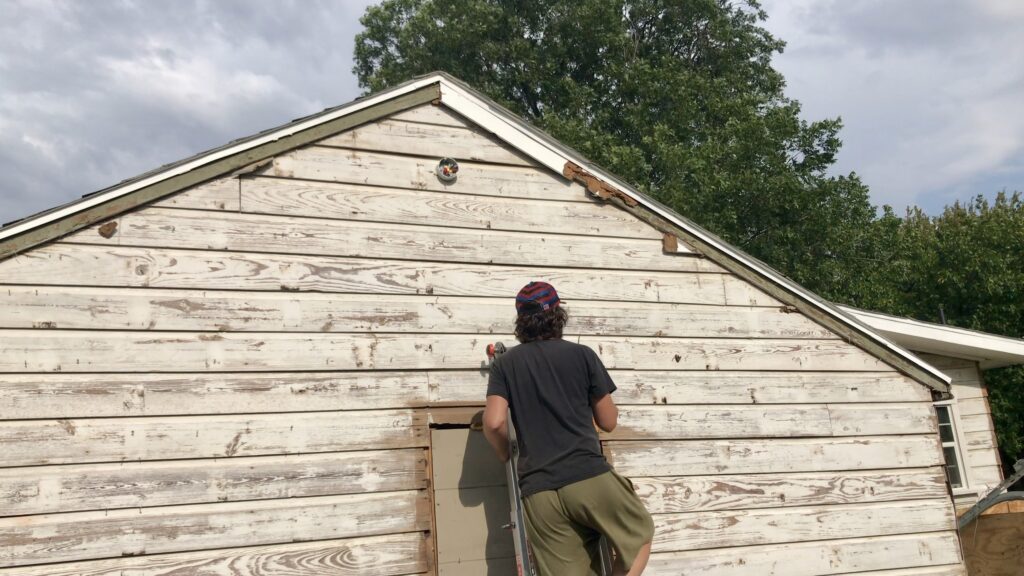
Nate continued to remove that cardboard-y (making up that word!) cheap siding off of our gables and we were actually able to also uncover the original gable and the color of it was green. So we have original green gables all throughout the house. And it’s just so cool that we were able to uncover the original siding. Now we know that we have a little white cottage with green gables in the city!
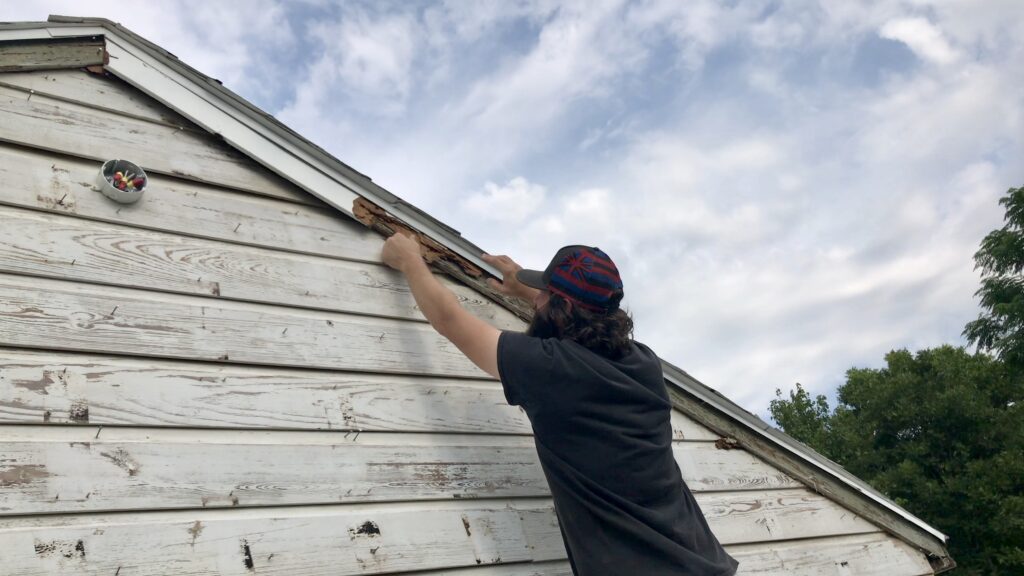
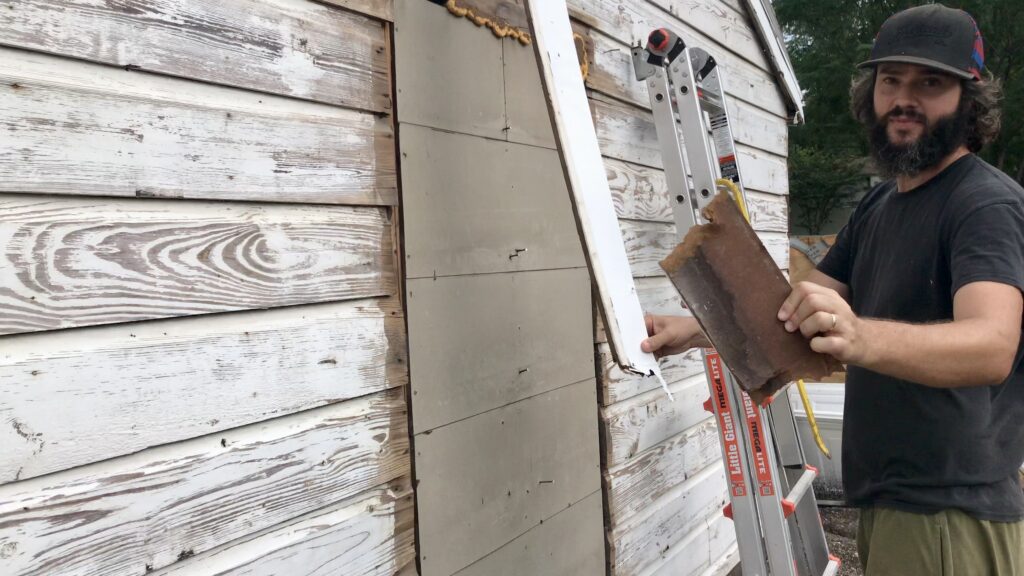
It was crazy to see how he peeled off that trim from the gable, which was really like a piece of thick cardboard. It’s like our house has been wrapped in this shell for I don’t know how long! When he pulled off the cheap-y stuff, he tore a piece of it and it literally ripped off like a hunk of thick cardboard. Nate’s like, we don’t want that cardboard on here! So thankful to have the original preserved underneath!
Oh and that green trim color we discovered on the gables is like a really nice earthy green. I’ve noticed that more modern style houses with green trim seem to have a shade of green that almost appears to be sage-y with a bit of gray undertones. But, our little cottage seemed to have a more old vintage earthy green trim.
ATTACHED COTTAGE SIDE GARAGE DOOR
On the side of the garage door, there looks like what used to be a window there and we decided to put another window in there~ a functioning window. But most recently, we were thinking~ why don’t we just put a door on the side so we have another entrance into the garage. So we got approval through our heritage commission for the window and now we also have approval for the door.

We will be working on that one of these days soon. And that’s just another project on our very long to do list around here. It will be so exciting to have a door entrance where we can come into the garage from the side instead of having to open up the huge garage door to get access to anything. Especially if you want to go in there real quick and come out. Really looking forward to that happening soon!
SANDING OUR LITTLE COTTAGE
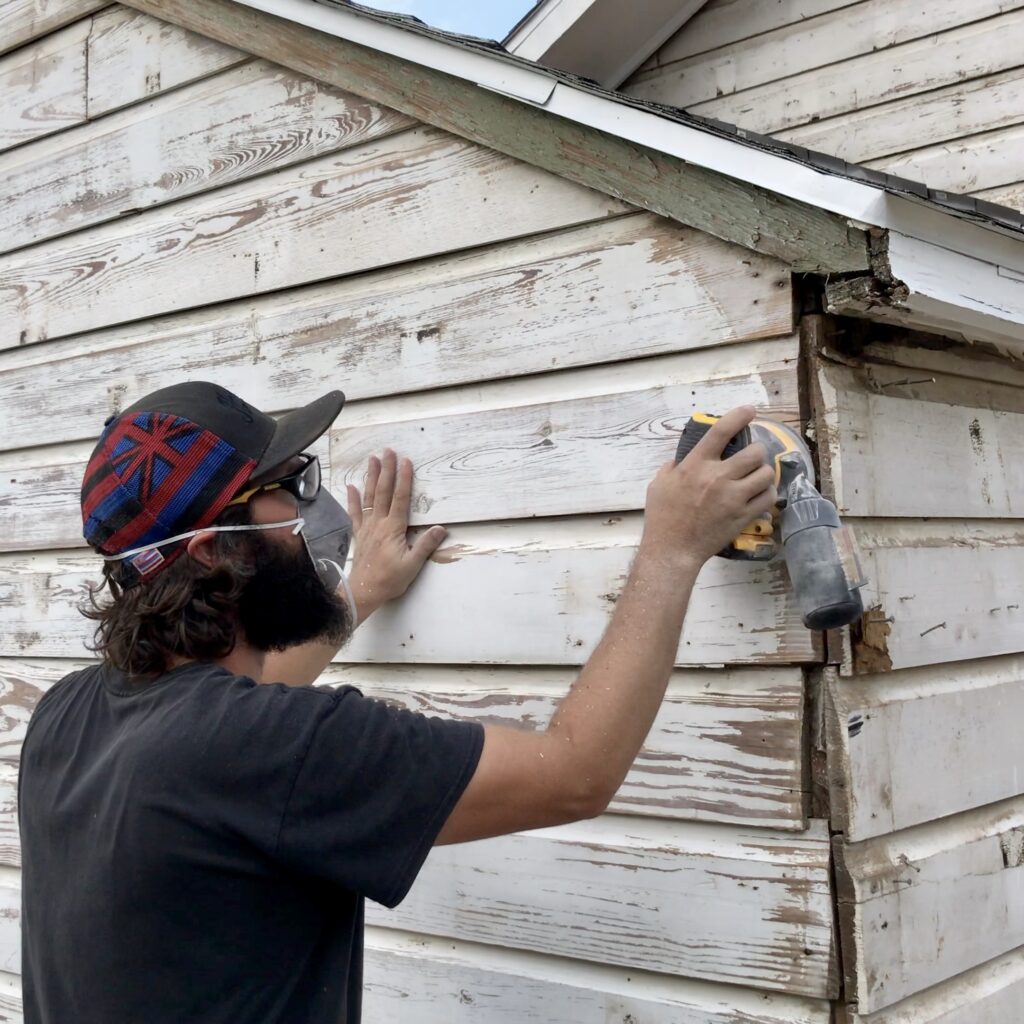
Nate worked on the siding by going through and sanding it to get it ready for the primer.

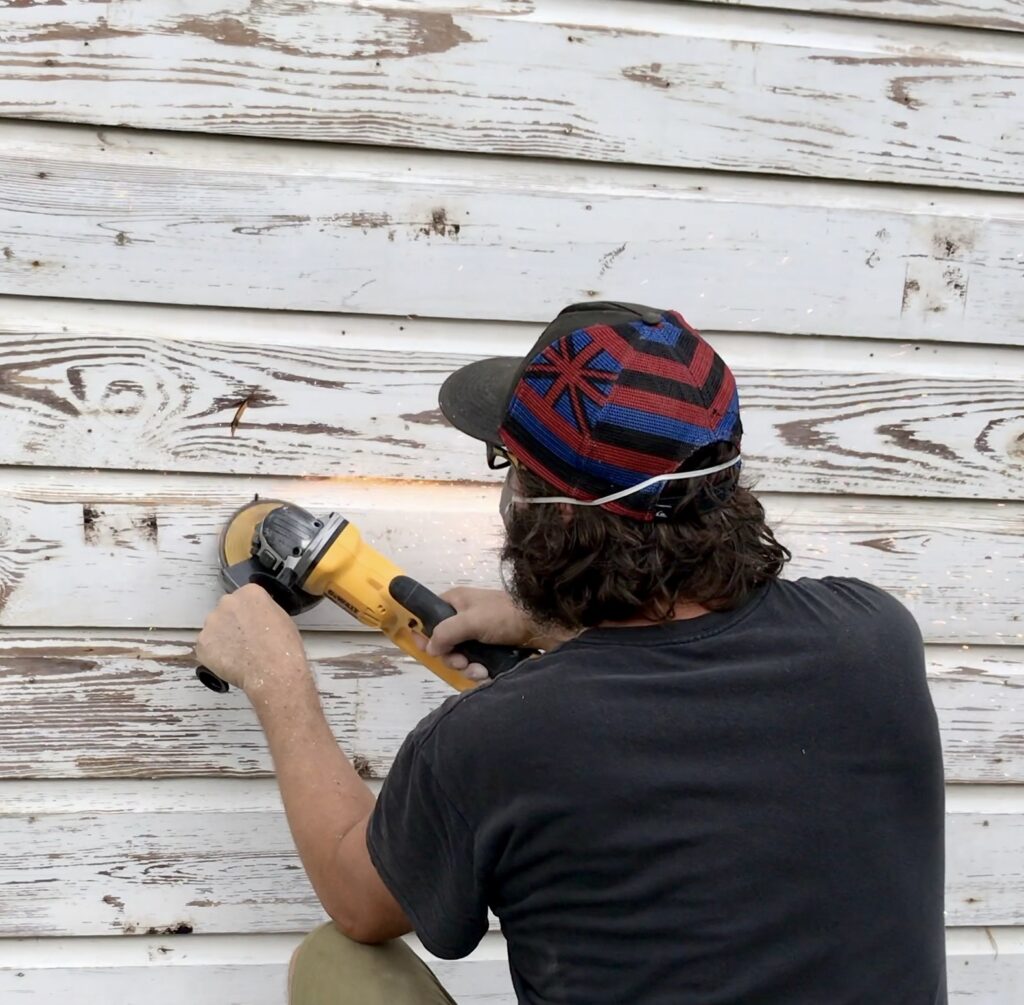
What he also did to prep the area was he removed a lot of the larger nails with an angle grinder. But, with the smaller ones, because it’s such a tedious task~ he just hammered those small ones back in. He just left them in the siding, but removed all the larger nails that were on the exterior of the cottage.

PRIMING OUR LITTLE COTTAGE
While he was priming the siding, he used a piece of cardboard over the roof so that he wouldn’t get overspray on the roof. It was a windy day and that was his way of managing that. I mean~ it does help a bit, but be aware if you ever try that, that we did get some overspray on the roof because as you’re moving with the cardboard your hand is moving too. We slipped up a little bit and got some overspray on the roof. Not too bad, but it is difficult when you are spraying really close to the roof on the trim or under the eaves.

It was a really windy day and as I was filming him working, I was worried that he would get white overspray on my black dress!
I also saw that Nate was spraying primer on the green trim and was concerned because I wasn’t sure if we got enough samples of that green color to match later. But I found out that we actually did have enough samples to take to the paint store later. Now we have the original green gable color matched to use if we want to!
SPRAYING AND ROLLING PRIMER ON THE COTTAGE
While Nate was spraying the primer on the cottage, he was also going over it with a roller brush to make sure that it really got into the cracks and crevices. Since we have that dutch lap siding, we really wanted to make sure that the primer went into all of the grooves of it and just do a very thorough job. We live in Texas and the sun is very hot here so we wanted to make sure the house was sealed very well!

This little old gem was really soaking up a lot of primer. She was long overdue for a new coat of primer and paint on her old salvaged siding. Nate was going through a lot of primer!
This was a bit of a nostalgic job for him as he used to be a painter. He was thinking his arms were going to fall off from all the spraying and rolling though! He would definitely have sore arms later from this natural workout!
If you didn’t think hanging drywall was enough to give you an arm workout, try spraying and rolling all day long. Poor guy~ he was getting quite an arm workout. I know his arms had to be so sore working on that for such a long time.

Sanding and priming our little cottage in the city has taught us many things like hard work to save money, dedication to the task, and enjoying the fruits of our labor! Oh, and since we are in the city, we’ve gotten a lot of attention from our neighbors and those passing by walking their dogs. We would usually hear a shout of, “Your doing a good job!” or “It’s looking really good!”
Isaiah 32:18
My people will dwell in a peaceful habitation, In secure dwellings, and in quiet resting places.

CHECK OUT OUR VIDEOS
Thanks for joining us on this journey! We hope that you will find inspiration watching us learn as we go while we’re attempting to renovate and rebuild this old small historic cottage mostly on our own. Stay tuned for more progress updates ahead!
You can also watch a video about this here.
To see more adventures of our tiny fixer upper journey, click on the links below.
🏚 REPAIRING COTTAGE GARAGE FRAMING AND INSTALLING NEW DOOR 💪🏼🧰
🏚 OUR LITTLE COTTAGE GETS A BATH THEN SANDING AND PRIMING 🛁🧽


It’s looking great! It’s amazing what some TLC can do! 🙂
Thank you, Anna! You are right~ just a little TLC goes a long way!💖
Wow, what a project! You definitely are giving it TLC and it’s going to look great! My husband is a painter and the prep work is what makes the end results stunning. Good job!
Thanks~ and how cool about your painter husband! My hubby used to be a painter too and I’m sure the job was pretty nostalgic for him! Thorough prep and a good paint job makes a huge difference for sure!💕
I love how you restored the old wood! It’s beautiful!
Thanks so much!💕 We are very excited about it!🥰